Since the first two sets of camera’s I ordered I placed a big order of new camera’s with AOTE last year. I ordered a lot of camera’s this time because I was able to combine some orders and have decided that these camera’s are worth the investment for my events. I will detail the new camera’s so you know what to expect when you buy them!
Lots of camera’s!
I ordered 4 different models op camera’s, each with several different lenses. I’m going to try and show examples of each camera and what I have found is the best usage for it is. I will discuss 3 type of camera’s in this post and then detail the last model in a different post (it’s a 2Mpix PTZ 10x IP camera).
Specifications
All these camera’s share mostly the same components except for the housing they are in.
They are all Sony 5Mpix sensor camera’s connected to a Ti DaVinci DM365 or DM368 SOC board. That means that each camera is able to produce a MPEG4 stream of 2592×1920 at ~10FPS. Officially you can pull this stream out using ONVIF or RTSP up to 10 clients at the same time. 10 might be a bit much though but I haven’t had any problems pulling 3 stream to different clients at the same time. There are multiple manufacturers who make camera’s with these modules but I have had great success with Aote Technology Company Limited. For small quantities it’s easy to use Aliexpress, for larger orders I always directly contact them through e-mail. They have their own website.
The RTSP URL is: rtsp://ip.ip.ip.ip/mpeg4 using the default 554 RTSP port. You can change the port if you wish and also change the camera stream to TCP or UDP depending on your needs. Per default the camera has a password on the RTSP stream but I often disable it.
With the picture URL you can also get a snapshot image of the same resolution.
The Picture URL is: http://ip.ip.ip.ip/cgi-bin/snapshot.cgi?stream=0
I have been using a Raspberry Pi to generate timelapse loops, if you run Ubuntu 15.04 on it you need to install wget and you can use the following line: wget http://ip.ip.ip.ip/cgi-bin/snapshot.cgi?stream=0 –output-document=/output/cam1/cam1-“$(date +’%Y-%m-%d__%H-%M.%S’)”.jpg. With that command you get a picture that automatically uses the system date! Set it up in crontab and your timelapse will be running!
Powering the camera’s
This new shipment also has POE boards in all of the camera’s. AOTE has switched to NOT include a power adapter per default anymore. You can order them separate of if you still need them but your best choice is to use a POE switch. If you are looking for a simple POE switch, I just did a review about one which works great with all of these camera’s! I highly recommend using it over using something like Passive POE for instance. With “real” POE you can also use cable lengths up to 100m. Using a 50m cable and a camera with 2xIR the camera’s use about 4.5w with IR off and around 8w with IR on.
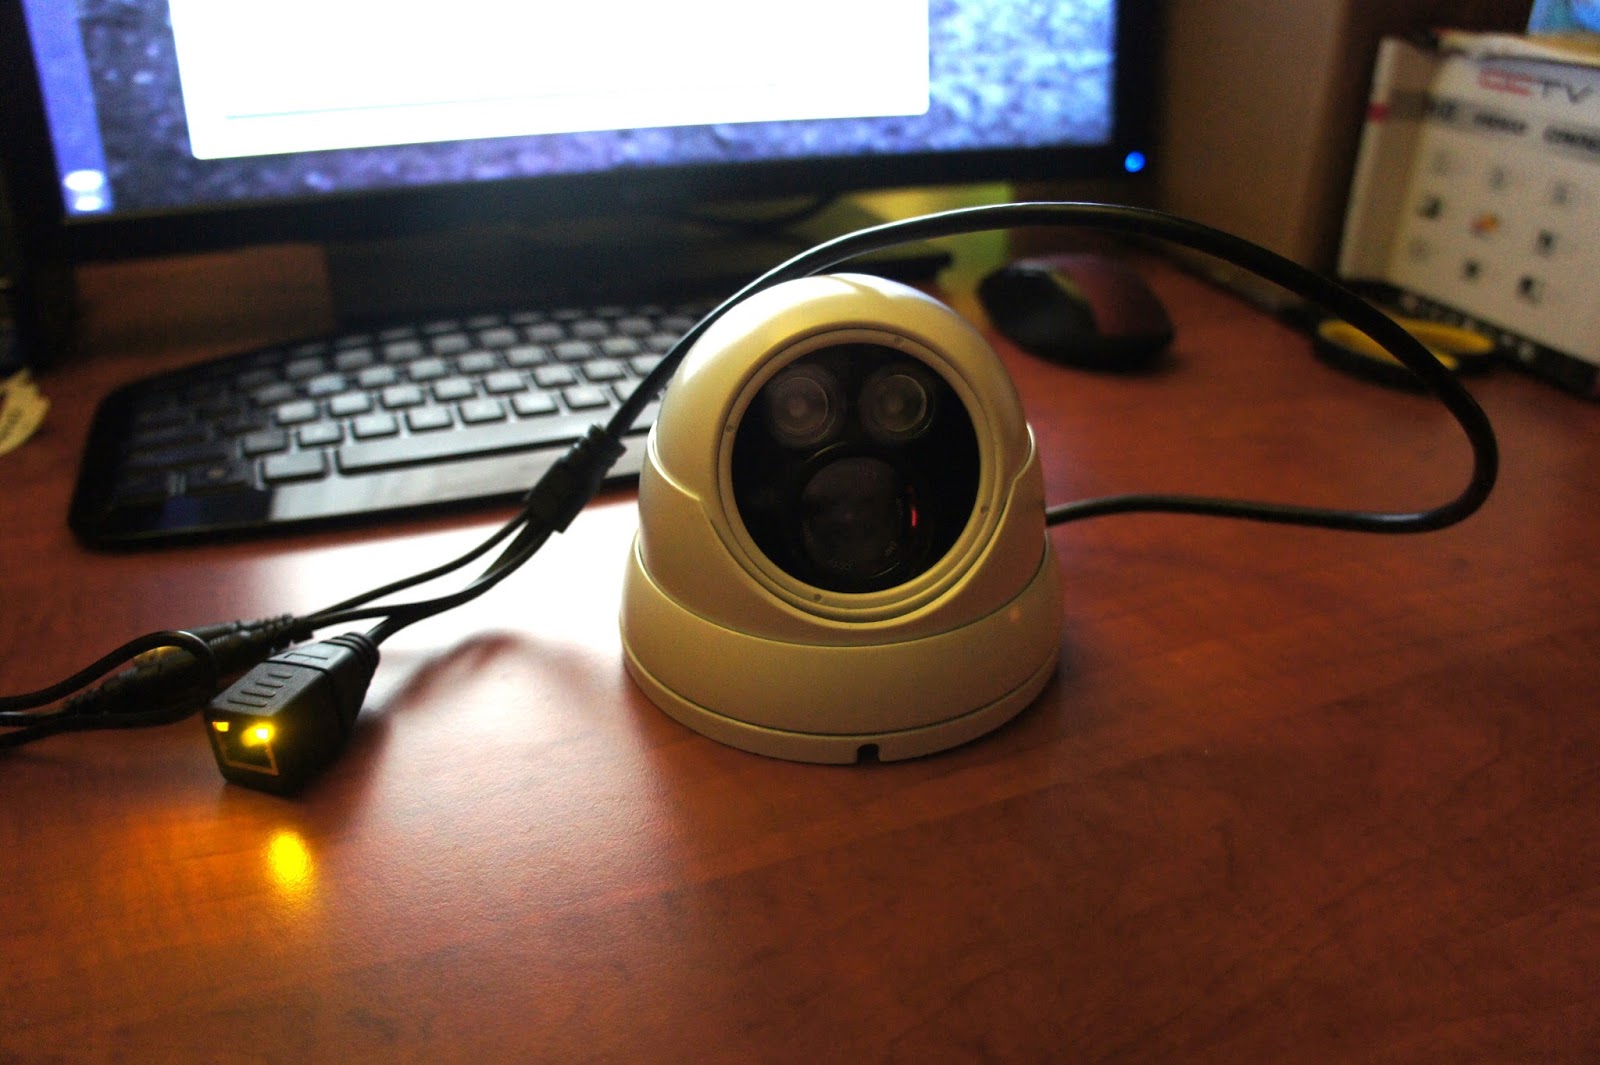
5Mpix Dome with 2x IR (W895G-B-POE)
For mostly indoor usage I ordered this dome. I had a version of this dome before and liked it a lot, but the updated version is even better! The previous version had a little wrench with which you needed to tighten 3 screws in the outer ring. This wasn’t really a very good system. The new version uses slide-able rings so no tools are needed. The version I bought uses the 4mm lens. If you put this cam right in the corner of a room it can easily survey the whole room. I have some example videos of this below! You can mount these directly to the ceiling or a wall. Depending on the way up you mount the camera sphere you can adjust mirroring and flipping the image in the camera software. You can buy this camera for about $80 including shipping from Aliexpress.
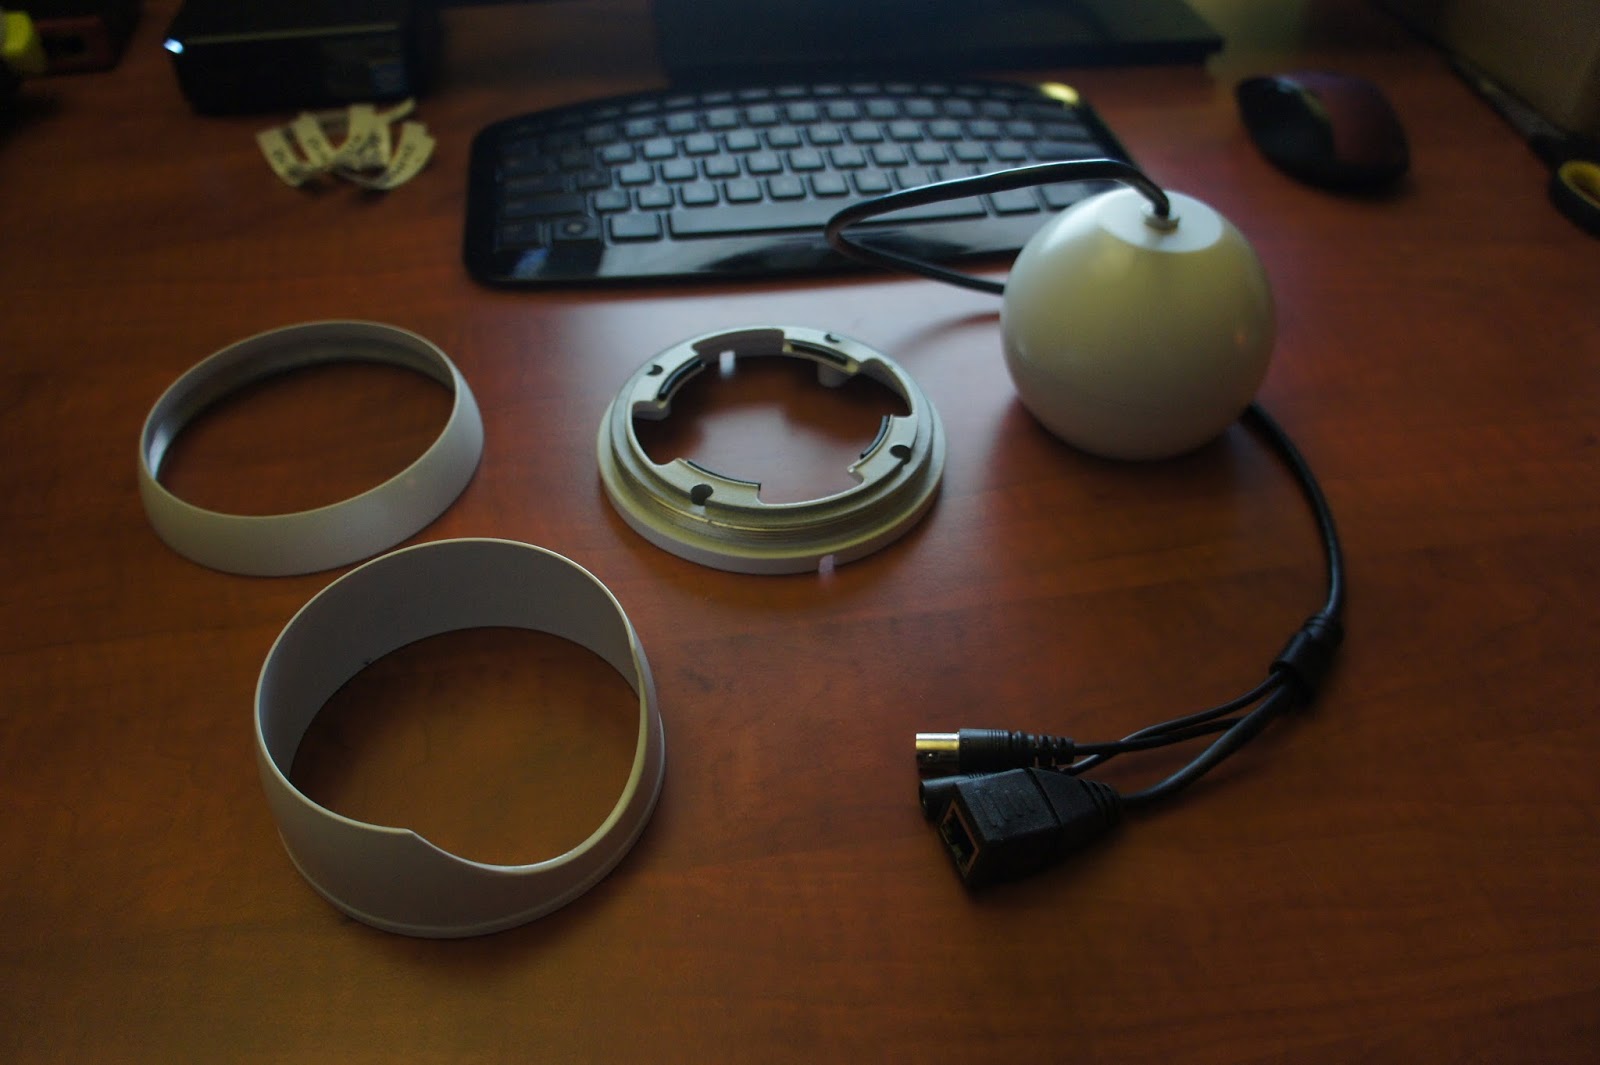
All the pieces separated. The base plate has rubber to hold the camera (when tightened you almost can’t adjust the angle anymore!) also has screw holes so you can screw it into something firmly!
Everything assembled without the camera inside
The base plate has holes to route the cable through
Close up of the front. The 4mm lens is clearly visible. You can also get these camera’s with a 6mm or 8mm lens. 2.8mm won’t fit though.
Fully assembled it’s a tight little package. Be sure to keep the IR lights outside of the ring and use the half moon sparing of the tightening ring. IR reflection is killer otherwise! That also means you can’t turn the camera too much down, because it will start to go below the tightening ring. So these camera’s are not suitable if you want them to be looking straight out. They are made to be mounted in a ceiling and looking down
Video
A video during the night with the normal lighting turned on. As you can see one camera with a 4mm lens can easily survey a complete room (6mx6m). If someone snatched something from a table you should be easily able to tell
The same room but with me behind my computer. You can easily see what’s going on, on my screen….
This is our maintent during the night. There is only a little bit of light in there but the camera is easily picking it up
The same tent but during the day. Still no real outside light and this time with a lot of people!
Another room. Again, one camera shows the whole room in one glance
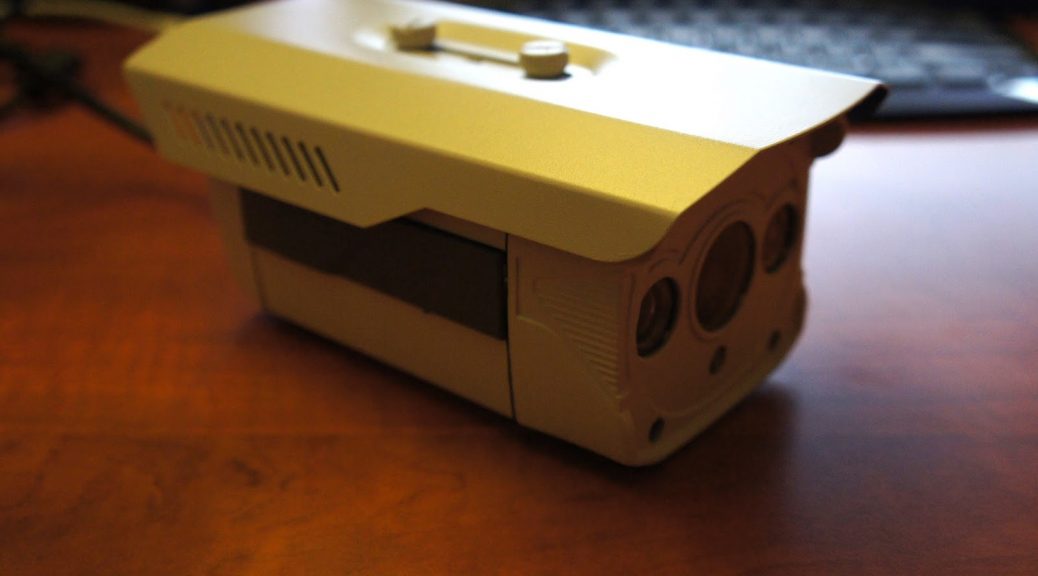
5Mpix small bullet with 2x IR (W551G-B-POE)
The smallest version of the bullet camera. It comes with the same internals and also has two IR LED’s. The photos below will show the separate components such as the sun cap and the included mounting arm/bracket.
Those brackets, while functional, are a bit flimsy. I’ve actually managed to break one (Weld came loose) since I’ve been using these camera’s because I bent it too much. But, once installed they do work fine. I’ve had one occasion where wind was able to wobble the camera on the bracket so if you want to install them in a very windy situation, that could be a problem.
As you will see in the photos I used washers to mount the top sun cap and the arm/bracket on the bottom. If you don’t you’ll end up with a wobbly sun cap and a not so sturdy mount to the bracket. It all fits, but with the washers (O rings for usage in piping) they fit very snug and tightly and I highly recommend it! These camera’s have served me well and I’ve had them outside in scorching hot 35 degrees C sun but also during heavy rain storms and in both cases they have worked flawlessly. You do need to take care of making the UTP connection water free. You can use the same solution as I have shown before with the Passive POE. A good amount of tape will also work but it can damage the cables and also leaves them one sticky mess. 🙁 You can buy this camera for about $80 including shipping from Aliexpress.
Cabling connected to the camera
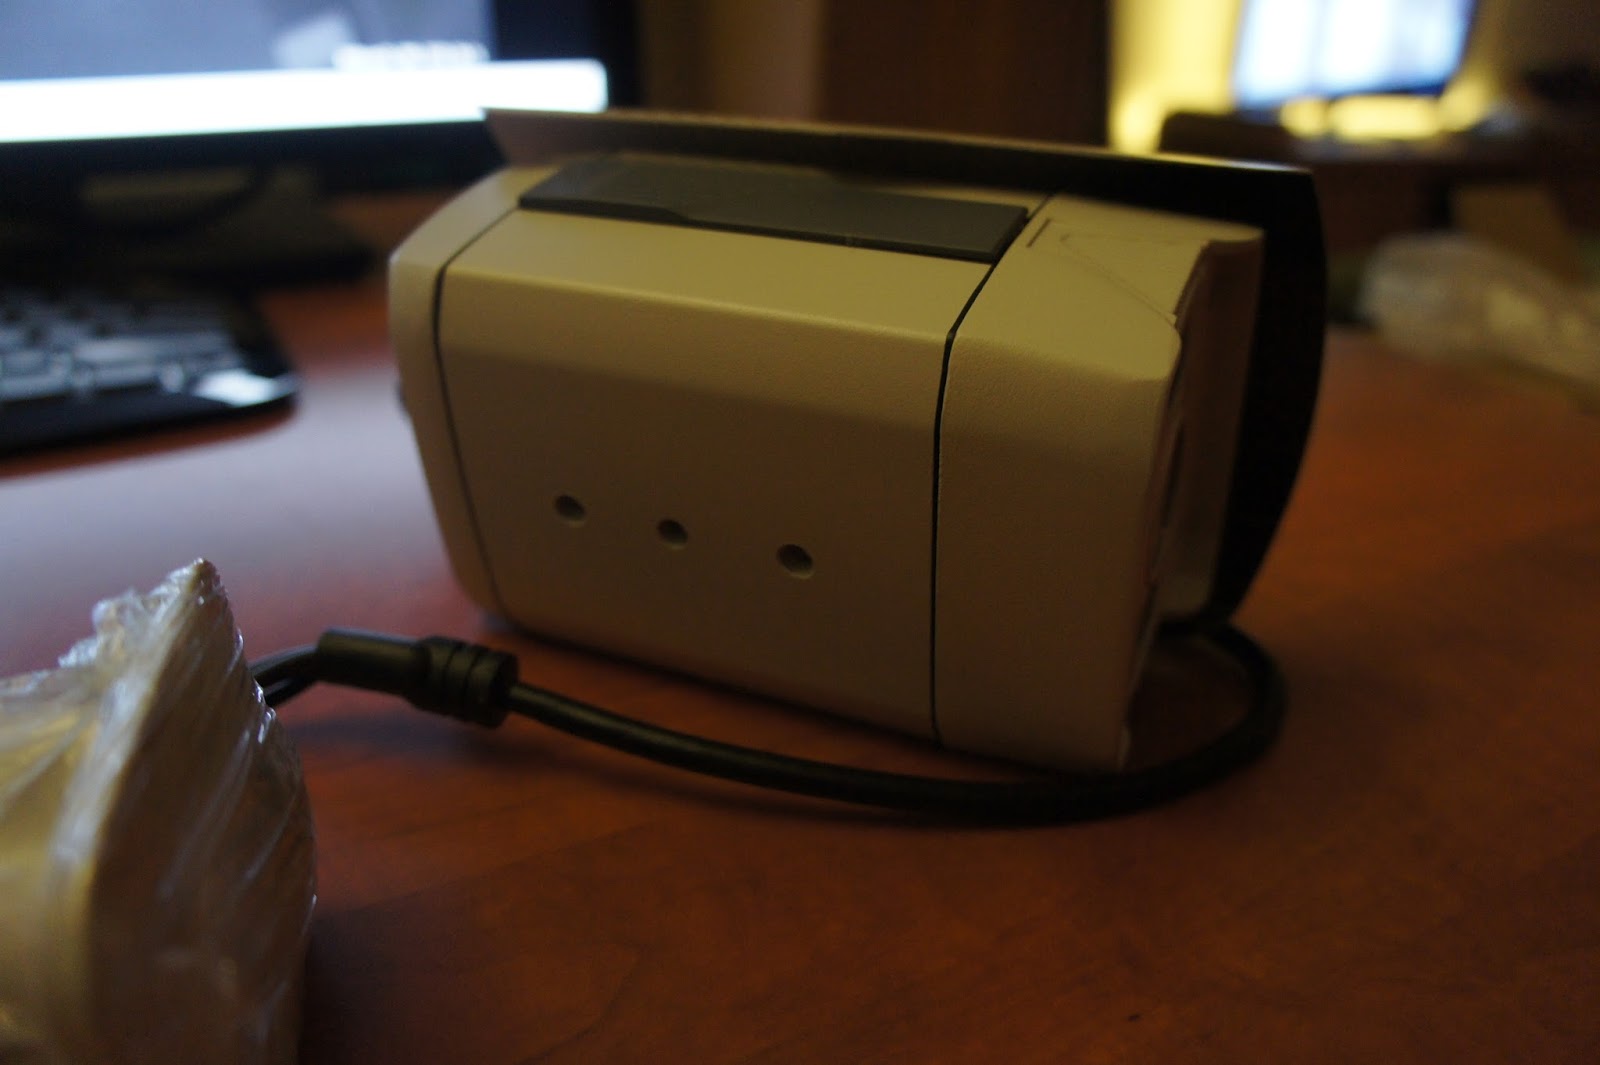
Backside of the camera
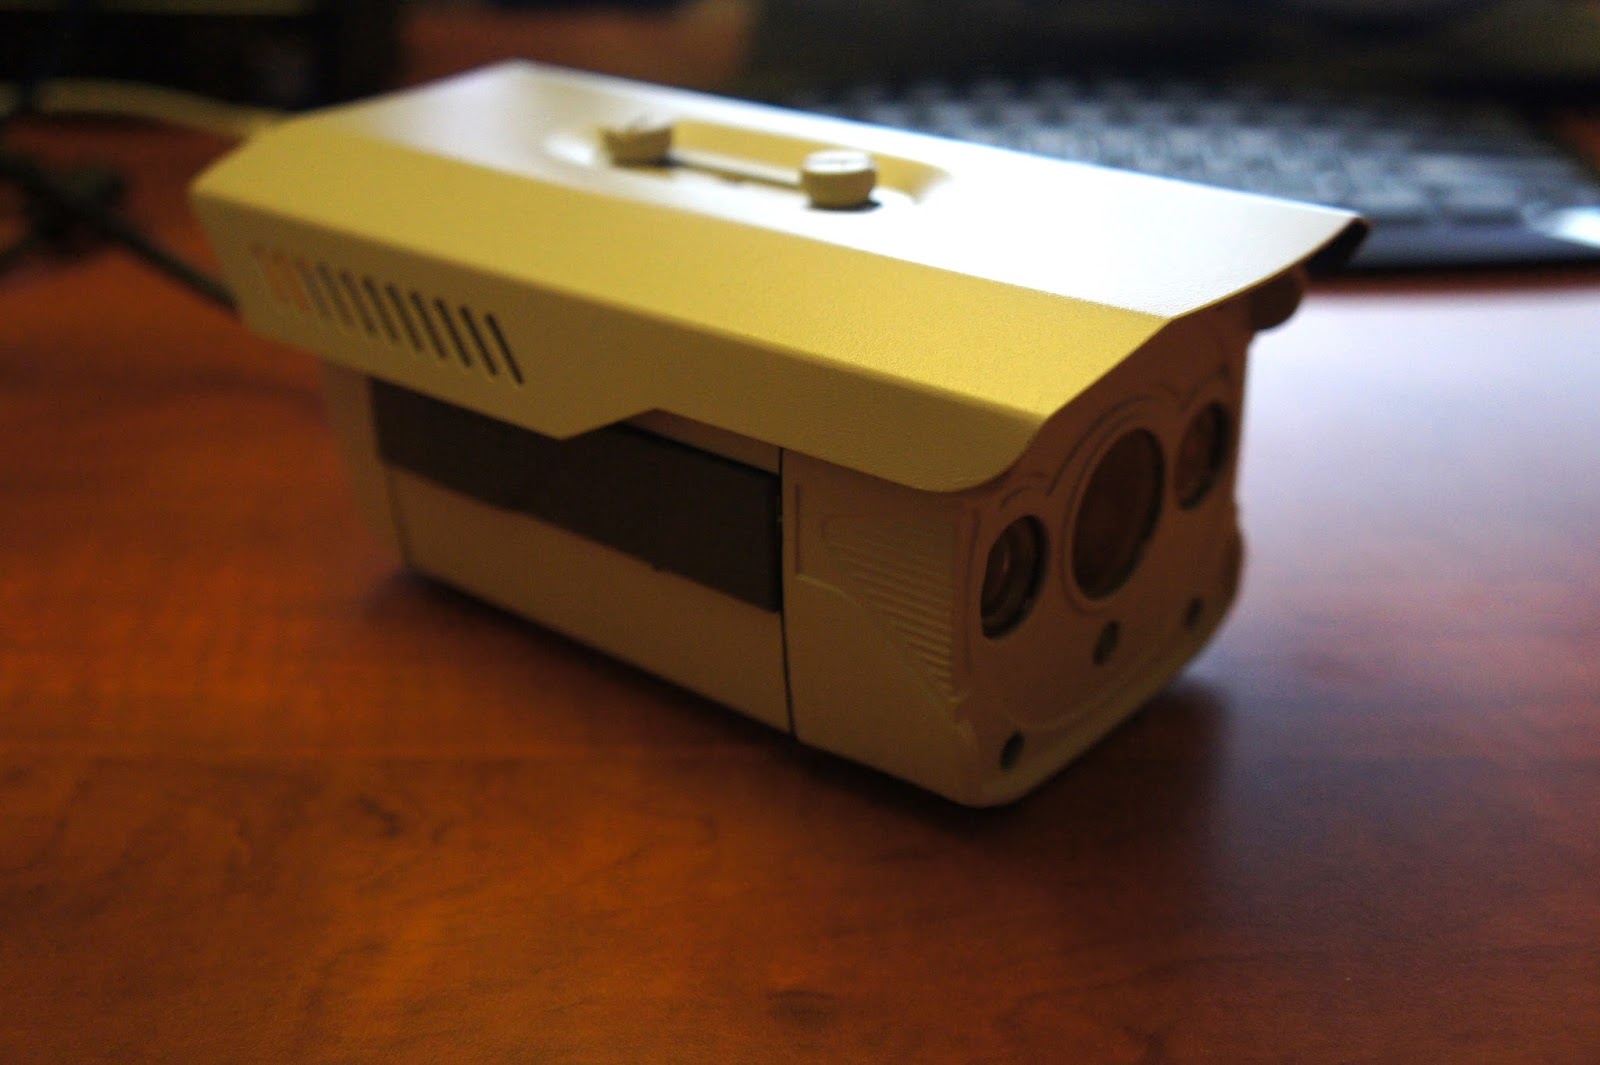
Front face of the camera
The power adapter if you decide to order it. Default is POE!
Bottom side without the mounting arm/bracket
The arm/bracket
The washers I used
Here you can see how I inserted the washers in between the camera and the arm/bracket. This makes for a very snug and nice fit
The sun cap. You can see the front has been painted black to prevent reflections (comes this way from AOTE)
Washers laid out
Sun cap installed
I had one camera that was rattling and missing a screw so I decided to open it up. This is viewed from the back. The board visible is the POE board I believe
View from the front
The camera is made up of several boards on a sort of stack of metal pillars
A board ID visible
The stack visible. From front to back you see the lens mount, CMOS sensor board, processing board, power board and last the POE board
Video
A tent at the event, some interior lights are on but it’s mostly dark
The same room but this time without any lights, you can see the IR light
The front entrance of our event. This camera can easily see all the people passing by and also read license plates from cars, etc.
A cam with a 4mm lens high up in a tower (about 10m). It gives a great overview of the front parking lot
The same camera but at night. There are big lights lighting the whole terrain but the camera still does a great job!
Another view from a tower. The camera is about 8 meters high providing a good overview of the area. You can easily spot if someone is in there who isn’t supposed to be and with enough light the picture if very clear and without any noise or artifacts!
5Mpix larger bullet with 4x IR (W555G-B-POE)
The last camera of this post is basically just a bit bigger version of the one listed above. All the internals are the same except this camera comes with 4x IR. That does provide a bit more light in the dark so especially when using it with more zoom lenses (6mm, 8mm, etc.) it would be recommended upgrading to this version.
This camera is also the only one which fits the 2.8mm lens! It creates a bit of a fisheye effect and you can see the inside of the camera in the picture, but it does work in certain situations. Be sure to know what you are buying! Although you will have a big wide view, all details will be smaller too!
Not much else to say about it, on to the pictures!
Front of the camera, 4 IR blasters, one in each corner
With the arm/bracket
Next to it’s smaller brother
Again, use some rubber grommets to mount the arm/bracket and the sun cap
One of the IR blaster lenses
IR blaster lens
I currently don’t have any footage of this camera. I will try and get some footage of this camera with the 2.8mm lens later on!
And that kind of wraps it up. I’ve used these camera’s for two events now and also have a 24/7 test camera at home and they have performed flawlessly. Both in a heavy rain storm or in blistering 35 degrees Celsius scorching hot sun (not hanging in the shadow either). They never dropped a frame and worked perfectly!
So I can definitely recommend a camera based on the Ti DaVinci DM365 or DM368. Recently a firmware update also came out which fixes some problems! I will make a dedicated post for that later on.
I would very much like to recommend you get a camera made by AOTE. All the camera’s I have ordered with them where perfect only sometimes needing a small lens adjustment to adjust it to my specific purpose (close by or wide and far).
Comments or questions, let me know!
One thought on “New Ti DM365/DM368 5Mpix Camera’s”


 All the pieces separated. The base plate has rubber to hold the camera (when tightened you almost can’t adjust the angle anymore!) also has screw holes so you can screw it into something firmly!
 Everything assembled without the camera inside
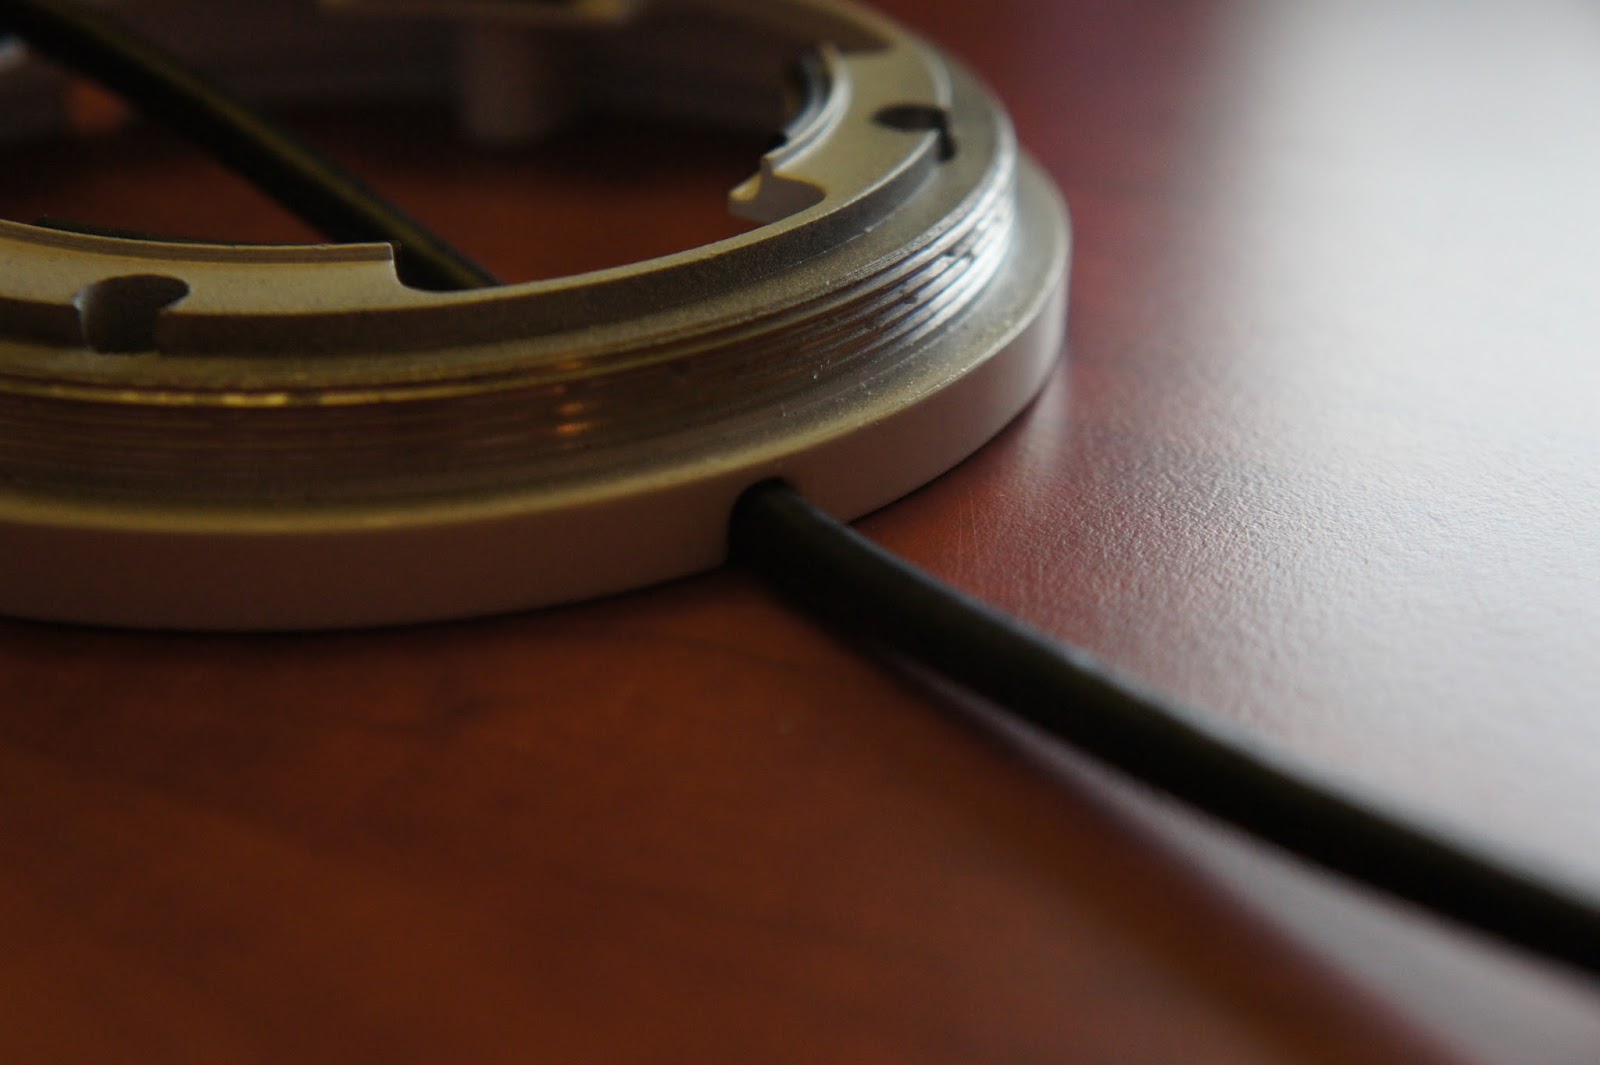 The base plate has holes to route the cable through
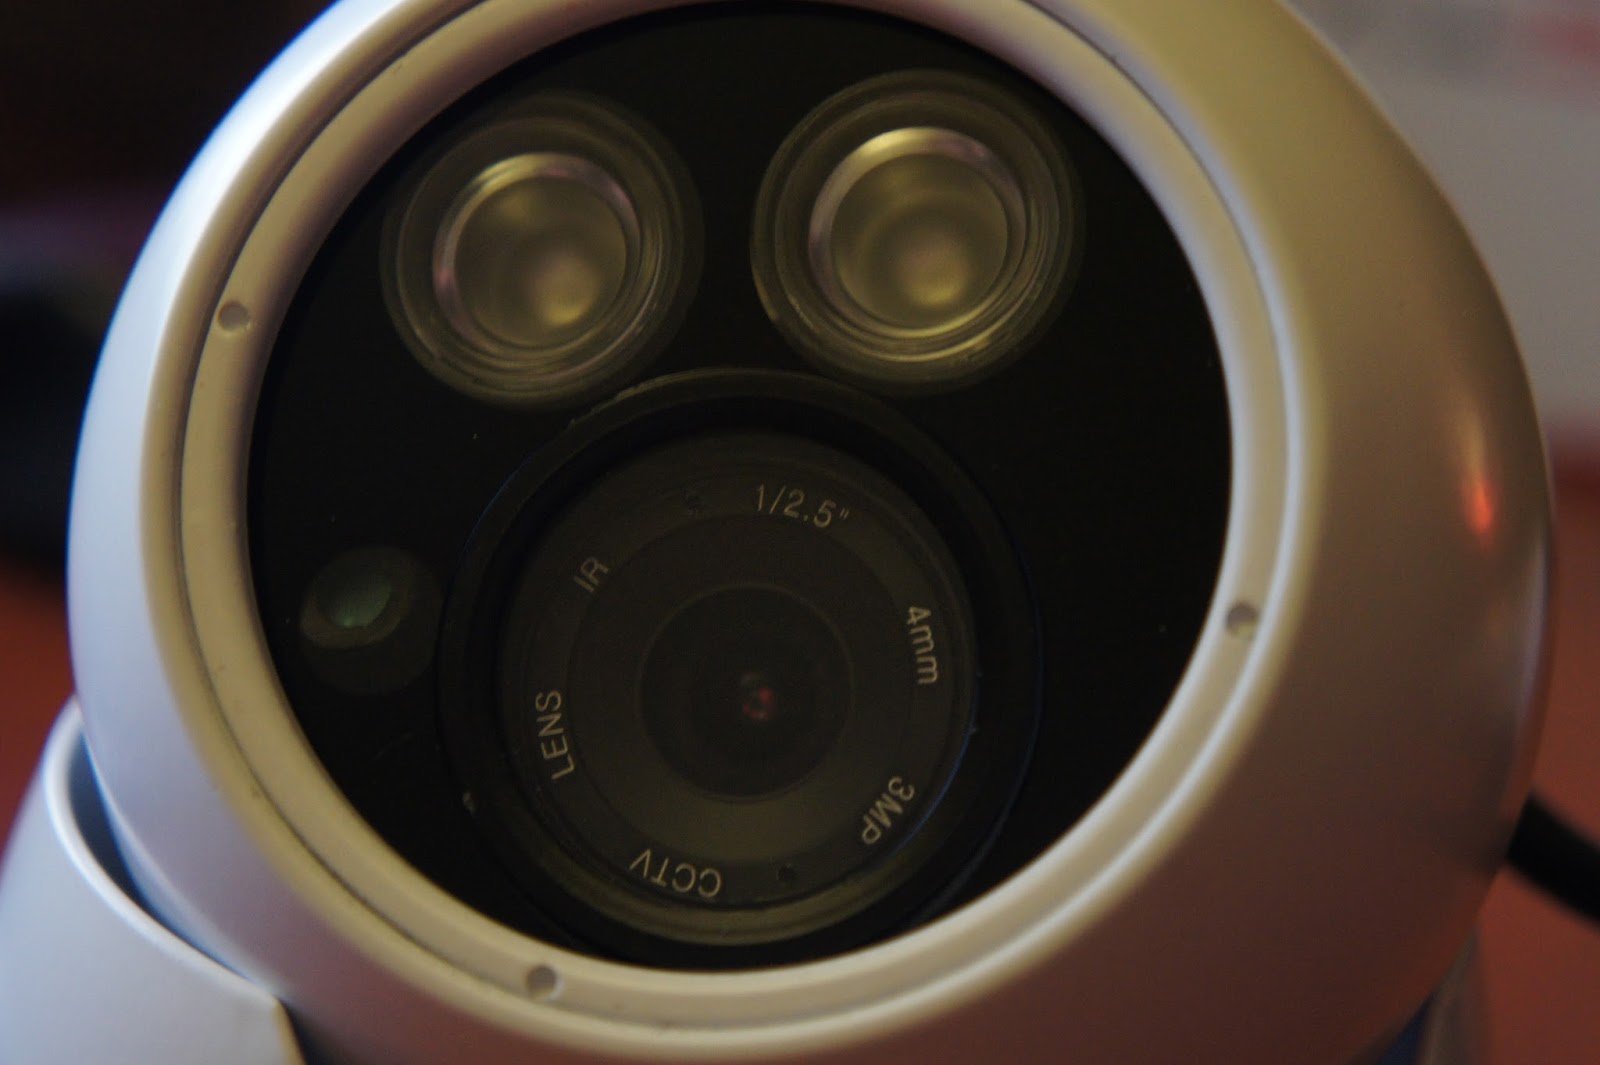 Close up of the front. The 4mm lens is clearly visible. You can also get these camera’s with a 6mm or 8mm lens. 2.8mm won’t fit though.
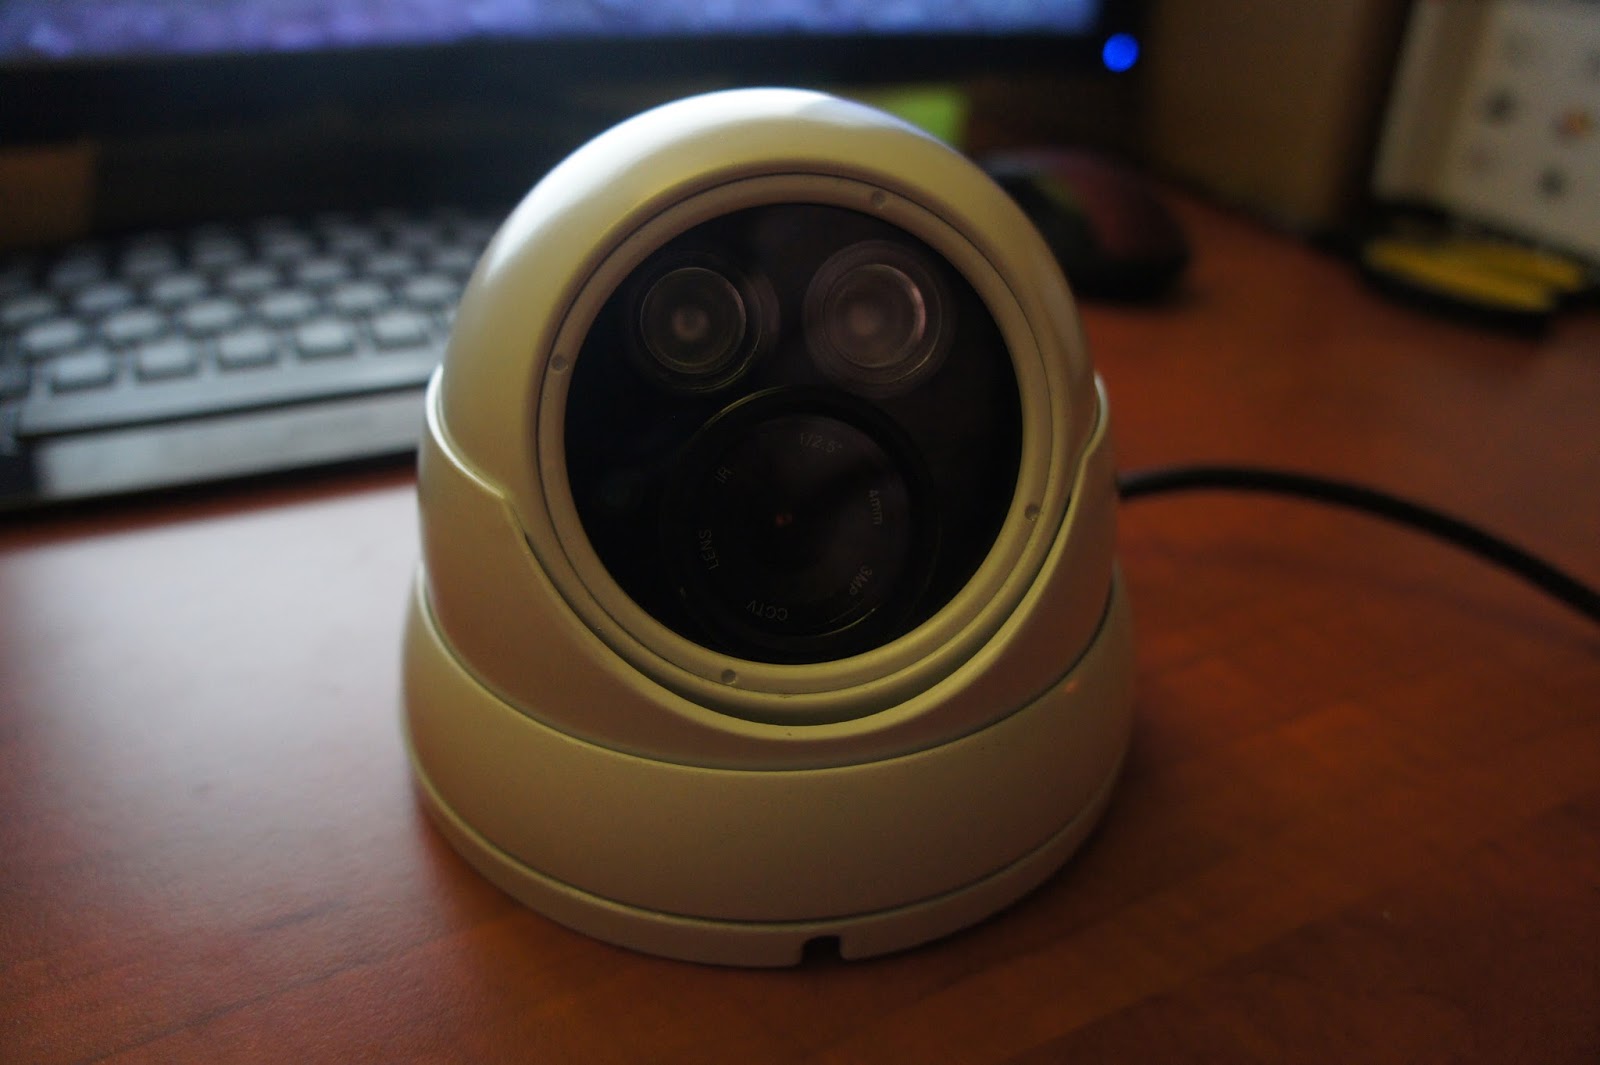
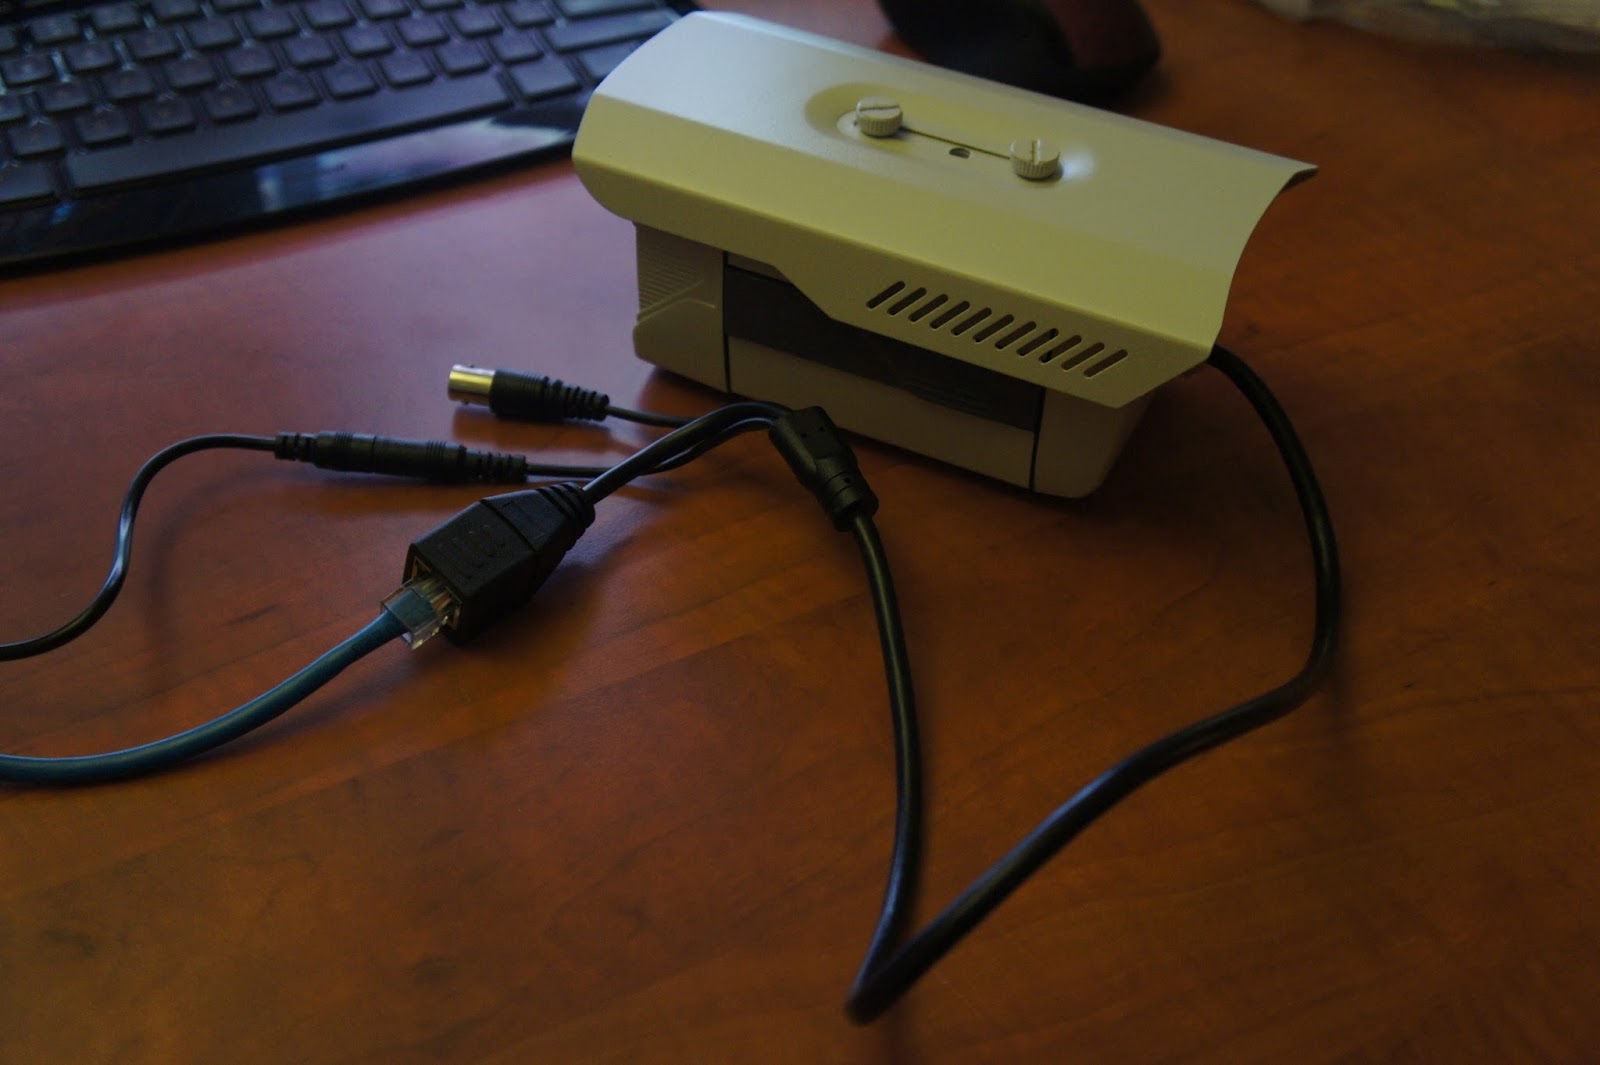 Cabling connected to the camera
 Backside of the camera
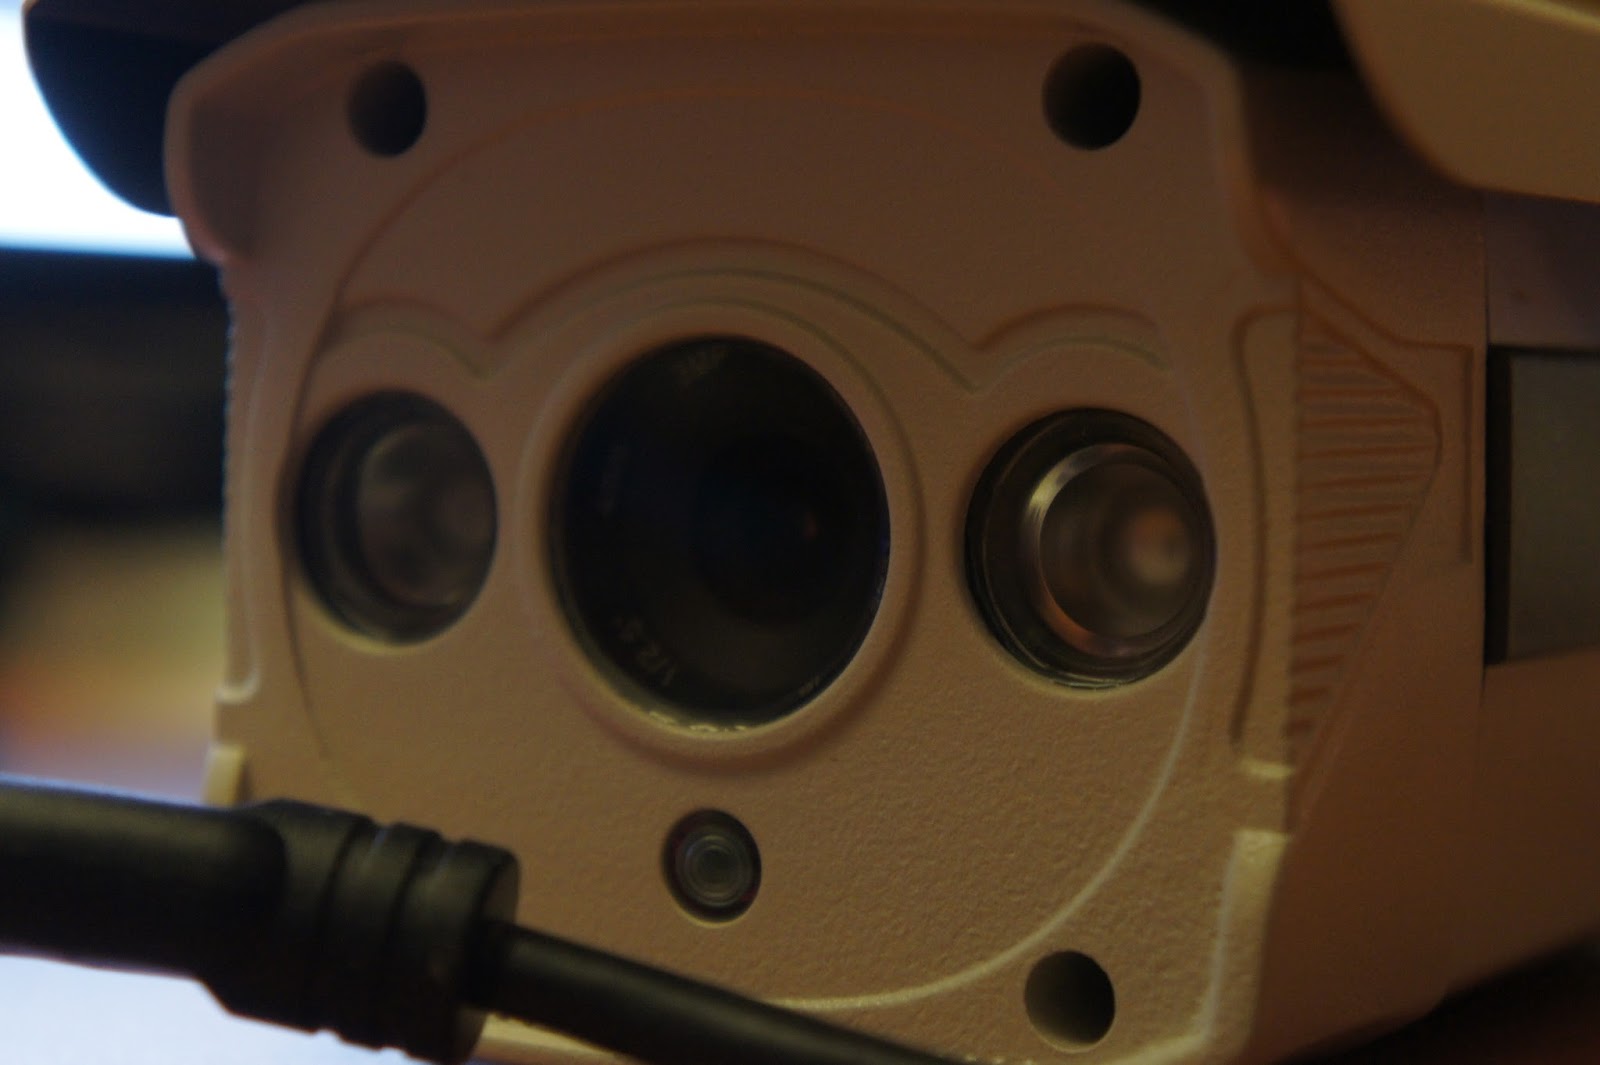 Front face of the camera
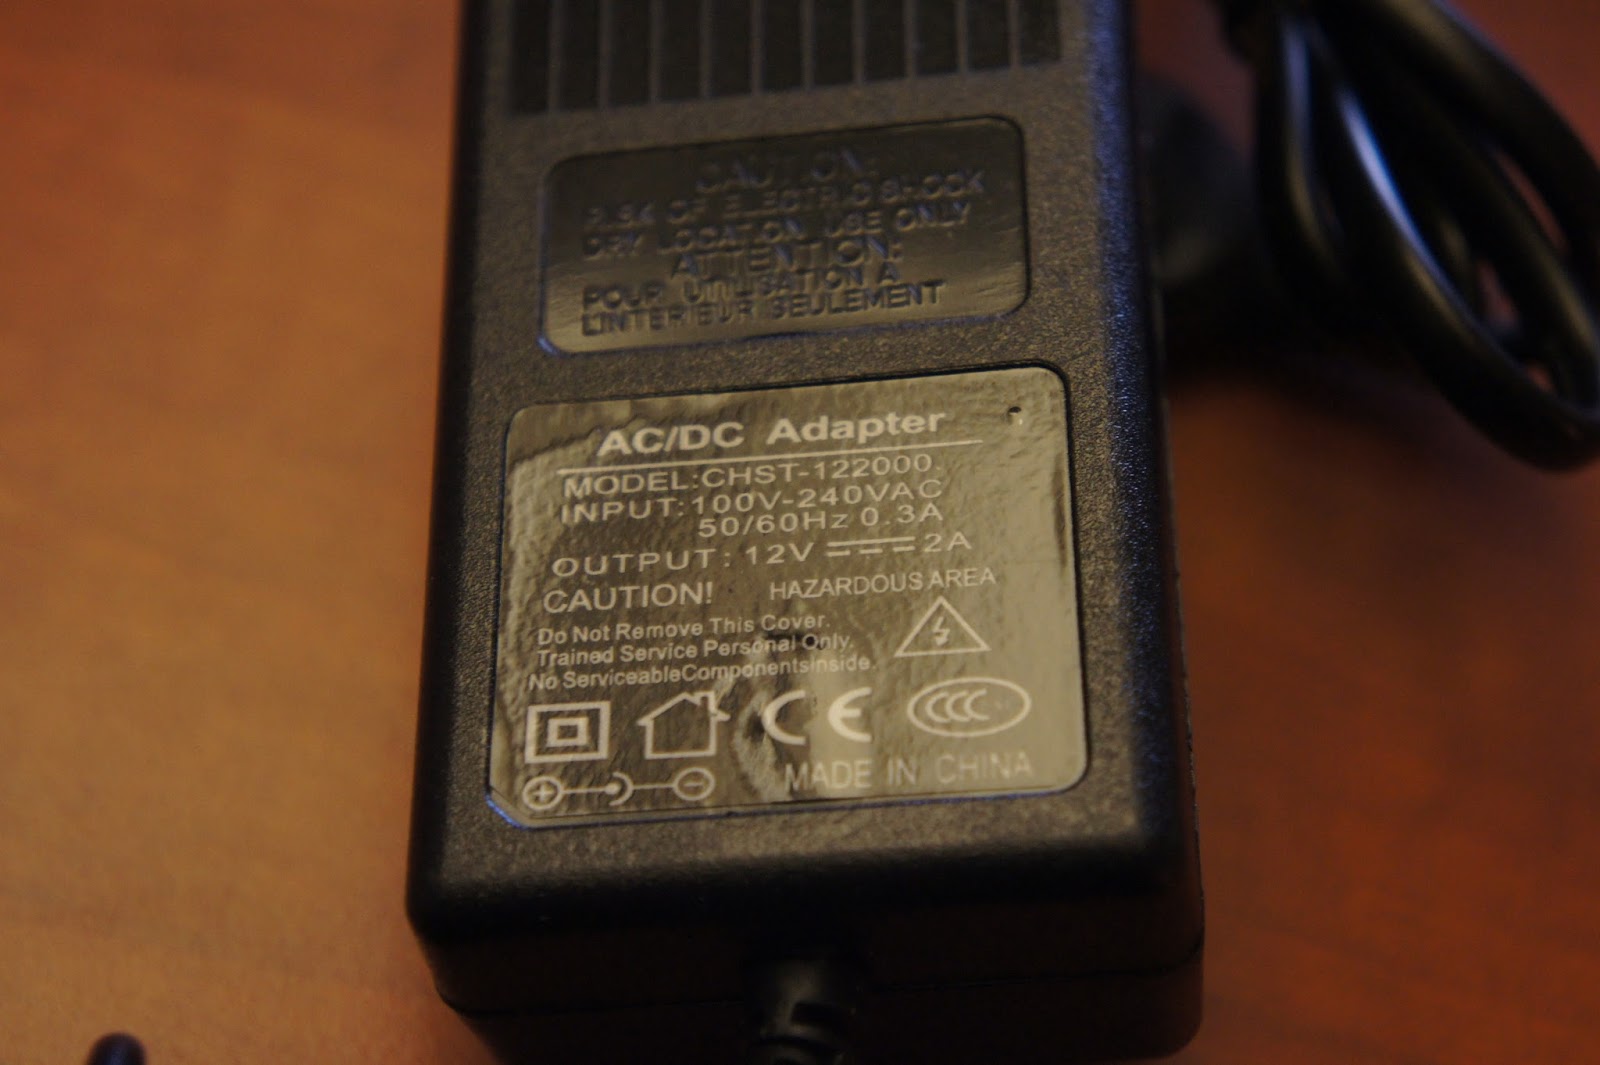
 Bottom side without the mounting arm/bracket
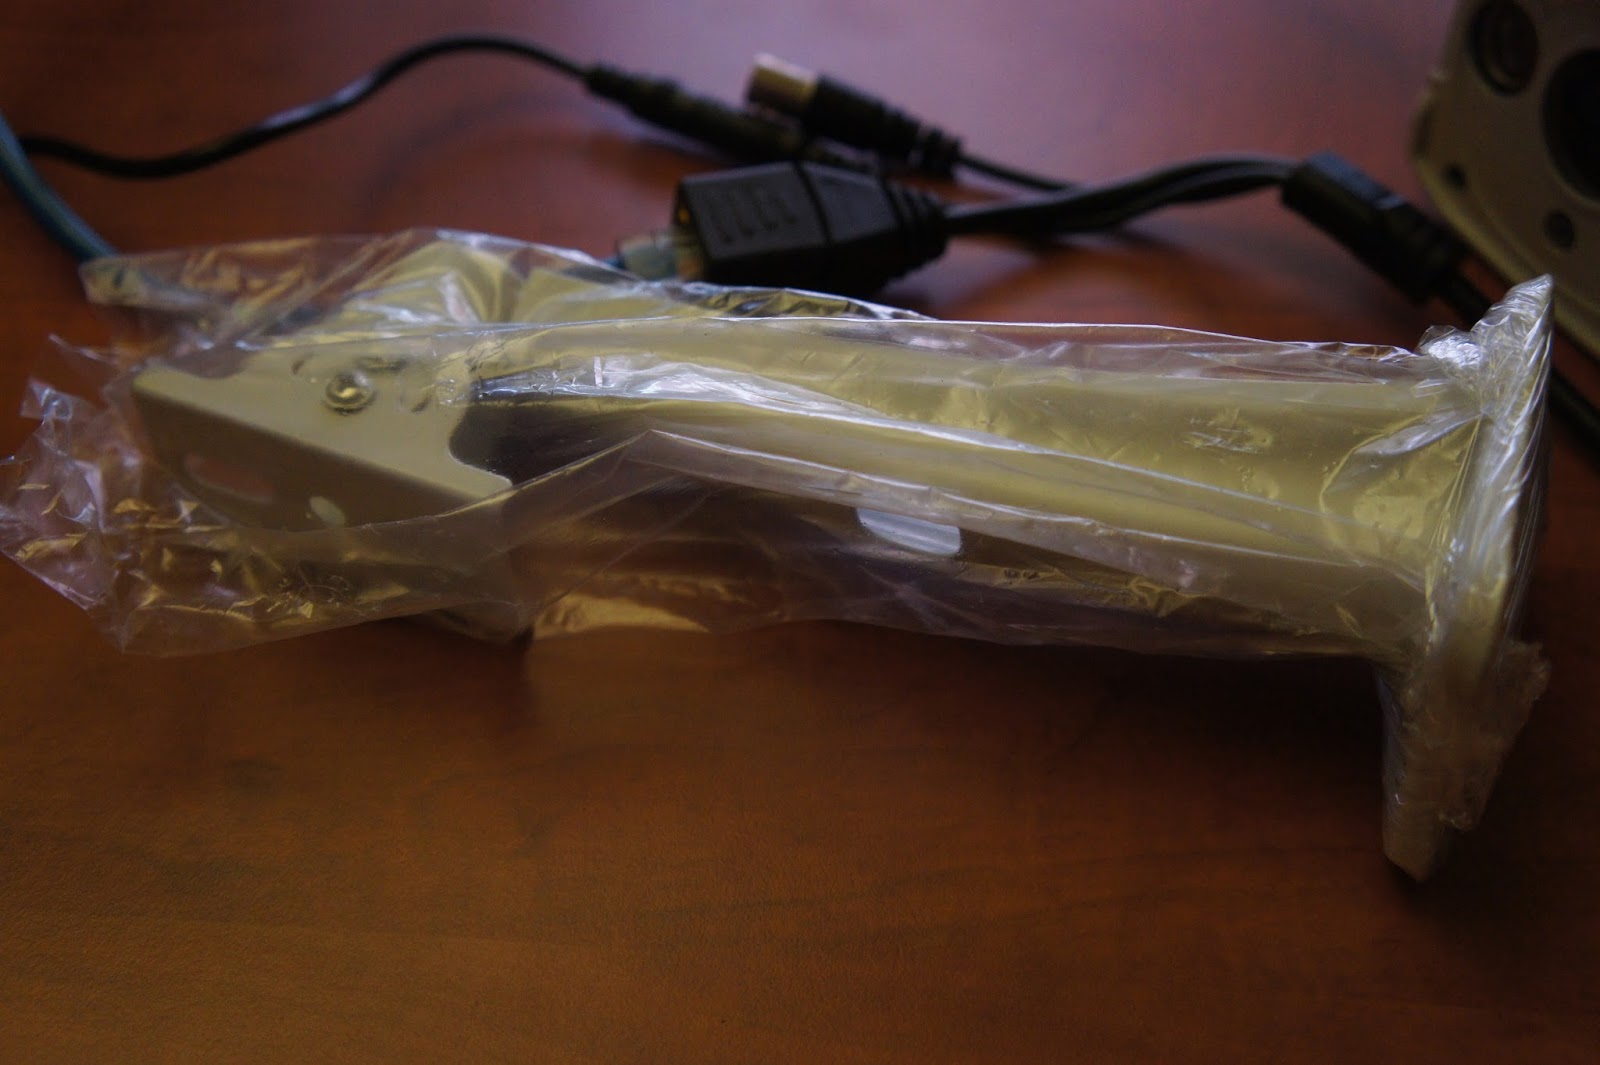 The arm/bracket
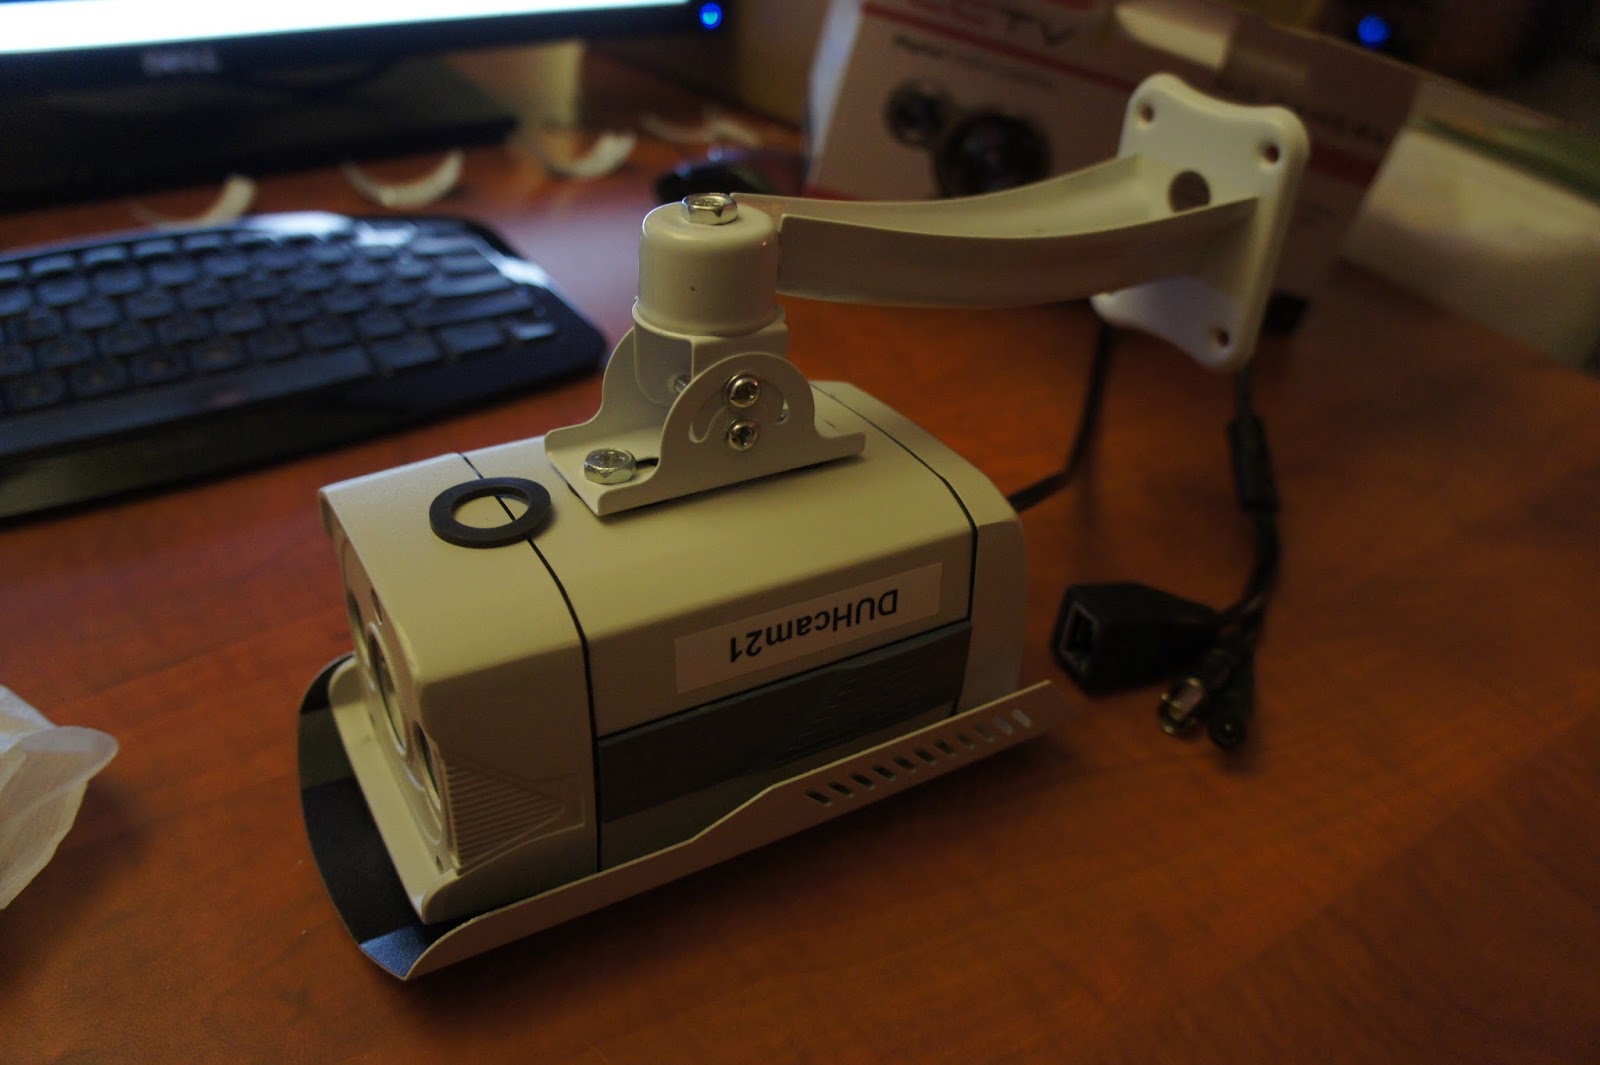 The washers I used
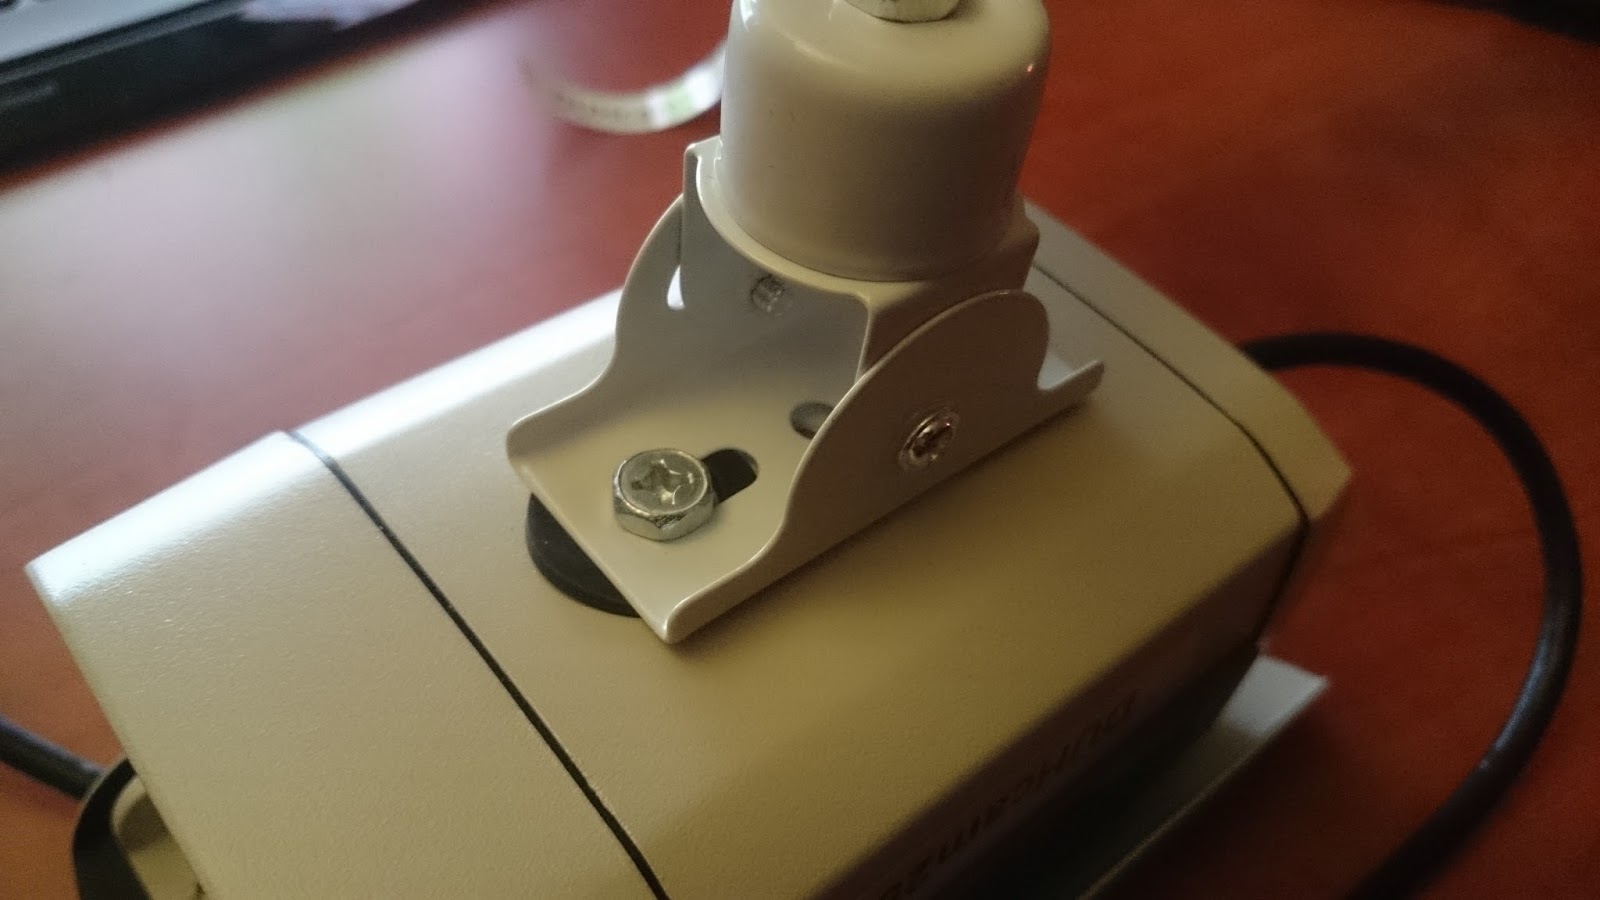 Here you can see how I inserted the washers in between the camera and the arm/bracket. This makes for a very snug and nice fit
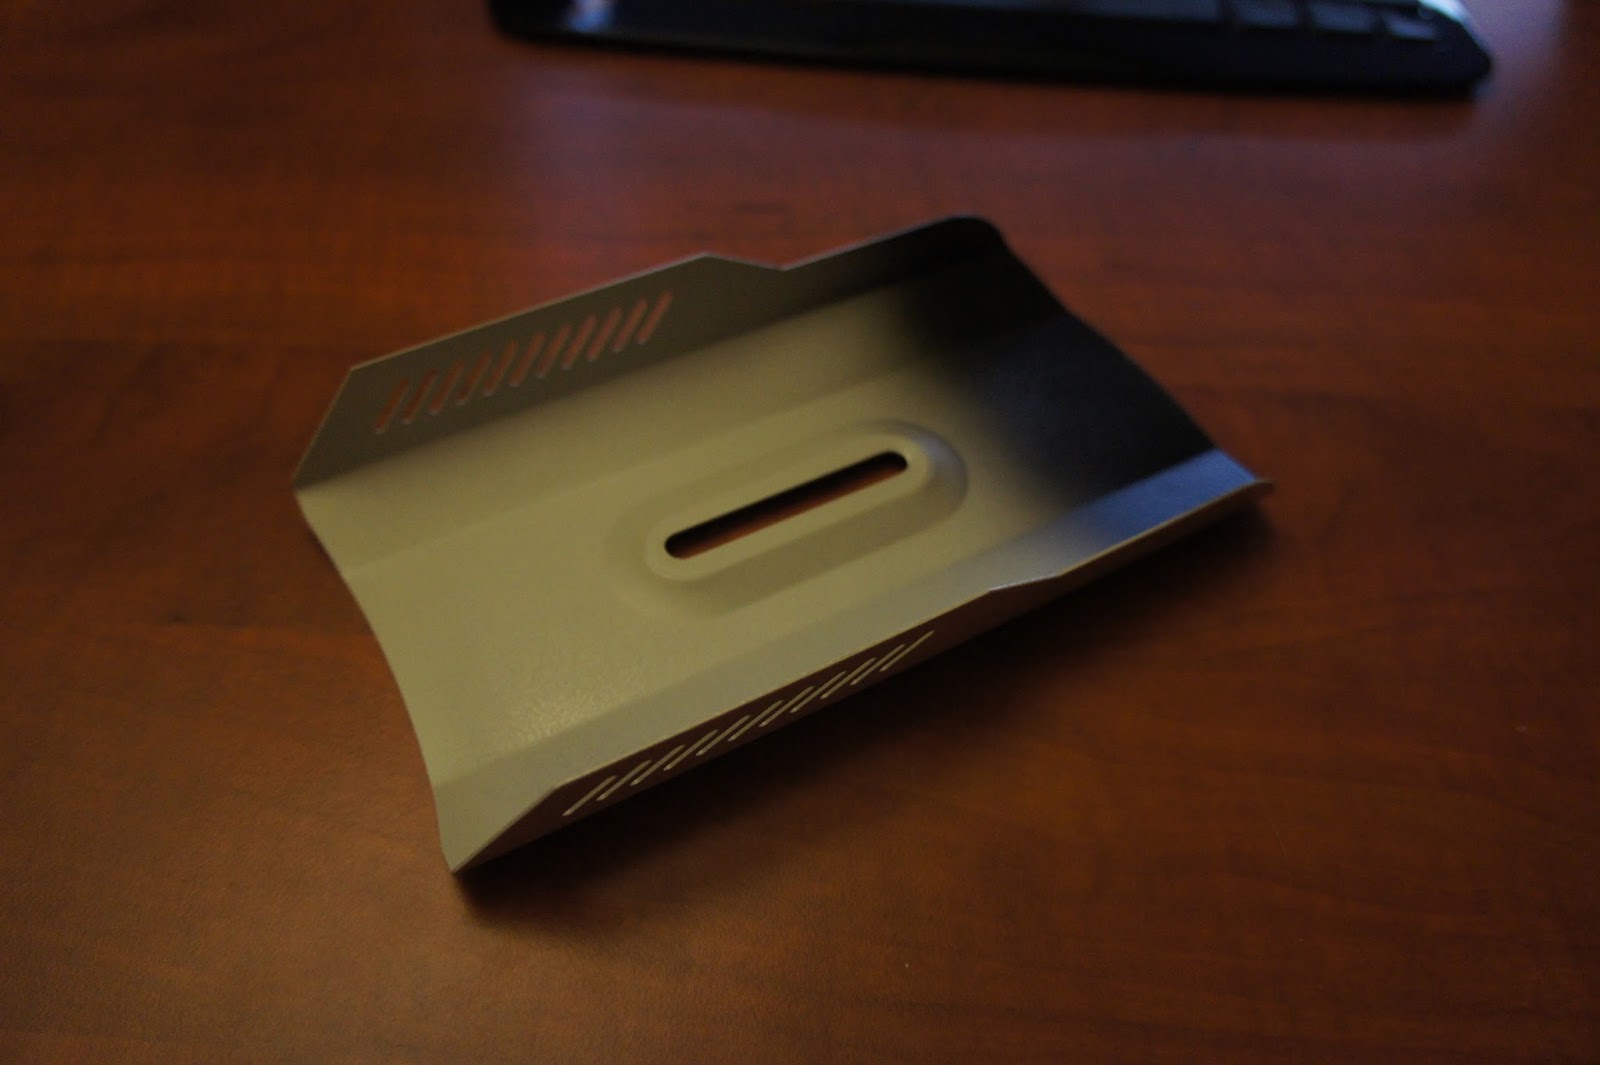 The sun cap. You can see the front has been painted black to prevent reflections (comes this way from AOTE)
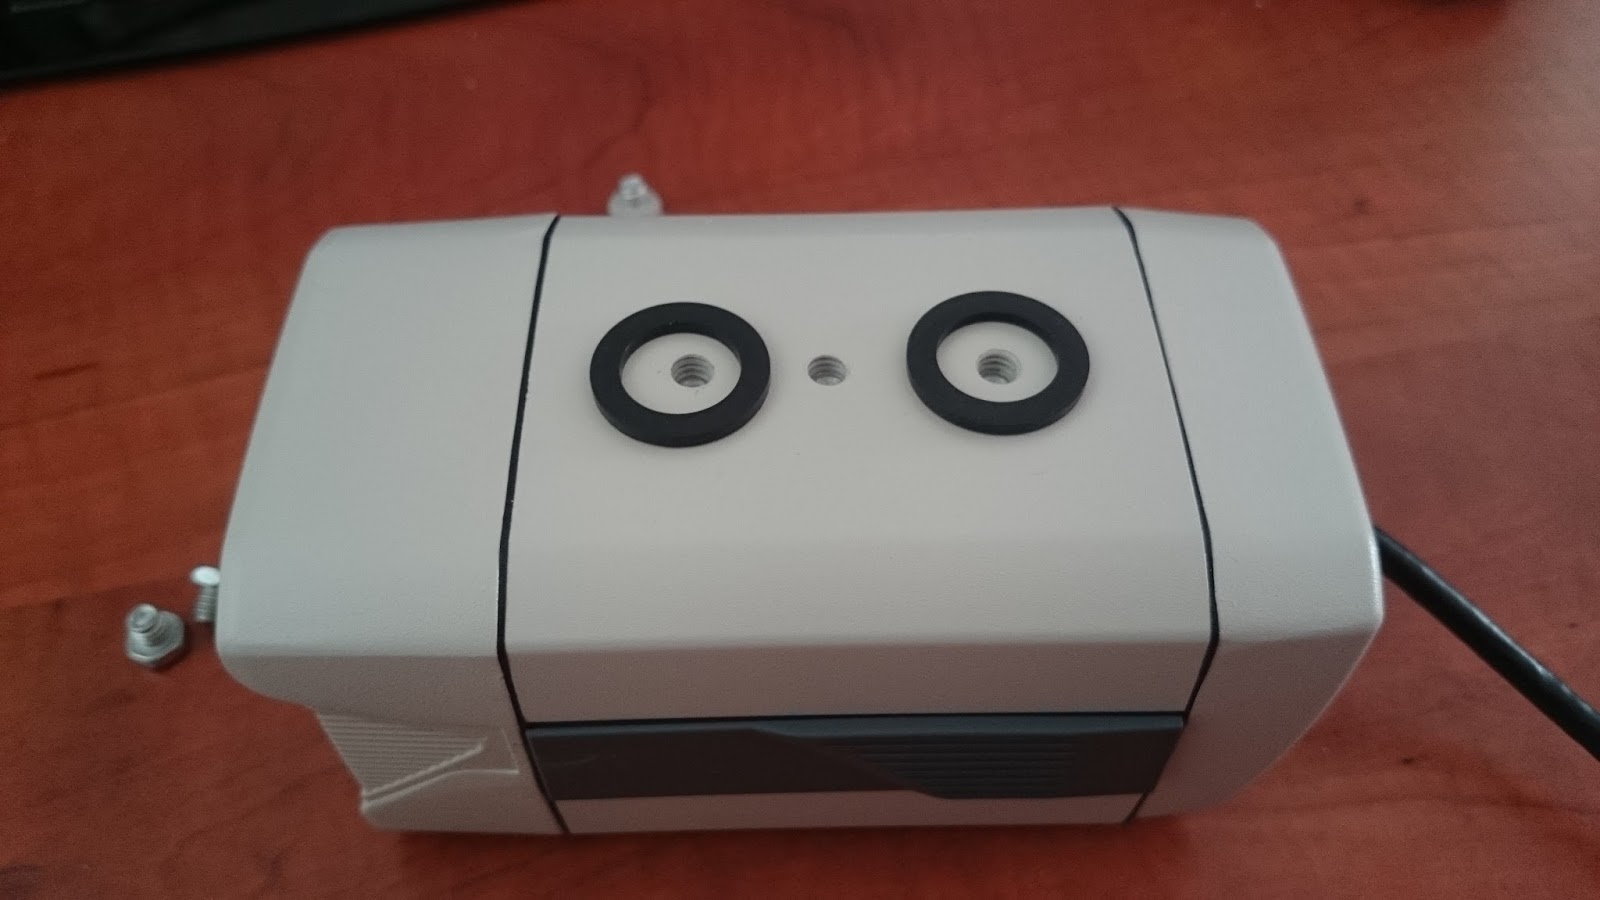 Washers laid out
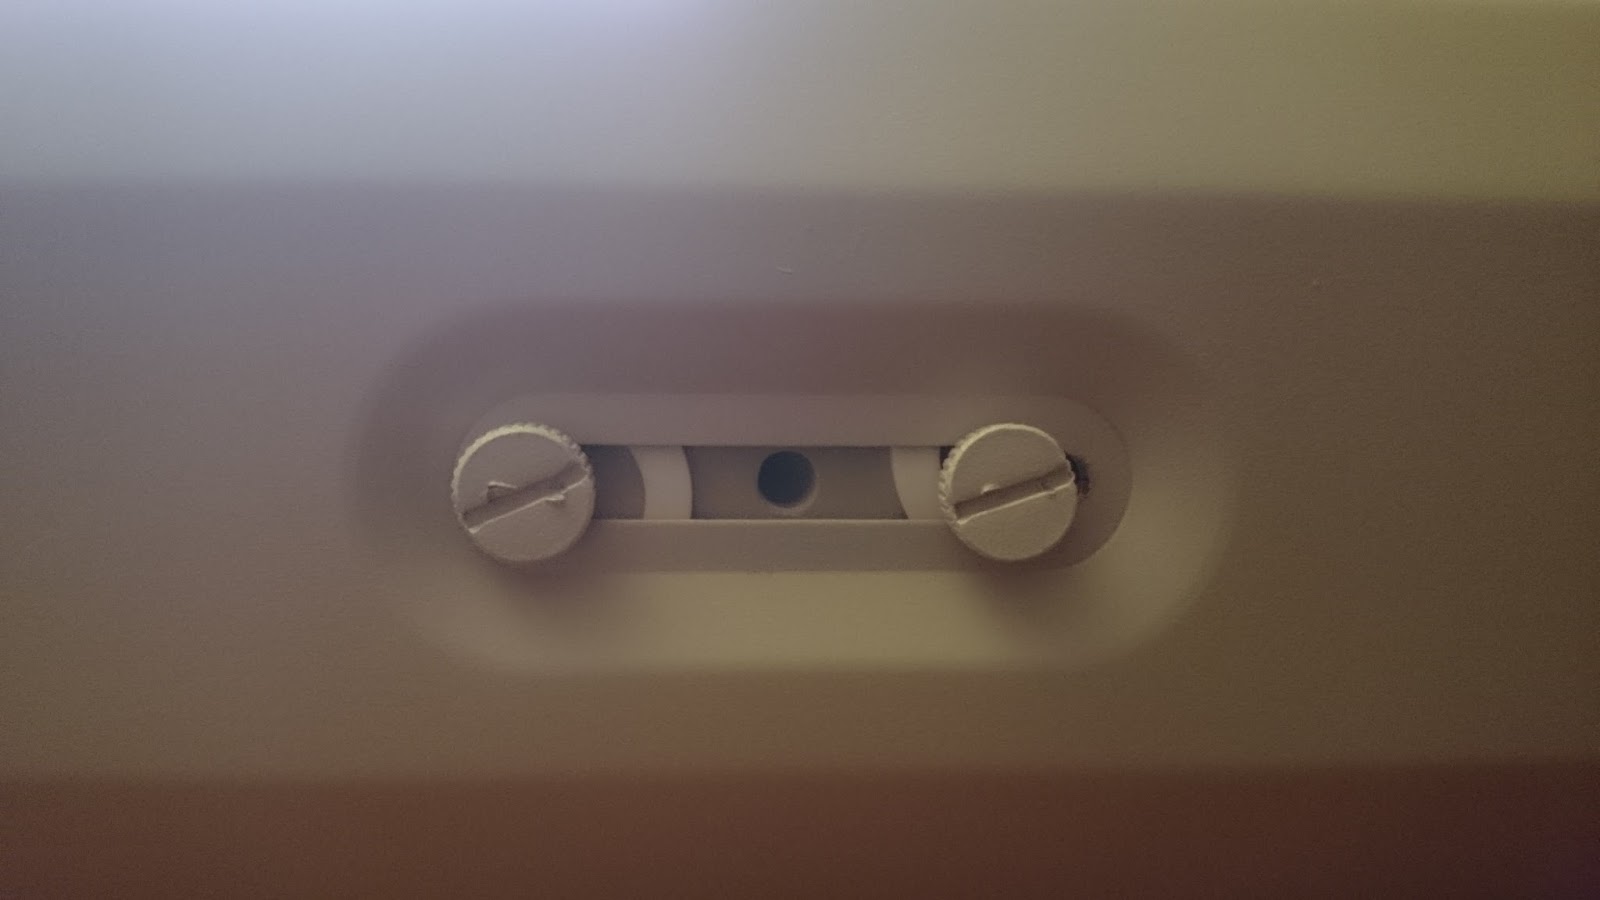 Sun cap installed
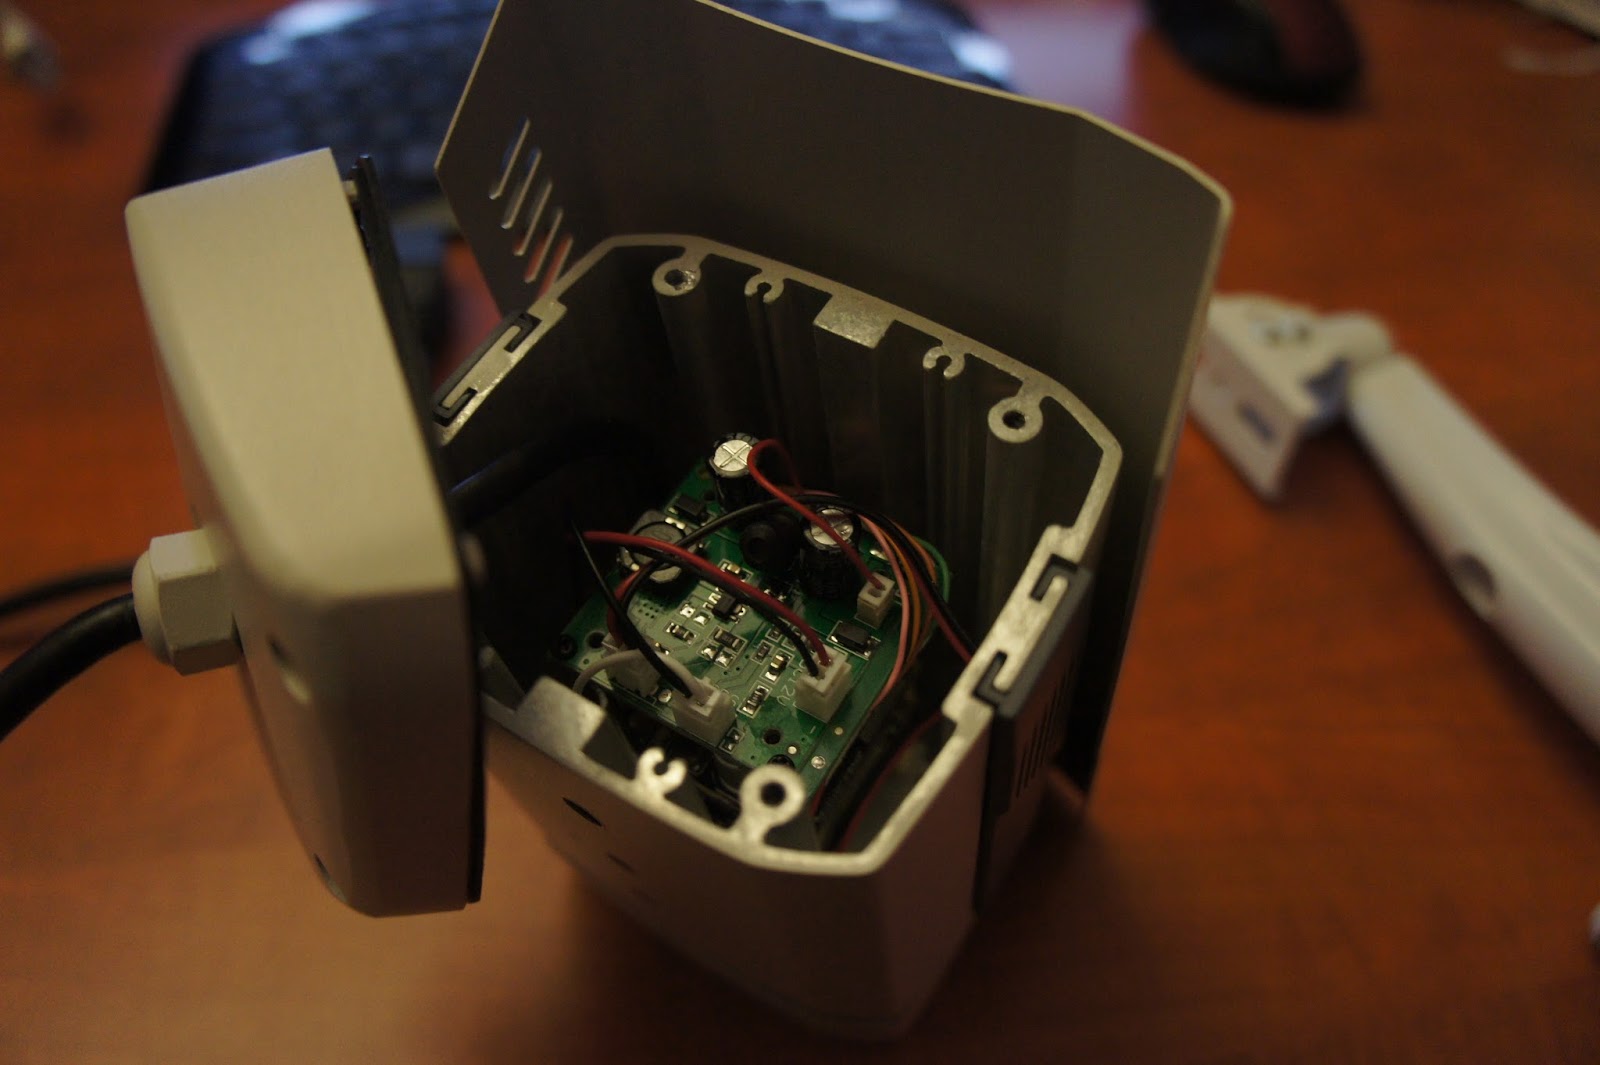 I had one camera that was rattling and missing a screw so I decided to open it up. This is viewed from the back. The board visible is the POE board I believe
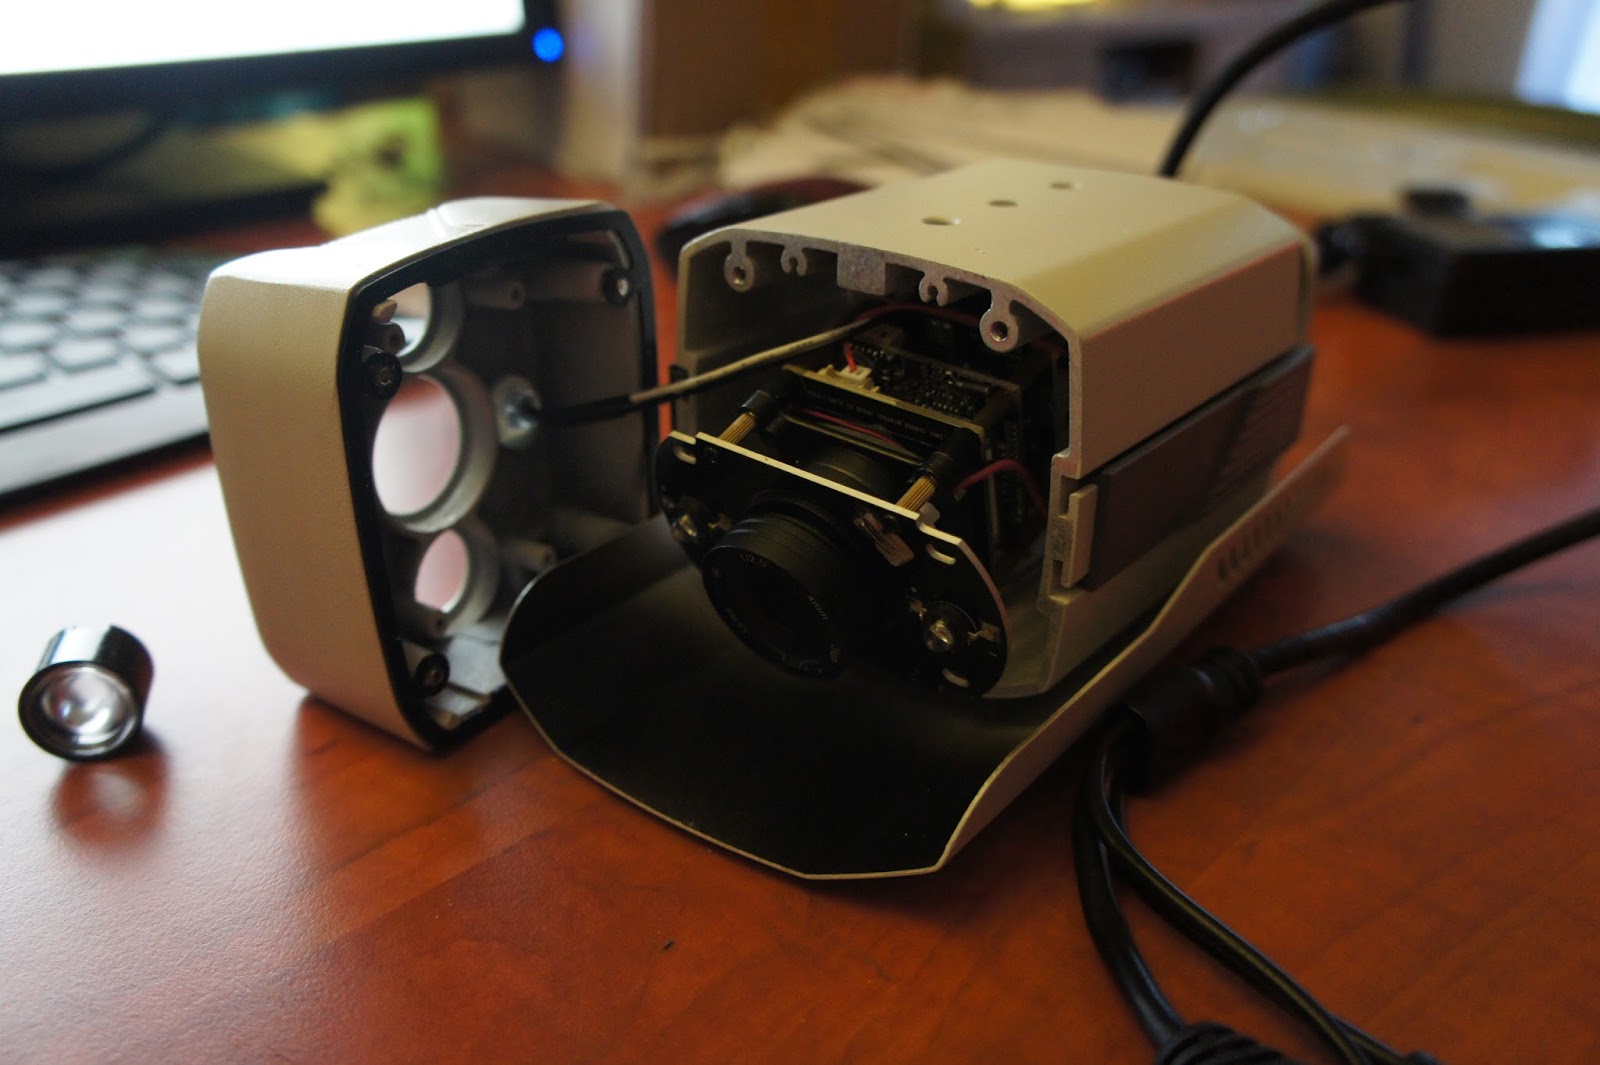 View from the front
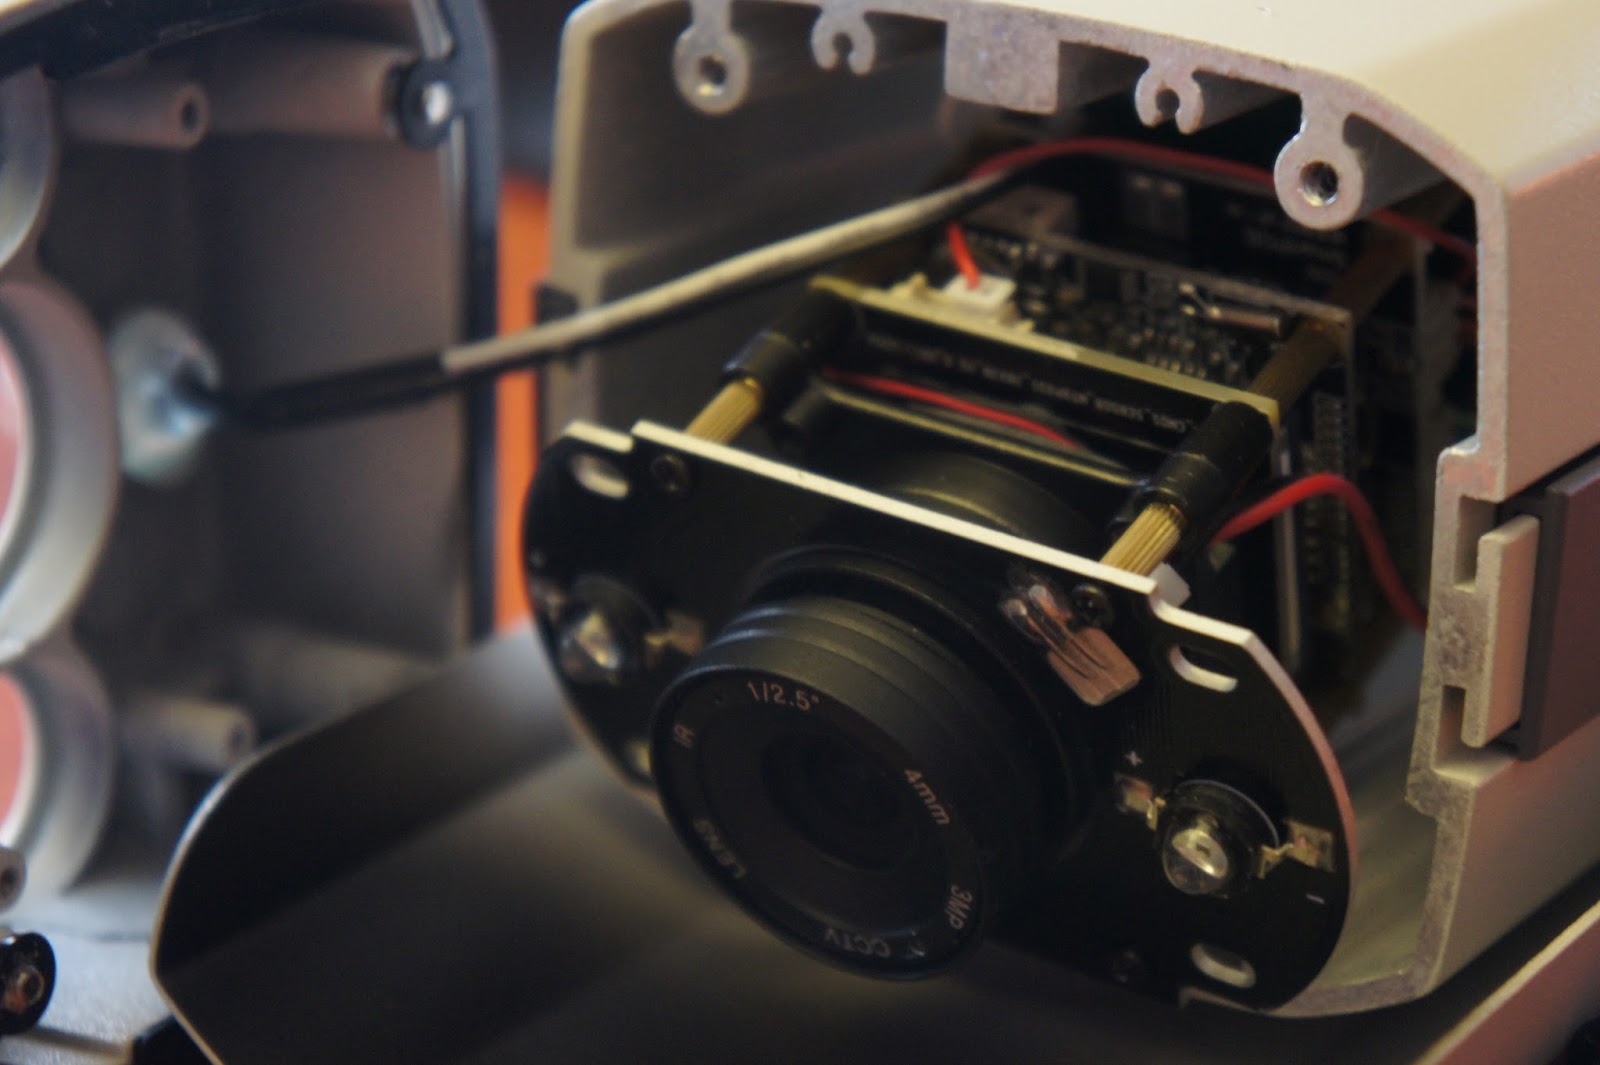 The camera is made up of several boards on a sort of stack of metal pillars
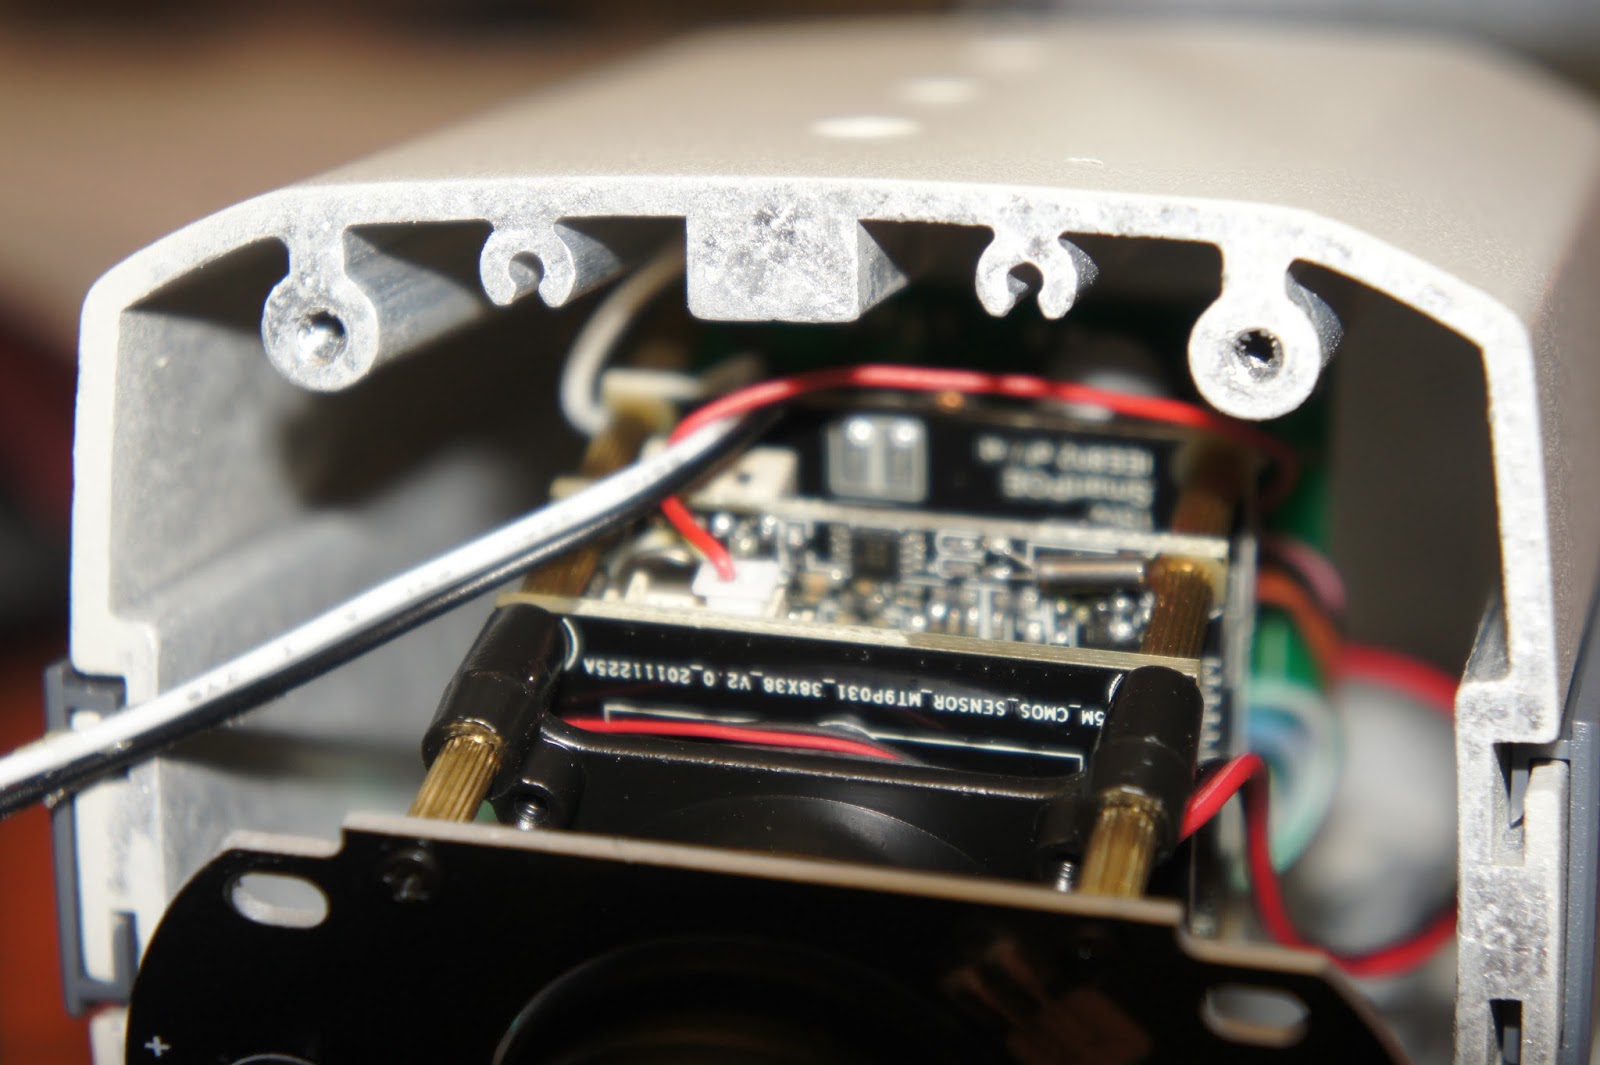 A board ID visible
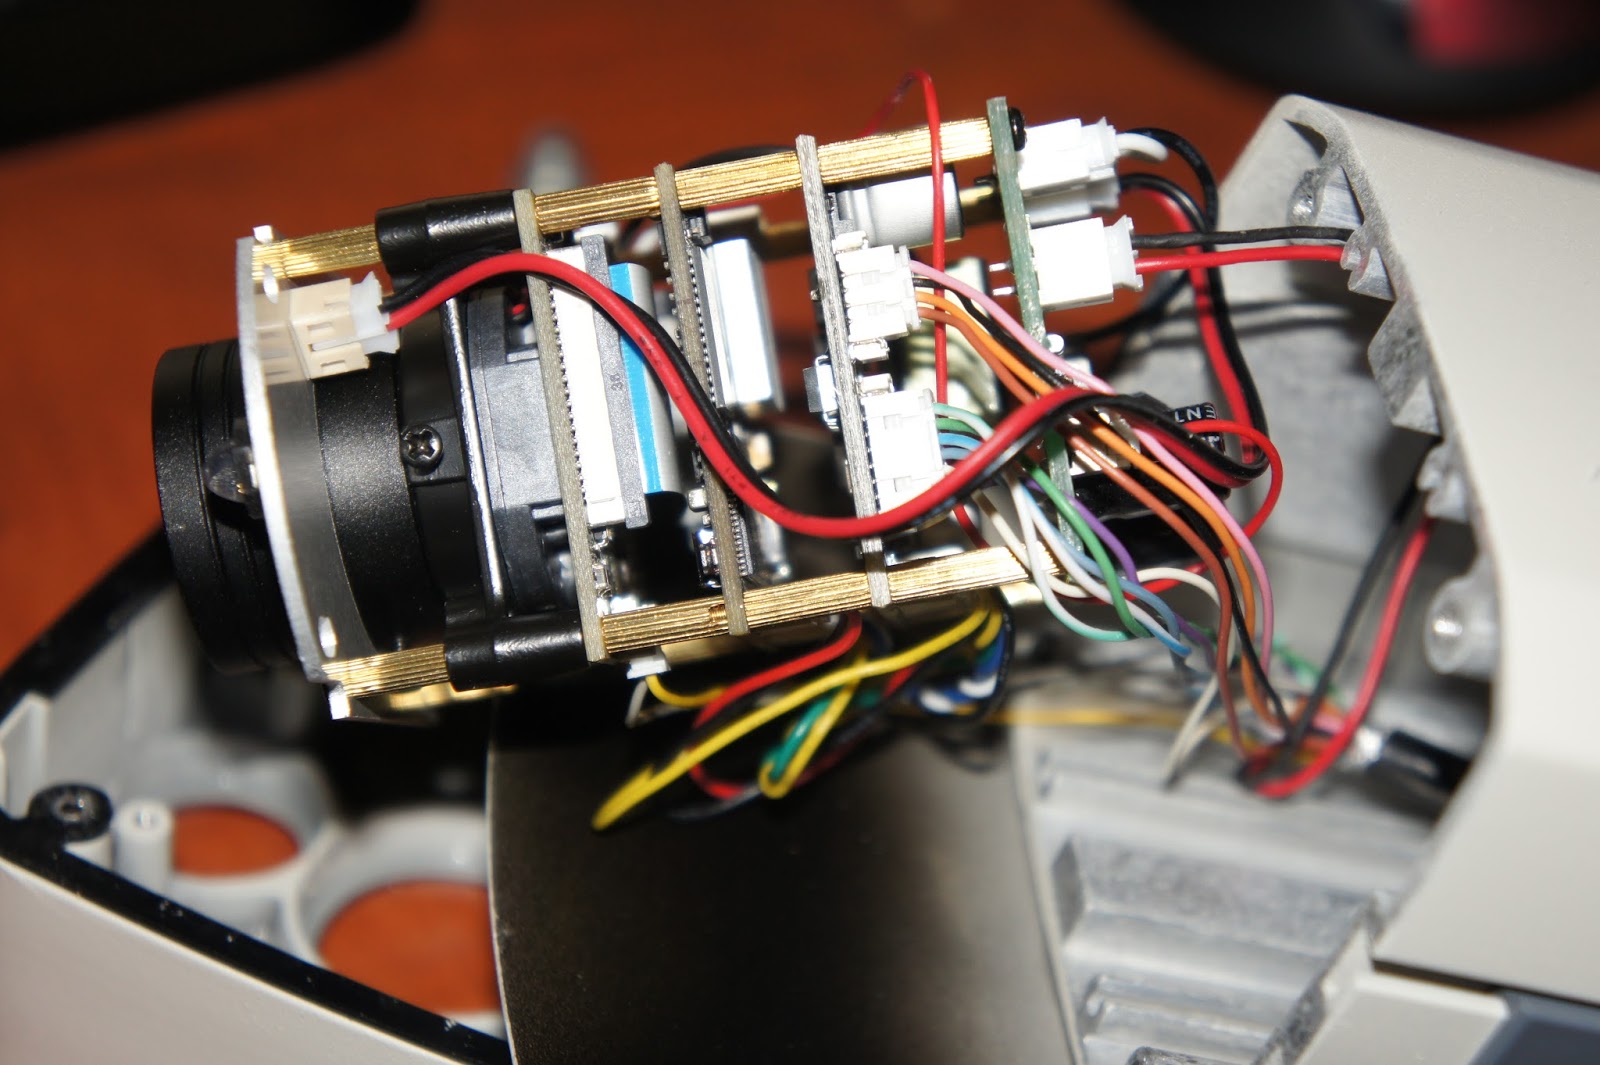 The stack visible. From front to back you see the lens mount, CMOS sensor board, processing board, power board and last the POE board
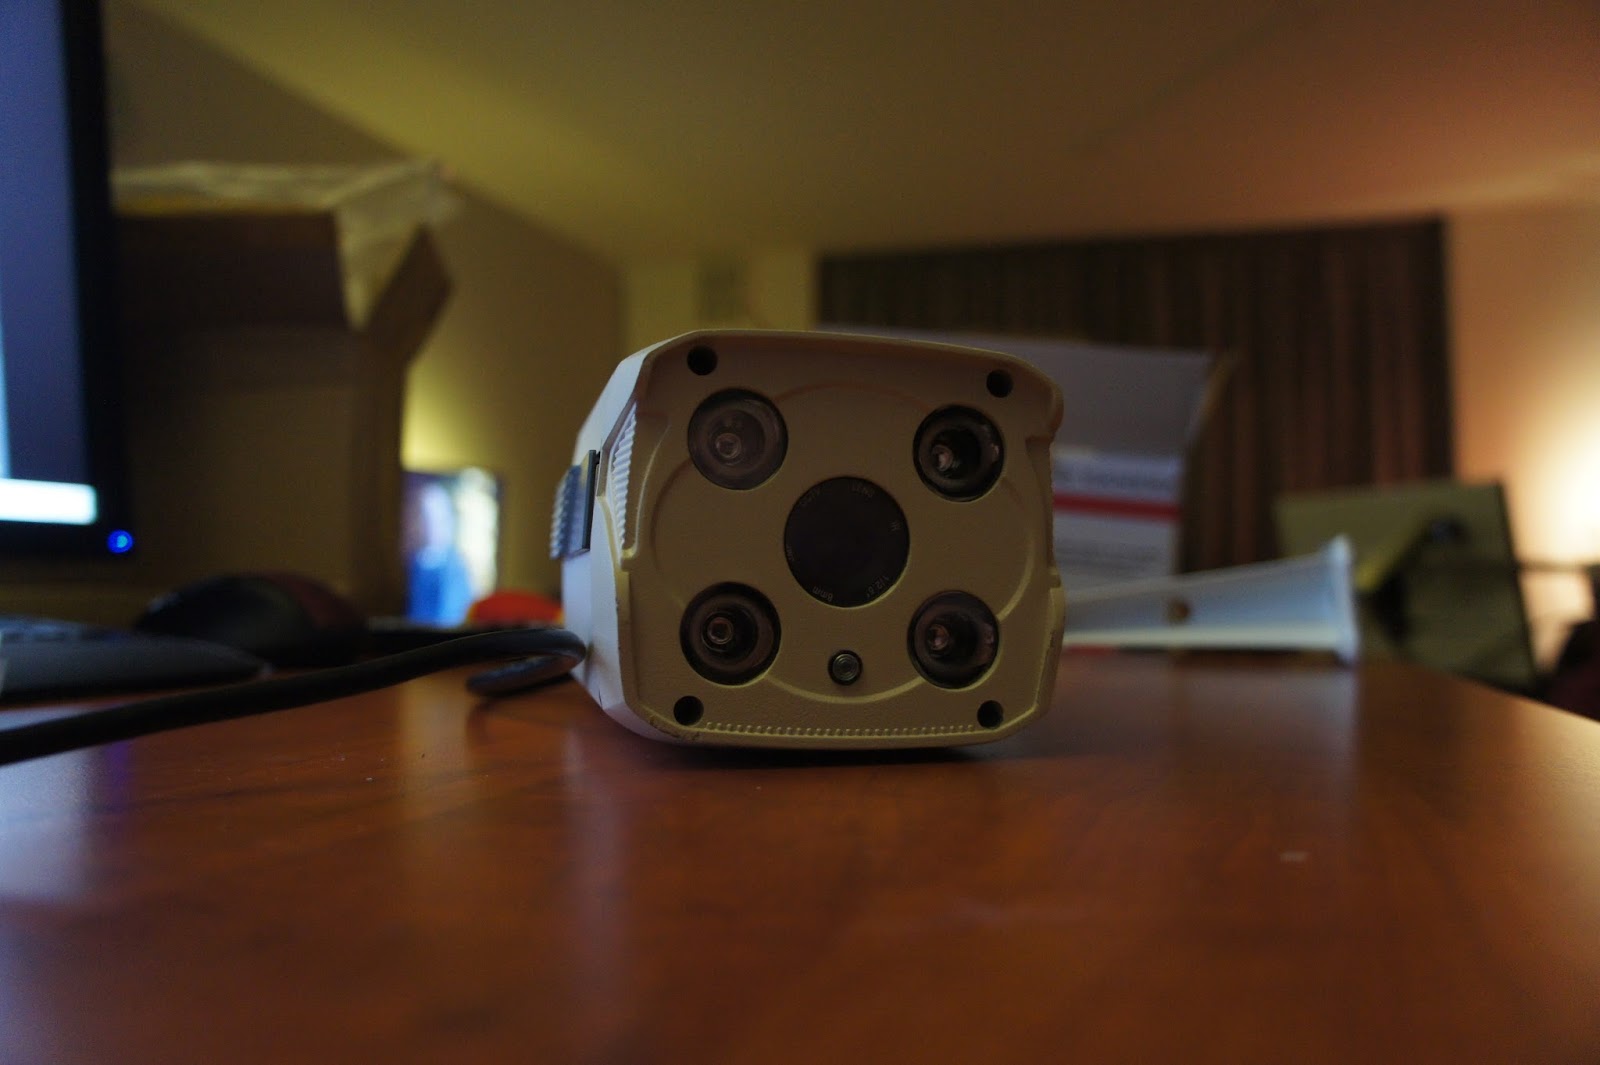 Front of the camera, 4 IR blasters, one in each corner
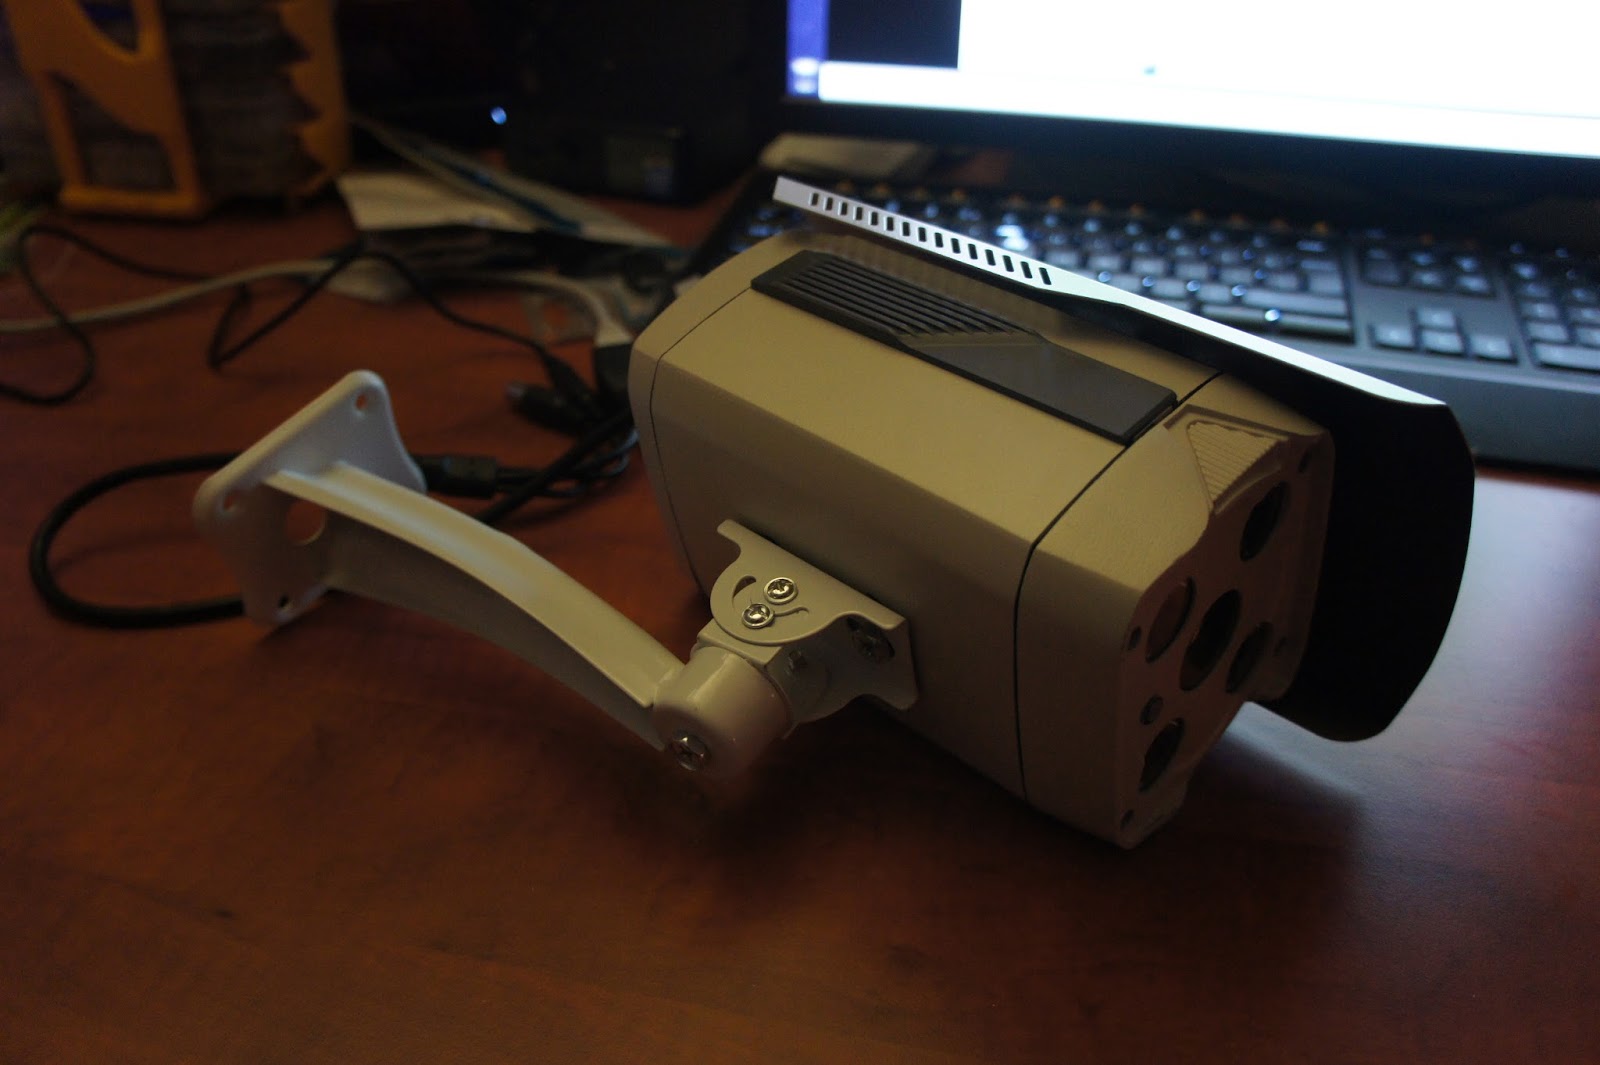 With the arm/bracket
 Next to it’s smaller brother
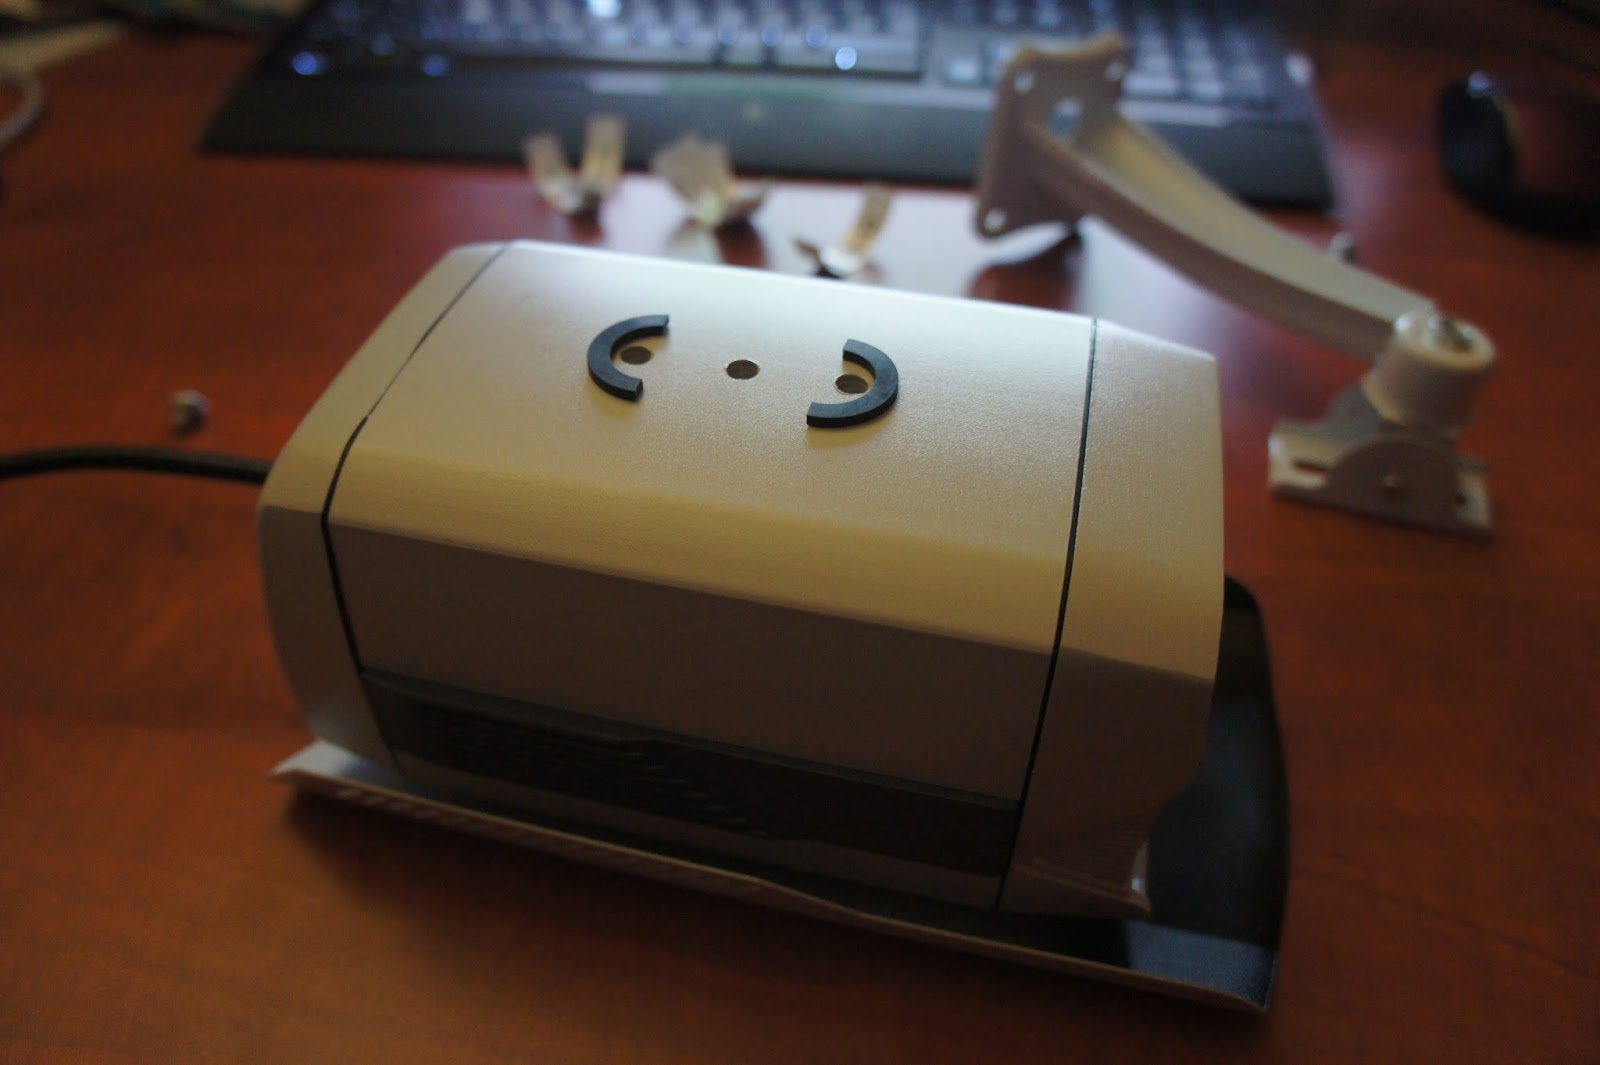 Again, use some rubber grommets to mount the arm/bracket and the sun cap
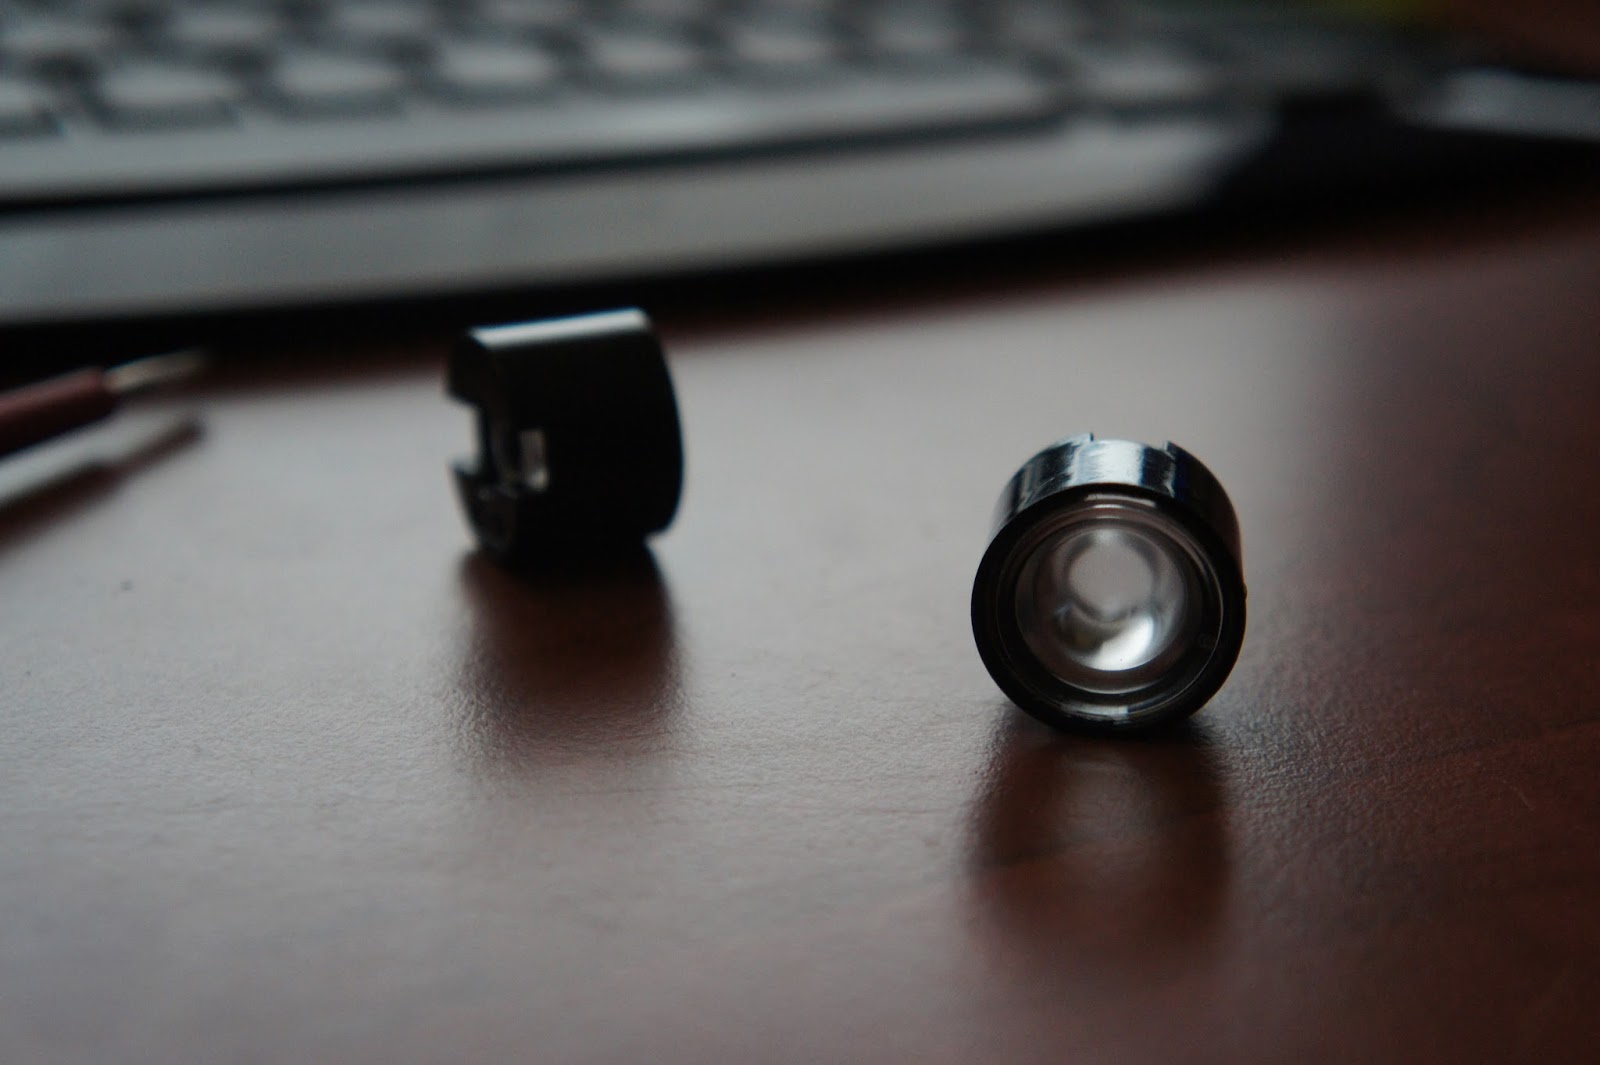 One of the IR blaster lenses
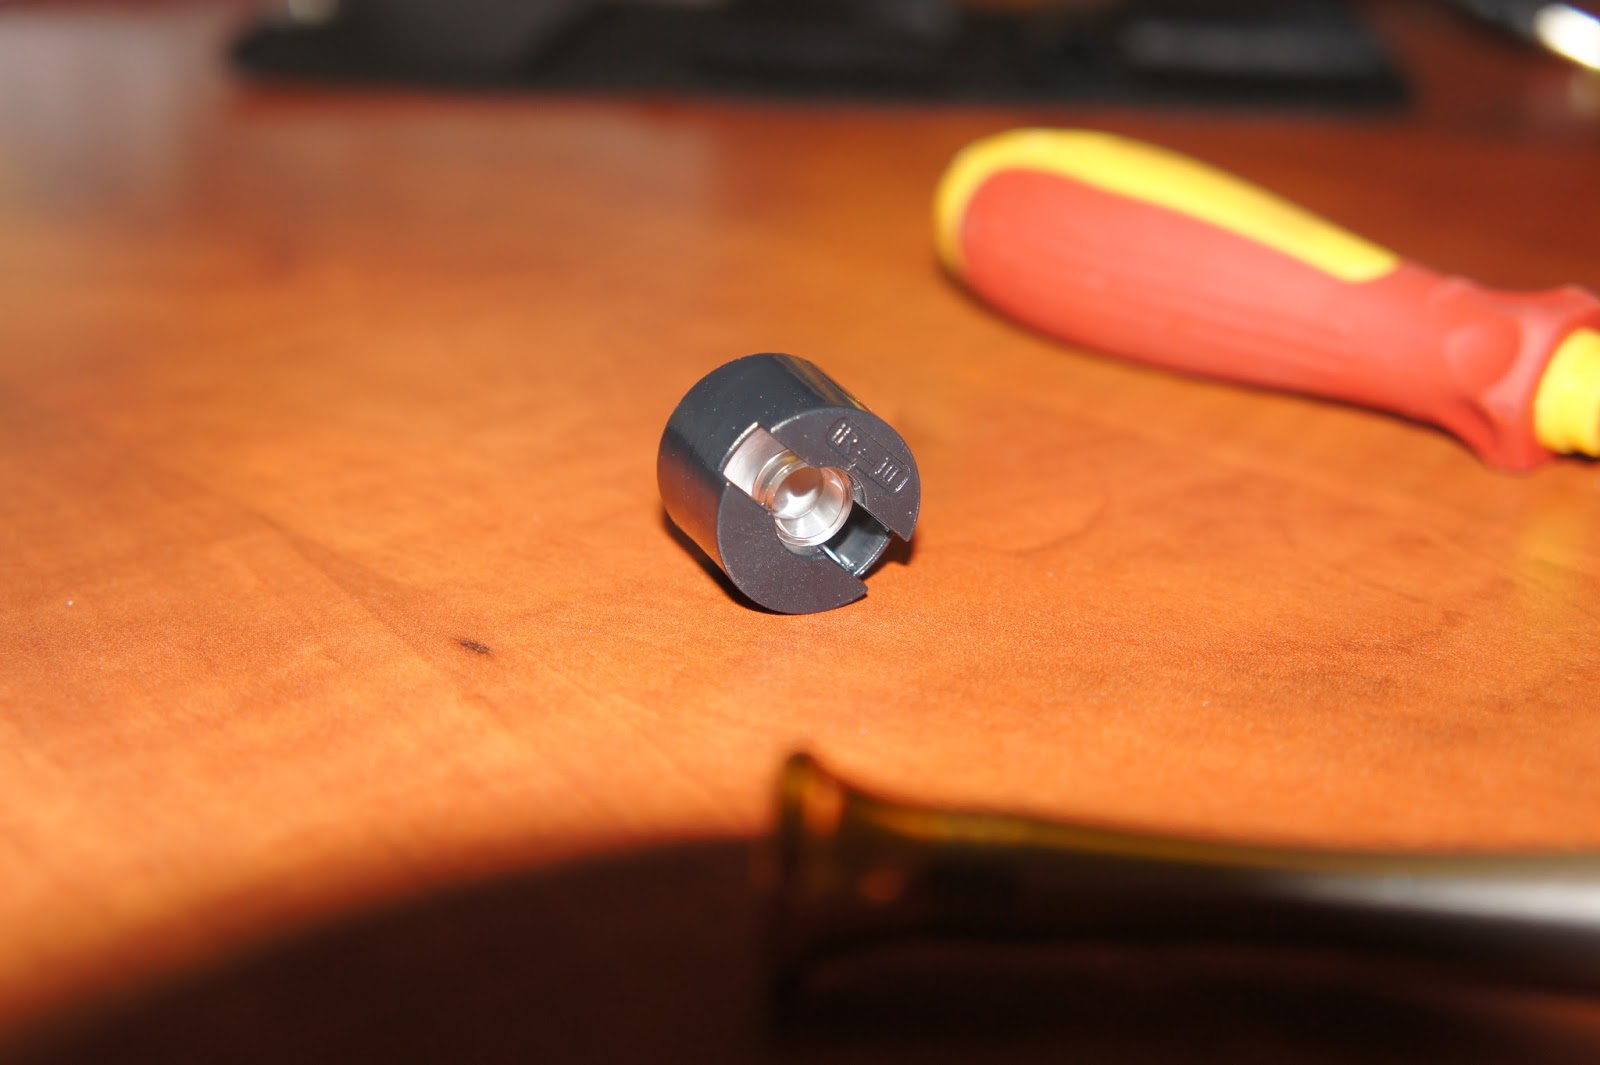 IR blaster lens
thank's for this preview, amazing.