I have been using the Honeywell Evohome system in our house for multi-zone underfloor heating since it’s we’ve moved in. I’ve also been having issues with this system since that time and it’s cost me a lot of work to get it to do what it should do and I’m really fed up with it!
–update 2020-08
I have since also published a video and article about new 4$ sensors!
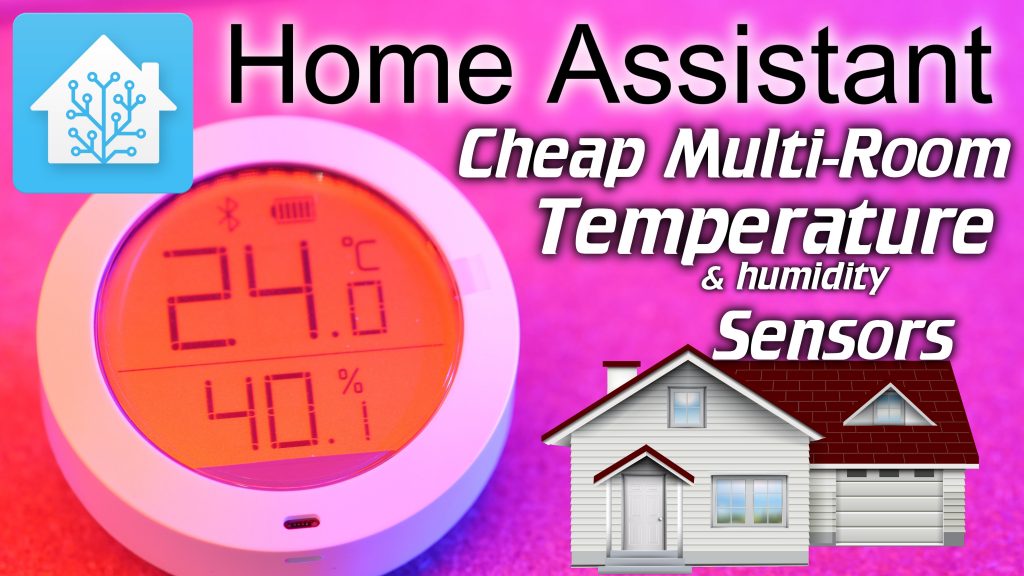
This video is the first step into replacing that system! In this video we’re going to set up an easy to configure and cheap multi-room temperature sensing system with Home Assistant at its heart.
Video about setup
This post is the text portion that accompanies the main part which is in the video, please watch it first, the video refers to this blog post where needed!
Shopping links
During the video I use certain hardware, here is a list of the hardware that I used. These are affiliate links and help me out! 😀
- Xiaomi Mijia Temperature and Humidity sensor: https://geni.us/Tr2RpJH
- New e-ink versions:
- Same round size: https://geni.us/eJIB
- Bigger rectangular model: https://geni.us/JBWKR
- New e-ink versions:
- MH-ET Live ESP32: http://geni.us/4OZdAj
- or Wemos D32 Mini: https://geni.us/9aXV
- Good Micro-USB cable: https://geni.us/4Yqui9t
- Good Phone charger that can deliver 5v 2A (10w) on a single port: https://geni.us/TiSqB
*The power bank charger combo used in the video isn’t for sale anymore it seems
ESPhome
ESPhome is the awesome software used to achieve the Bluetooth -> Home Assistant bridging of the temperature, humidity and battery level data.
It’s an easy way to create firmware that runs on an ESP8266 or ESP32.
Check it out on https://esphome.io !
Text bits
During the video I refer to the following bits:
Scanner configuration:
esphome:
  name: 'vidtemp'
  platform: ESP32
  board: mhetesp32devkit

wifi:
  ssid: 'WIFI SSID'
  password: 'WIFI PASSWORD'

api:

web_server:
  port: 80

logger:

ota:
  password: 'OTA PASSWORD'

# Enable Bluetooth scanning for this ESP32
esp32_ble_tracker:
Remember to change the name to the name you also used in ESPhome and change the WiFi SSID, WiFi PASSWORD and OTA PASSWORD to what you are using in your configuration!
Full configuration:
For the full configuration we only add to the above configuration. So paste the following below what was already there:
sensor:
  - platform: xiaomi_mijia
    mac_address: XX:XX:XX:XX:XX:XX
    temperature:
      name: "Sensor_1 Temperature"
    humidity:
      name: "Sensor_1 Humidity"
    battery_level:
      name: "Sensor_1 Battery Level"

  - platform: xiaomi_mijia
    mac_address: XX:XX:XX:XX:XX:XX
    temperature:
      name: "Sensor_2 Temperature"
    humidity:
      name: "Sensor_2 Humidity"
    battery_level:
      name: "Sensor_2 Battery Level"
Here you will need to replace the XX:XX:XX:XX:XX:XX with the actual MAC addresses of the Xiaomi Mijia meters. In the video I show how to do this using the scanner configuration.
Update: Auto daily reset
–2019-05-26
Since posting this article and video I’ve become aware that the ESP32 still isn’t 100% stable while using bluetooth yet. Although it can run fine for weeks, at some point it might stop receiving bluetooth information.
For this I have added some code to the above example which resets the ESP32 module every 24Hrs, doing this I haven’t had any issues anymore and I have always had my temperature and humidity information!
I’m hopeful these bugs in the ESP32 Bluetooth stack will be fixed in the future but for now this is a workable workaround.
You can add this to your configuration as follows:
time:
  - platform: homeassistant
    on_time:
      - seconds: 0
        minutes: 0
        hours: 4
        days_of_week: MON-SUN
        then:
           - switch.toggle: restart_switch

switch:
  - platform: restart
    name: "test_temperature Restart"
    id: restart_switch
–update 2019-06-08
Changed the name of the switch id because a newer version of ESPhome would error using the “restart”name.

