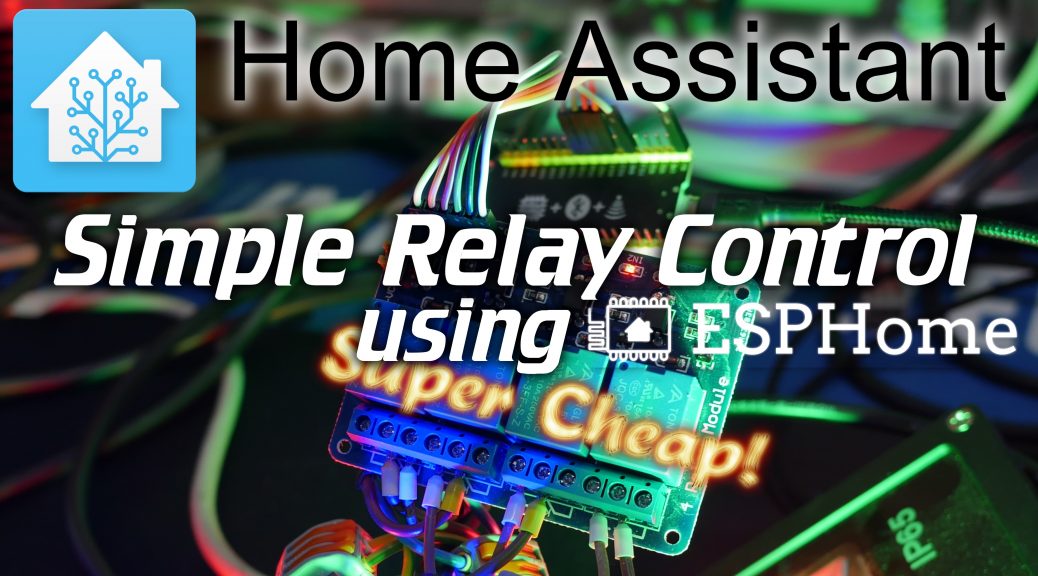
To further my quest in replacing my underfloor heating controller with self built Domotica today I’m taking a look at some ultra cheap Chinese relay boards to see if they could work in case (spoiler, they are great!)
It’s a video again
As it common by now I made a video about the whole setup including how to hook it up and configure it! Check it out. 🙂
Shopping links:
MH-ET Live ESP32: http://geni.us/4OZdAj
or
Wemos D32 Mini: https://geni.us/9aXV
Good Micro-USB cable: https://geni.us/4Yqui9t
Good Phone charger that can deliver 5v 2A (10w) on a single port: https://geni.us/TiSqB
1x, 2x, 4x or 8x Relay board with Optocoupler and 3.3v trigger: https://geni.us/dRYwMJK
ESPhome
I think the video explains most things pretty clearly. As mentioned in the video if you don’t know how to create, compile and upload the ESPhome code, check out my previous temperature and/or tuya power plug videos which show you the process in detail!
ESPhome code
In the video I do refer to some ESPhome code, here it is:
esphome:
  name: relaynode
  platform: ESP32
  board: mhetesp32devkit

wifi:
  ssid: 'WIFI NETWORK'
  password: 'WIFI PASSWORD'

# Enable logging
logger:

# Enable Home Assistant API
api:
  password: 'HA API PASSWORD'

ota:
  password: 'OTA PASSWORD'

web_server:
  port: 80

switch:
  - platform: gpio
    name: "test_lights_deca Onboard light"
    pin: 2
    inverted: True
    restore_mode: RESTORE_DEFAULT_OFF

  - platform: gpio
    name: "Relay_1"
    pin: 25
    inverted: True
    restore_mode: RESTORE_DEFAULT_OFF

  - platform: gpio
    name: "Relay_2"
    pin: 26
    inverted: True
    restore_mode: RESTORE_DEFAULT_OFF

  - platform: gpio
    name: "Relay_3"
    pin: 27
    inverted: True
    restore_mode: RESTORE_DEFAULT_OFF

  - platform: gpio
    name: "Relay_4"
    pin: 14
    inverted: True
    restore_mode: RESTORE_DEFAULT_OFF


Please don’t mind the noob question. But what changes should I make to use a, let’s say, 8 or 16 relay board?
Each relay is connected to a single GPIO pin so if you want to use more relays (on the same board or multiple boards) you just need to add more GPIO connections between the relay board and the ESP module. In the code you then copy the relay lines and add the GPIO pins used for the additional relays and they will automatically appear in Home Assistant!
Have you done a video or blog on your node-red settings for your heating project, assuming you have a relay for your pump as well as individual valves.
Brilliant project by the why, I started looking for a simple thermostat replacement for one room but this may turn into a replacement for the underfloor system in the rest of the house. Great work
I’m running a bit behind on that project but I did recently make some progress on it. I have a Node-Red sketch which mostly works but still needs some tweaking though. Still, certainly not forgotten en will come in time! 🙂
Any update on this? I’m actually planning on doing the exact same thing in my house with floor nesting, except I still got a regular CV 😉
Wonderfull, exactly what I was looking for, It would be great if we can add a manual switch to it, possible?
Thanks for the writeup. I am working on using this style hardware setup for a diy irrigation valve controller. Got tired of the lack of control and schedule customization in most lower cost watering timers. I’ll re-task the esp32 off the dig-quad i bought for holiday leds until november.