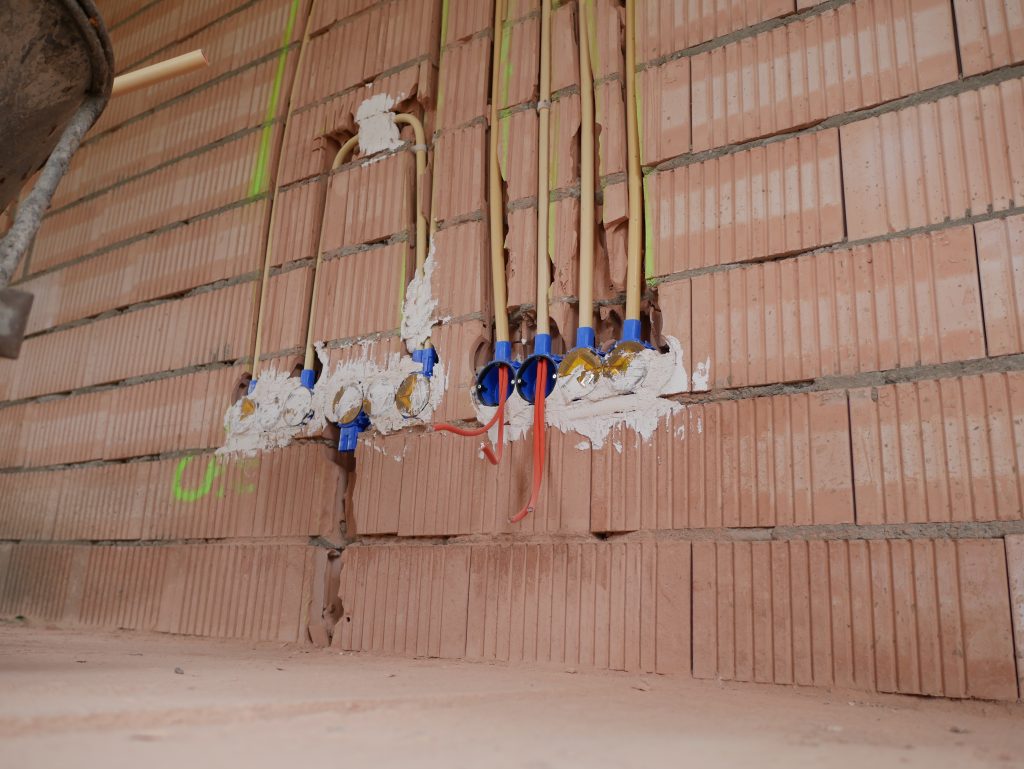
As mentioned in the previous Home Networking video, the house was almost ready for running the networking cables through the walls. This will be the first post about that, and focus on what tools you need to perform the job!
Multi-part series/tutorials
Because there is a lot of content to cover in regards to pulling networking cables through your home, I’ve split this series up into multiple parts.
This will be Part 1!
- Tools needed to run network cable through the house
- What type of network cable do you need?
- Running network cables through your walls
- Terminating network cables into keystones
That’s enough for now, I might expand the series with more parts in the future!
Video
I’ve tried my best to make my best video yet! Let me know what you think, on here or on YouTube, comments are always welcome!
What do you need?
When getting everything ready I believe it can be handy to have a complete list instead of having to watch the video several times.
DIY Easy cable roller
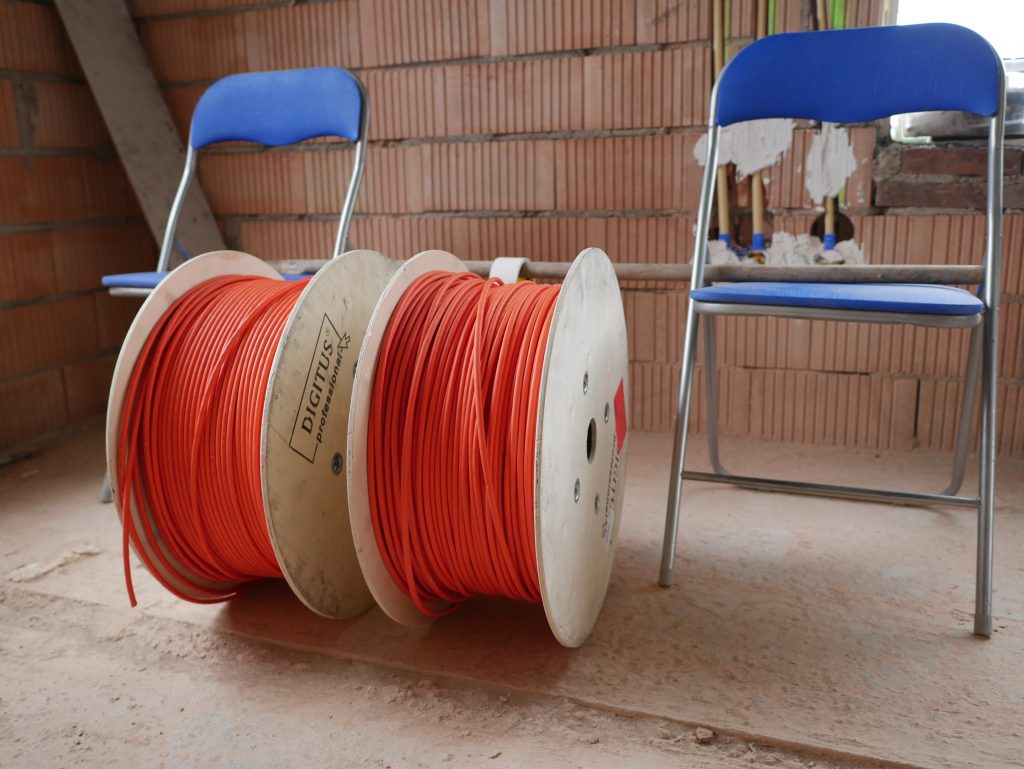
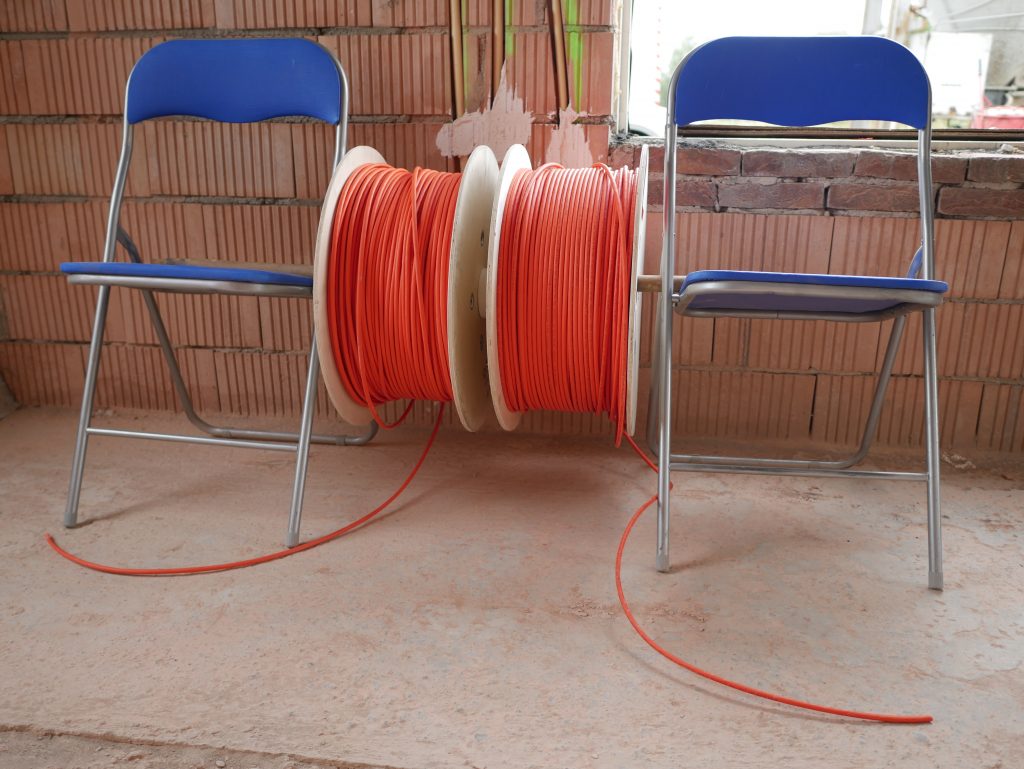
For the DIY Easy cable roller you need two fold-up chairs, a broomstick and a roll of tape (any tape will do). Check the video on how to set it up!
Networking cable
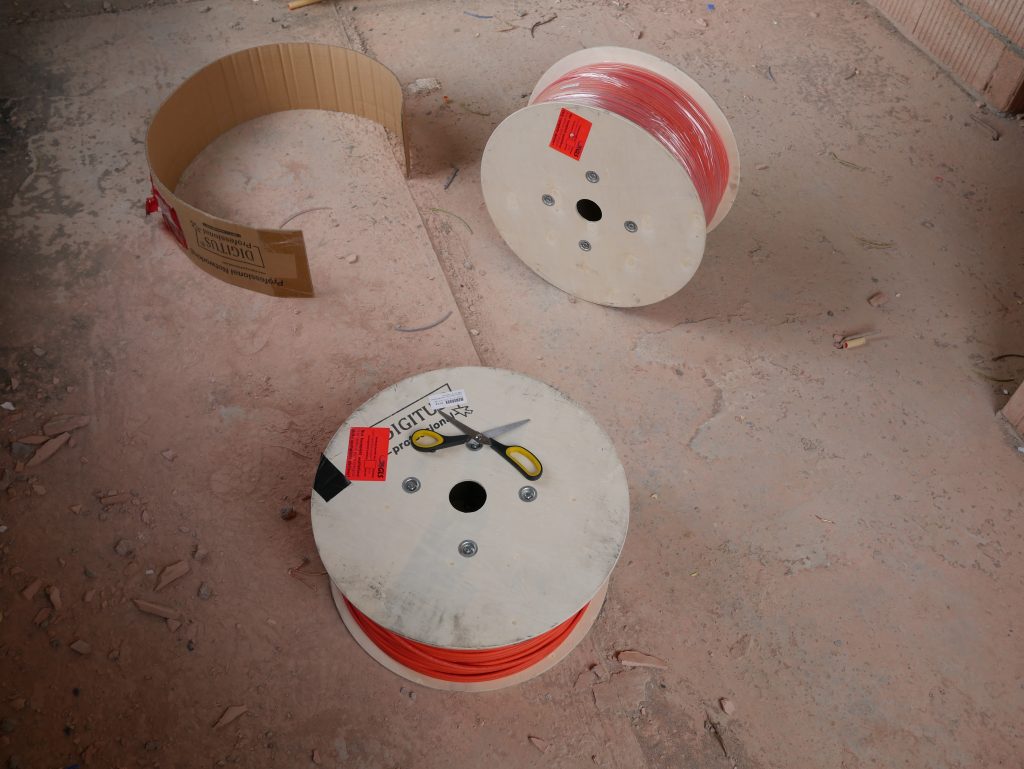
You need solid core networking cable, more about that in a later post! Also, if you want to run 2 cables in a single pipe be sure to get 2 boxes or 2 spools otherwise you are going to complicate the job a lot!
Other tools you need
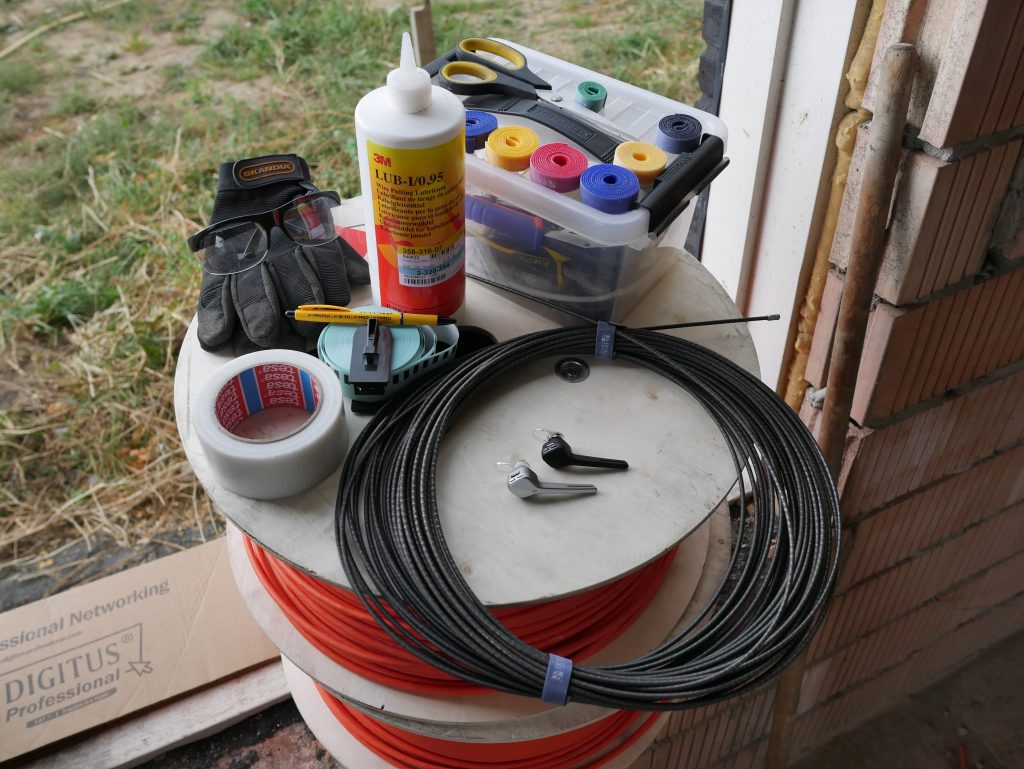
- 2 pair of gloves (For you and your partner in crime)
- A pair if Safety glasses
- A roll of strong tape
- Stickers and a pen
- 3M Wire Pulling Lubricant
- Velcro (to keep the bundles together, don’t use tie wraps)
- A pair of scissors (or a good snipping tool)
- A metal pulling wire (Get the right length)
- 2 Bluetooth headsets (Communication is key)
Additional information
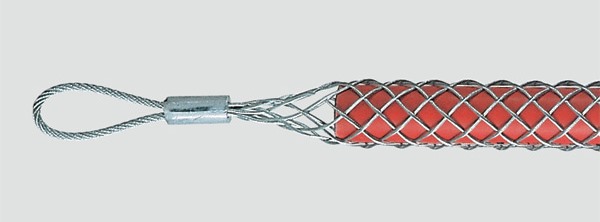
Cable pulling stocking
In dutch we call this a “kabeltrekkous” it’s a form of sock or stocking which slides over the cable and then holds the cable by the mantle. This is potentially less damaging for the cable because you aren’t pulling on one or two of the pairs. They work by gripping the cable mantle and the harder you pull the tighter it will grip the cable.
If you are pulling cable, maybe get one of these to pull them!
Conclusion
With all that, you should be set to start pulling the network cables through your pipes. But, that is a subject for a different video, be sure to watch them all!

Looking forward to the rest of the series.
I assume you will not yet terminate the cables at the wall side as there seems to be some layer on the wall missing (plaster or whatever the English name is)
More of the series coming soon I hope! About the walls, that’s true. I might do some demo terminations but other than that it will have to wait until all the plastering and such is done.
Aah 3M lube does exists ! 😉 (label looks like Cobrad?)
Last time i (desperately) needed cable lube, i ended buying Durex Play at the local gas-station.
Hey Quindor,
I don’t know what kind of pullingwire you have, but you also could use a [in dutch] kabeltrek-kous something like this here:
http://www.wymefa.nl/kabeltrekkousen
You could put there 1 or 2 or 3 cables in it and you could pull it trough your walls
Thnx for the comment! The pulling wire I’m using can also accommodate two wires without too much issue. I’ll try and show it in a video soon!
This article offers a practical guide on the essential tools needed for running network cables through a house. It highlights the importance of tools like cable testers, wire strippers, and fish tapes for efficient installation. These tools ensure proper cable management, enhance signal quality, and prevent costly mistakes during the process. It’s a useful resource for anyone looking to set up a reliable home network, with a clear focus on making the installation both effective and manageable.
This article provides a helpful and practical guide for anyone looking to set up a home network by detailing the necessary tools for running network cables. The step-by-step approach, including the DIY cable roller setup, gives clear insight into the equipment and tips required to make the job easier. I especially appreciate the inclusion of lesser-known tools like the pulling stocking to ensure cables are not damaged during installation.