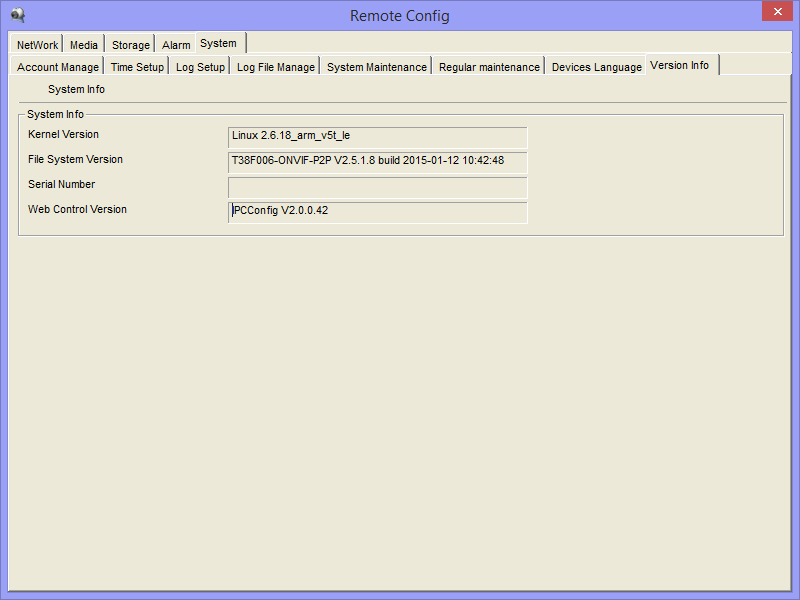
A while back a new firmware (2.5.1.8) appeared for the Ti DaVinci DM365 and DM368 camera’s. Only recently a kind comment-er was able to find a link where to download this firmware.
Sadly, as always, there is no changelog. After testing it at least fixes 2 issues I was having with the previous versions have been fixed and who knows what else has improved! Since I’ve been running it without issues the last 2 weeks, it’s time to share it with everyone!
You can find the previous post about the firmware here, I suggest we do new replies about this firmware (and newer) in this topic.
!! A word of warning, if you are on ebay or aliexpress do not trust sellers with “Novate” in the name such as “Novate Intelligence System Company Limited” and “Novate Security World”. They are scammers and while they sell you the camera, if you have problems, they don’t respond anymore and let the shop die to open a new one with a slightly different name!
Bugs fixed
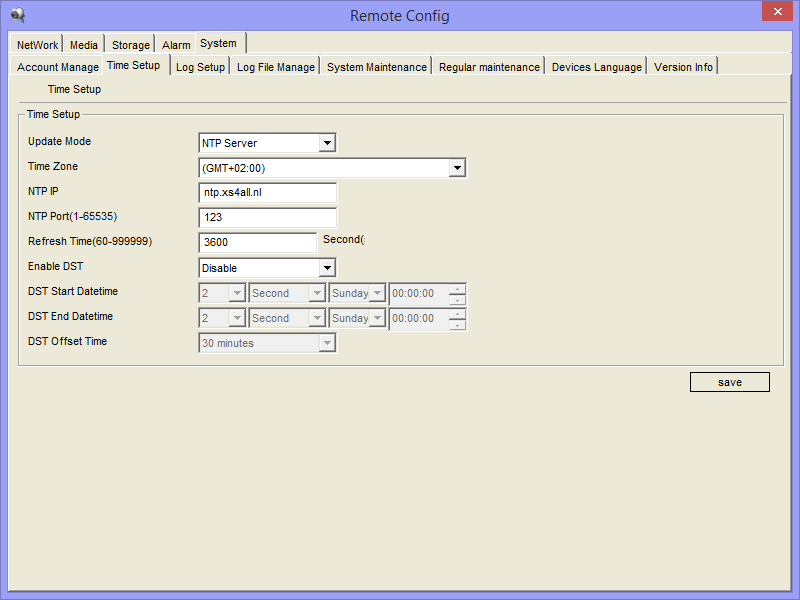
With the latest firmware before this one there where 2 issues I was bothered by. Time setting where very broken and you could not disable the introduced cloud functionality. Both issues have been fixed with this new firmware!
Download link
A little while back someone posted a link to a newer V2.5.1.9 firmware. I have recently tested it and found it to be working just fine. I have uploaded it to my FTP server and you can download it here: firmware_TS38ABFG006-ONVIF-P2P-V2.5.1.9_20150212145517.bin
New time settings


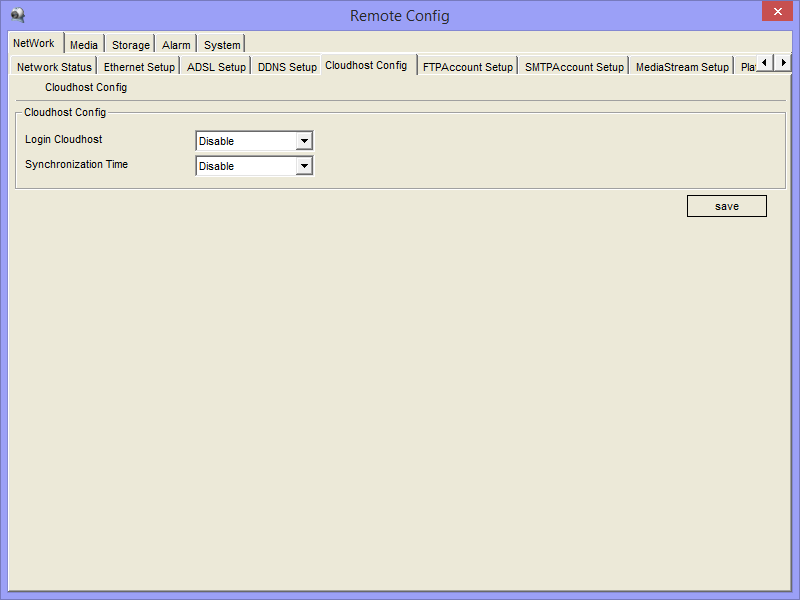
Cloudhost settings
In version 2.5.0.0 cloud functionality was introduced in the firmware. I wonder how many of you are actually using it? Let me know if you do!
The problem was that this added feature had no disable button and that as it turns out their cloud platform is a VERY BIG security hole where anyone on the internet could view your camera’s feed without you noticing.
A tip for upgrading the firmware!
Settings I mostly use
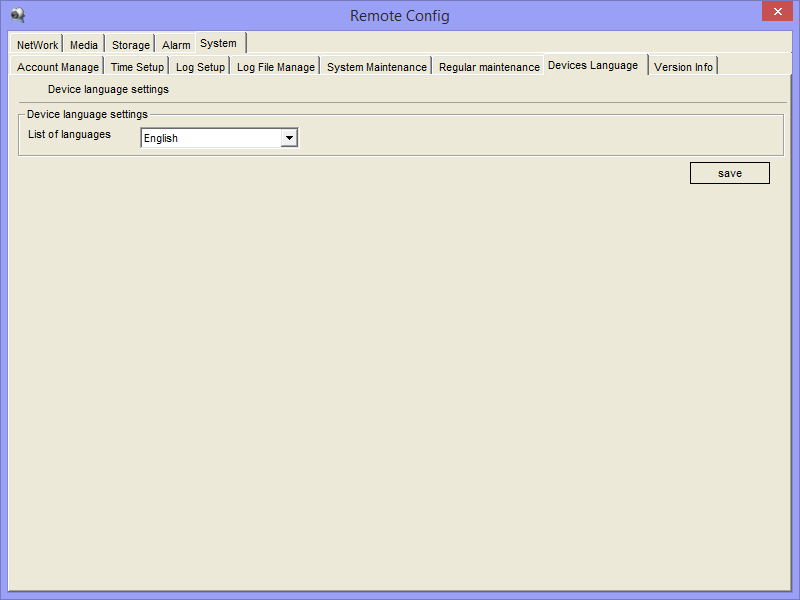
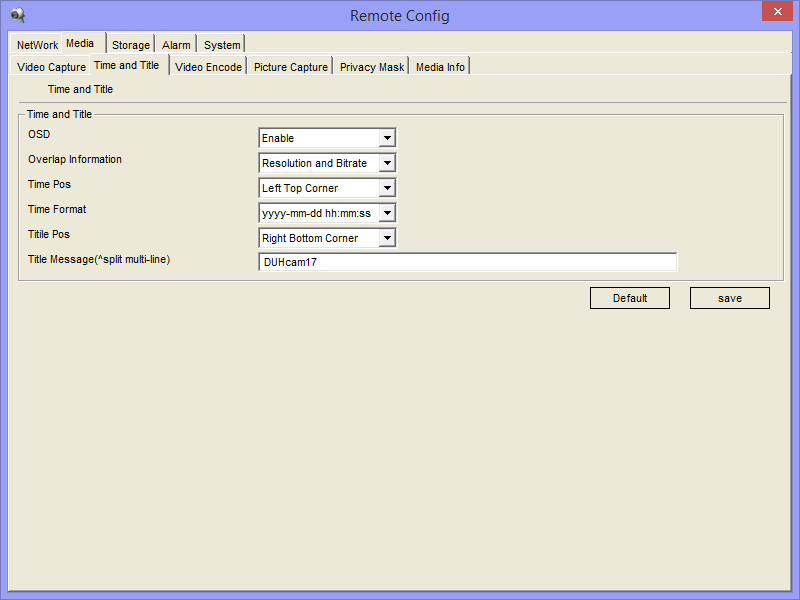
Language settings and OSD settings
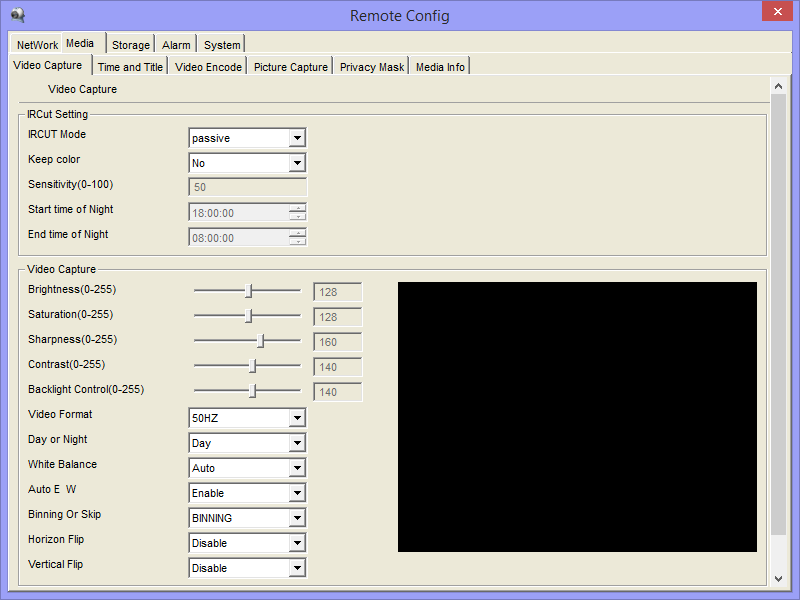
Video capture
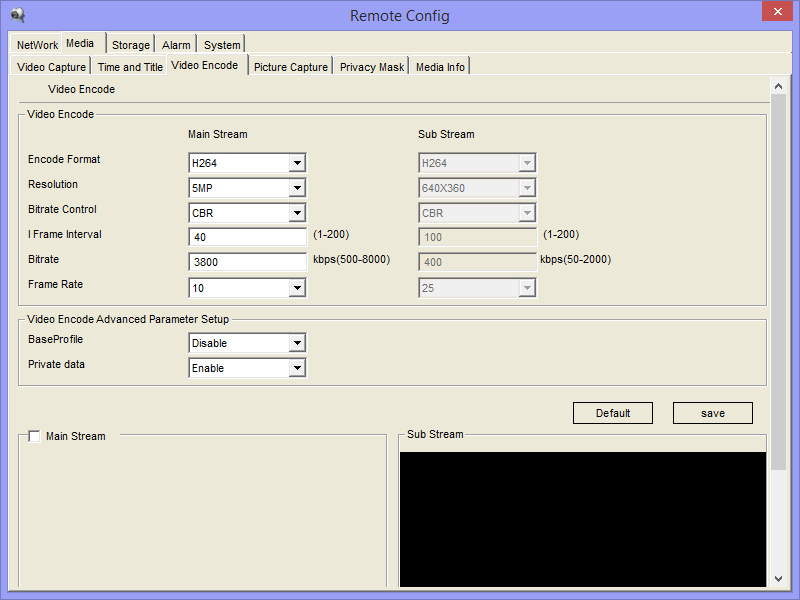
Video encode
I set the camera to 5Mpix, 10FPS, 3800 Bitrate, CBR.
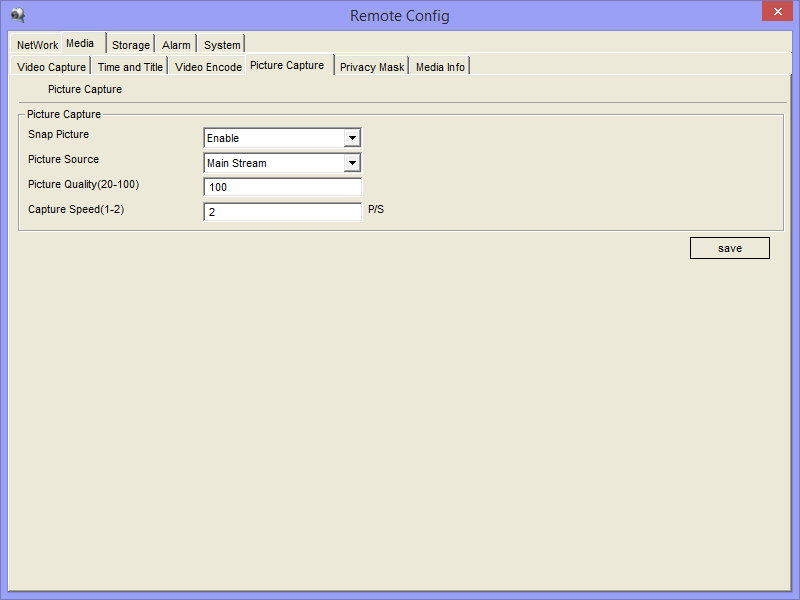
Picture capture
You can snap a picture using the following command line: wget http://172.24.8.24/cgi-bin/snapshot.cgi?stream=0 –output-document=/path/path/filenamebegin-“$(date +’%Y-%m-%d__%H-%M.%S’)”.jpg
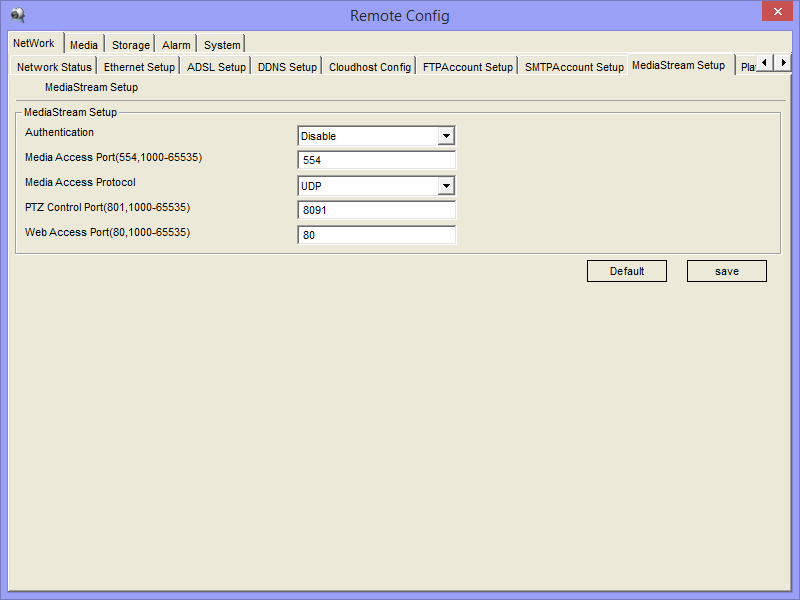
Mediastream Setup
These settings vary a bit. I sometimes use UDP and sometimes use TCP. In theory, using UDP on local network would be fine and streaming over the internet for instance TCP should be better because a missed packet shouldn’t interrupt the stream. In previous versions of the firmware there was a special TCPFIX version of the firmware. I don’t know if this new firmware also needs the adjustments made in that version.
Most often I don’t use a password for the RTSP stream. You can open the RTSP stream in VLC using the following URL:
No password: rtsp://ip.ip.ip.ip/mpeg4
With password: rtsp://user:pass@ip.ip.ip.ip/mpeg4
I’ve used a Raspberry Pi 2 to re-stream the camera stream to the internet so that I can watch it locally and over the internet without giving the camera’s internet access. The Raspberry Pi 2 handles this with ease, running multiple cvlc sessions with only about 5% to 10% usage on one core per camera. Great!