

Since I now have a cheap WiFi controllable LED dimmer I’m looking at various ways of lighting rooms, hallways, etc. Since different rooms require different type of lighting they require a different lamp. Some simple, some more fancy. After experimenting with LED strips in aluminium profiles this post will be about hacking Ikea lamps!

This series has been rebooted
Please take a look at the following post to visit the new rebooted series and index of all posts: https://blog.quindorian.org/2016/07/esp8266-lighting-revisit-and-history-of-quinled.html/
This post will describe 3 different Ikea lamp’s which I’ve hacked to now work with LED strips and my LED dimmer, they are all of different design and should be suitable to different styles and situations.
They do share one common trait and that is that they use “milky” frosted glass. The importance of that is that it will diffuse the light in such a way that an individual LED will no longer be visible. This gives you a nice and uniform light pattern and only one shadow instead if several small one’s because of how the LED strips are constructed.
First experiment: LED strips in aluminium profile
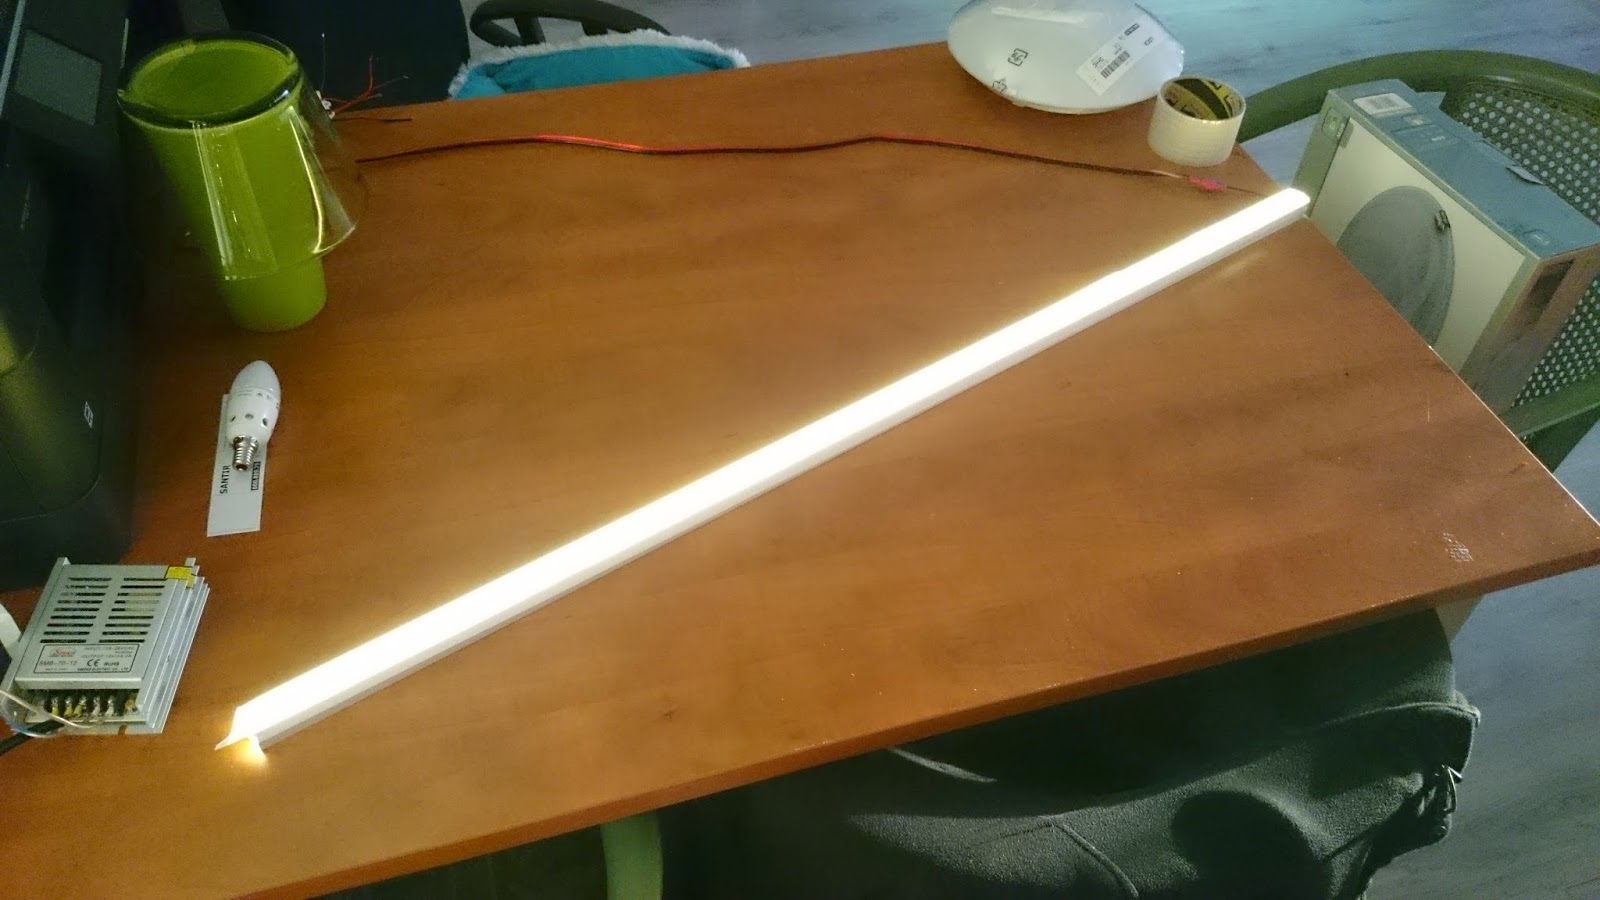
My first tries where using aluminium profile strips/bars from the local building shops. They have some which have a nice shape and do quite well. My problem with the light is that if you let the light shine directly upward, you still get individual shadows of all the little lights.
My solution which works best is to actually let the light hit the aluminium strip first and then bounce against the wall. This gives a nice and even light which looks nice.
 |
| LED’s shining towards the curve part of the aluminium strip |
The second variant of this is using the same strip, LED’s pointed directly outward but now with white ducktape over it to diffuse the light. Although this works and gives you a nice and evenly distributed/lighted surface, the ducktape dimms too much and lowers the light production by about half.
 |
| Strip covered with white ducktape |
 |
| Hard to see because of the exposure but white ducktape is covering the strip |
 |
| Both of them on top of a closet, you can clearly see the light shining on the wall |
Second experiment: Chinese rigid LED strips in alu profile
During one of my browsing sprees looking at what aliesxpress.com has to offer I came across some cheap LED aluminium profiles with rigid LED bars with a nice “milky” cover, all for a low low price!
You can get them here. They only cost 13,95$ for 5 of them (50cm a piece). Here are some pictures of them:
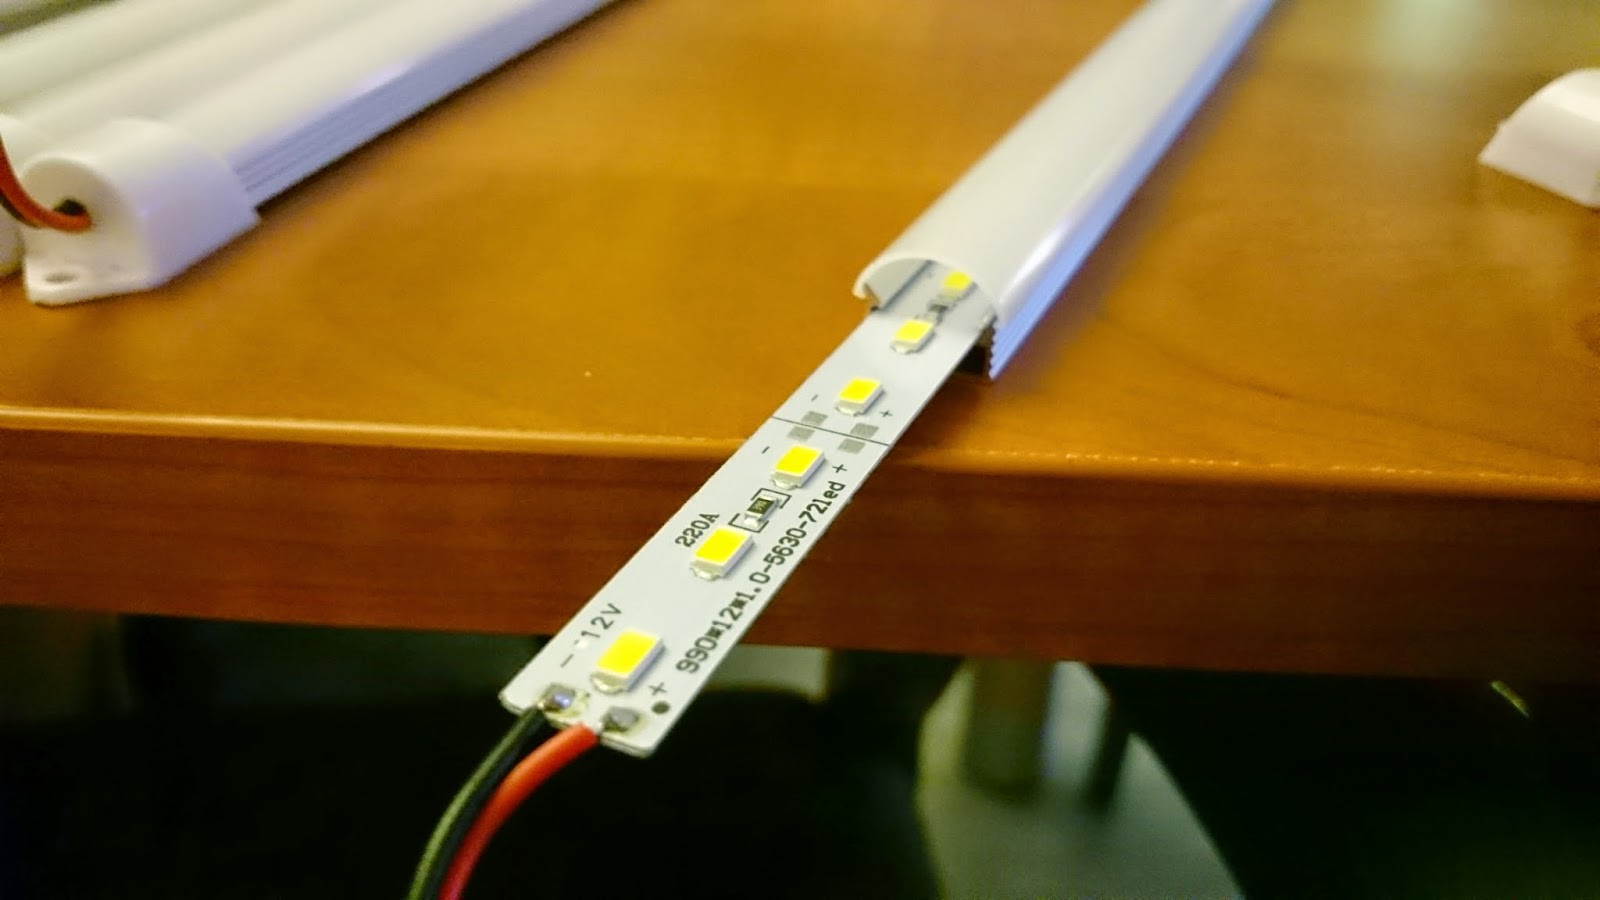 |
| Rigid strip with 5630 LED’s inside |
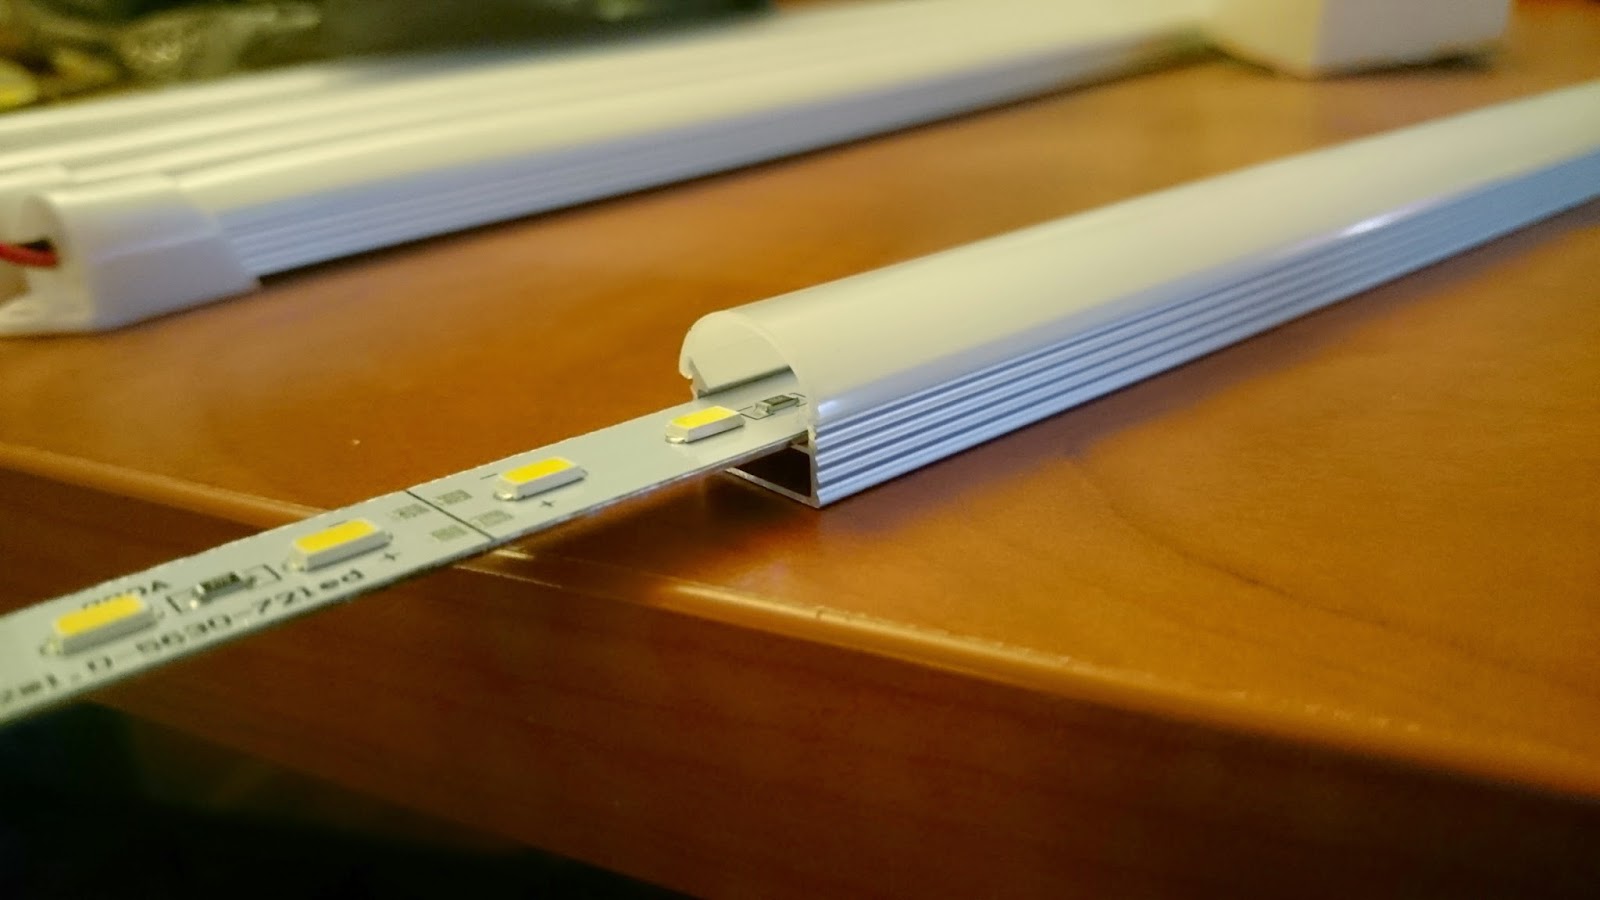 |
| From another view, cooling is arranged well |
 |
| 5 strips of 50cm in length |
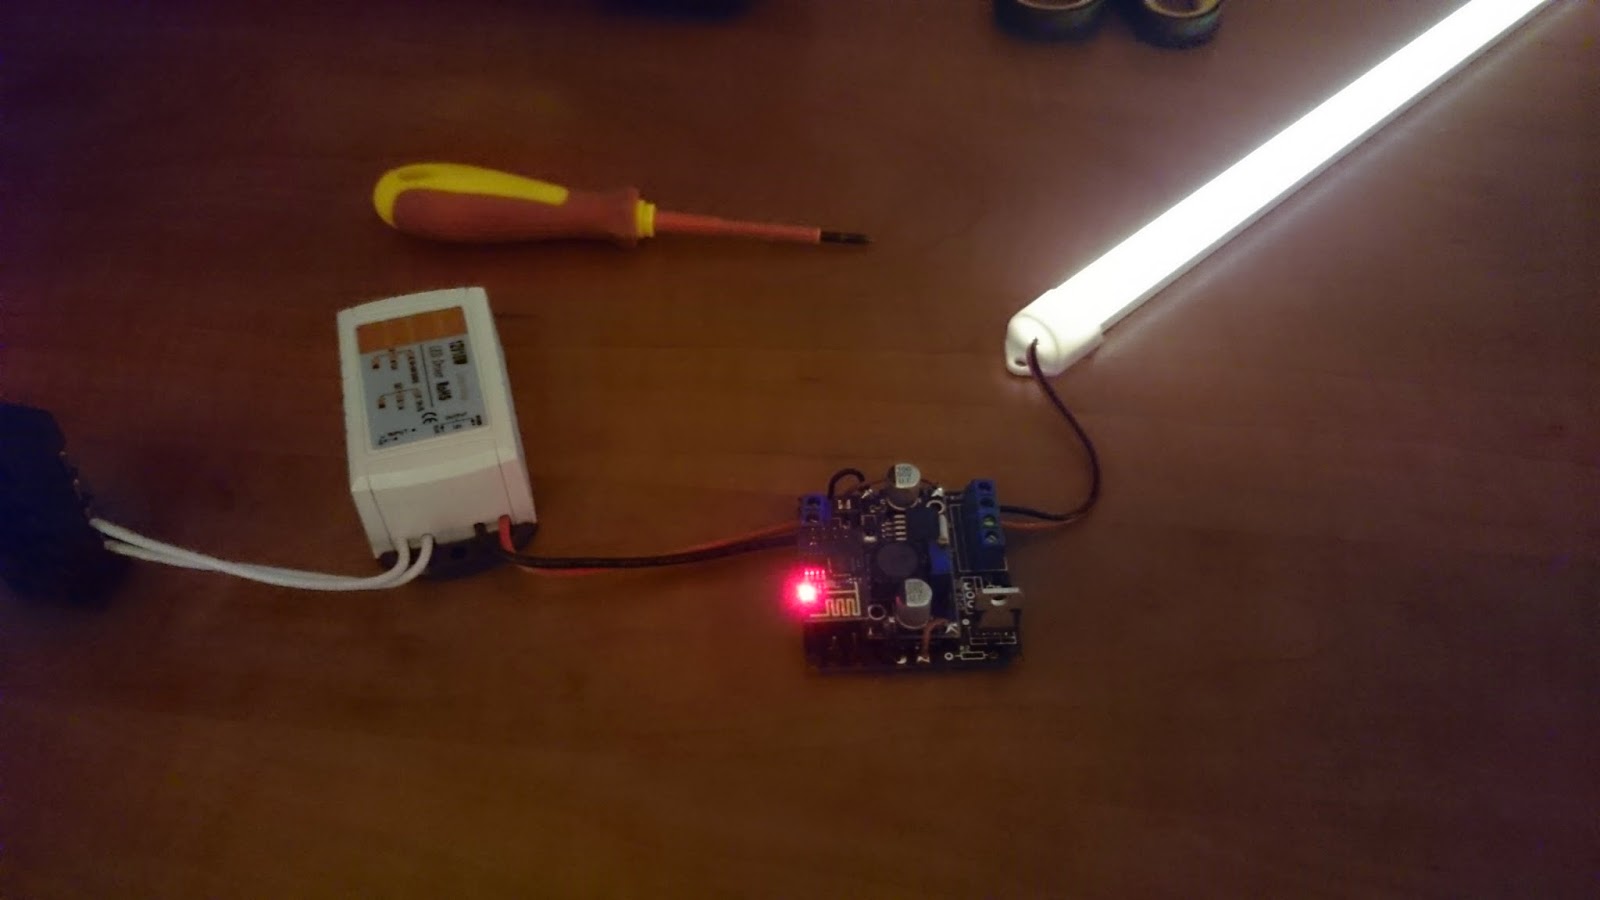 |
| Lit using the ESP8266 board |
 |
| A photo with flash. Sadly the individual LED’s are still visible even with the “milky” cover on them |
 |
| Brightness is pretty good |
Although these work well I was really looking for a way that the would not show the individual LED’s. If you do not have this requirement, these strips are very good and cheap. Delivery was only 5 days after ordering because of the free DHL, very VERY good deal!
Third experiment: Ikea Lamp Hacks!
I got 4 lamps from Ikea to do experiments with. I will show three of those here (I haven’t gotten around to do the 4th version).
For now I’m not integrating my ESP8266 boards and PSU’s inside the lamps. I’m figuring since I can design my own cabling plan I can get them to mount close enough in the new house. Try to make your 12v cables short length when possible. The lower the voltage the more thickness you need in your cable for a given length of cable.
Lamp 1: Ceiling light
The first lamp I got is a ceiling light. I already had some of these lamps in my current home because they are dirt dirt cheap. Use them with a Ikea LED light bulb and you have a very cheap and efficient light. Of course we want to use them with our ESP8266 LED dimmer module!
This lamp is called “LOCK”, you can find it here. These lamps only cost 2,49 euro!
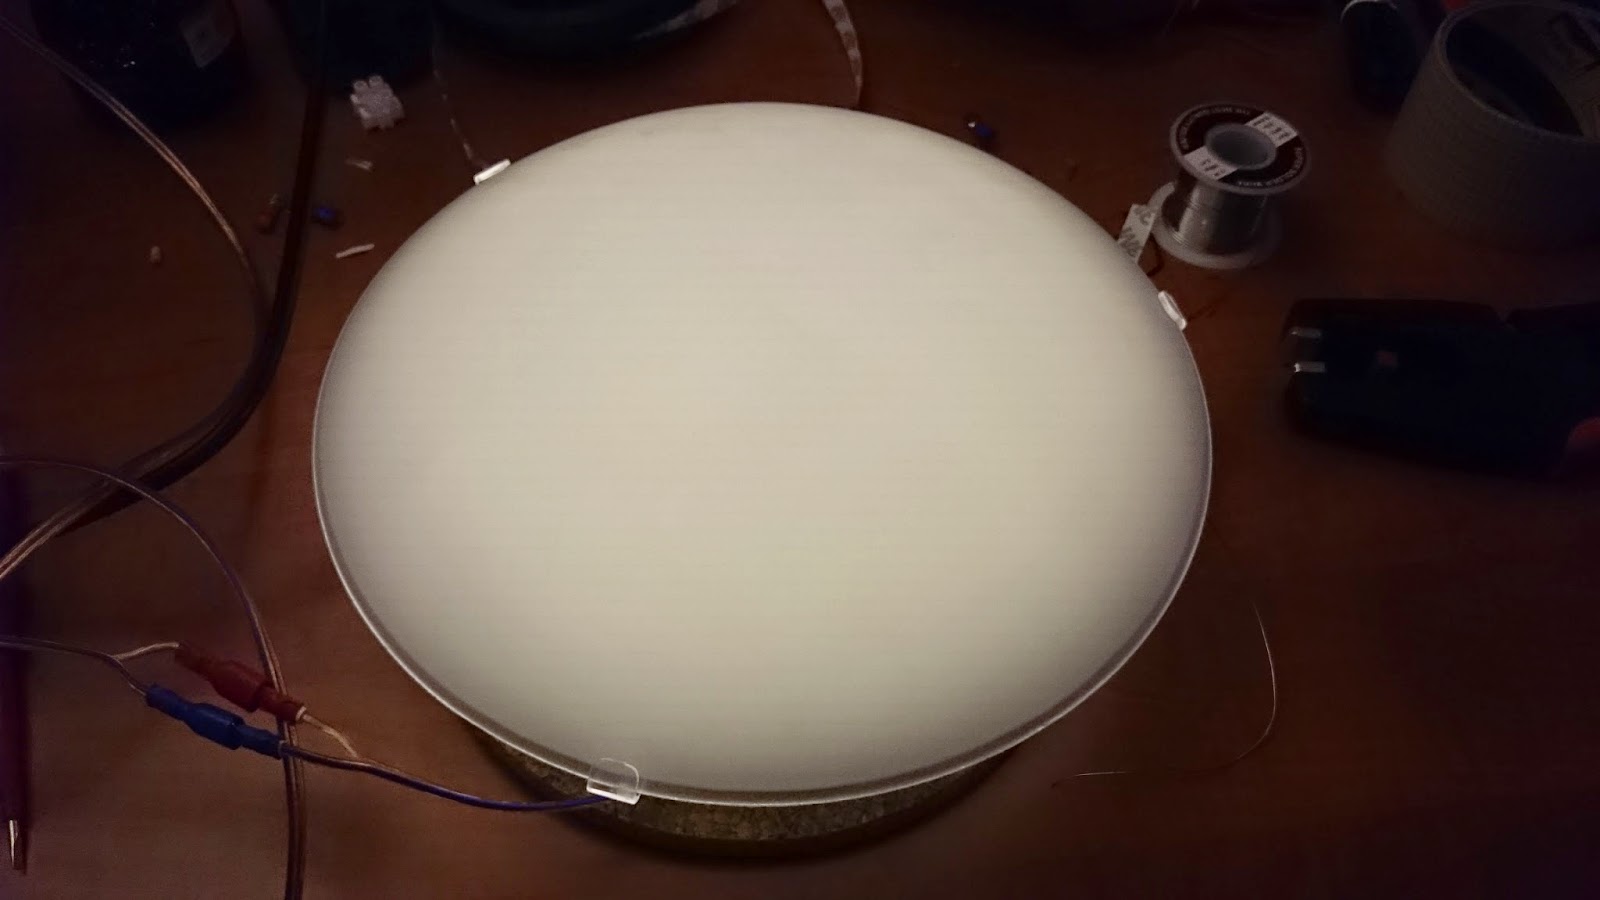 |
| A very standard looking ceiling mount half sphere light but for what it is, it doesn’t like half bad at all! |
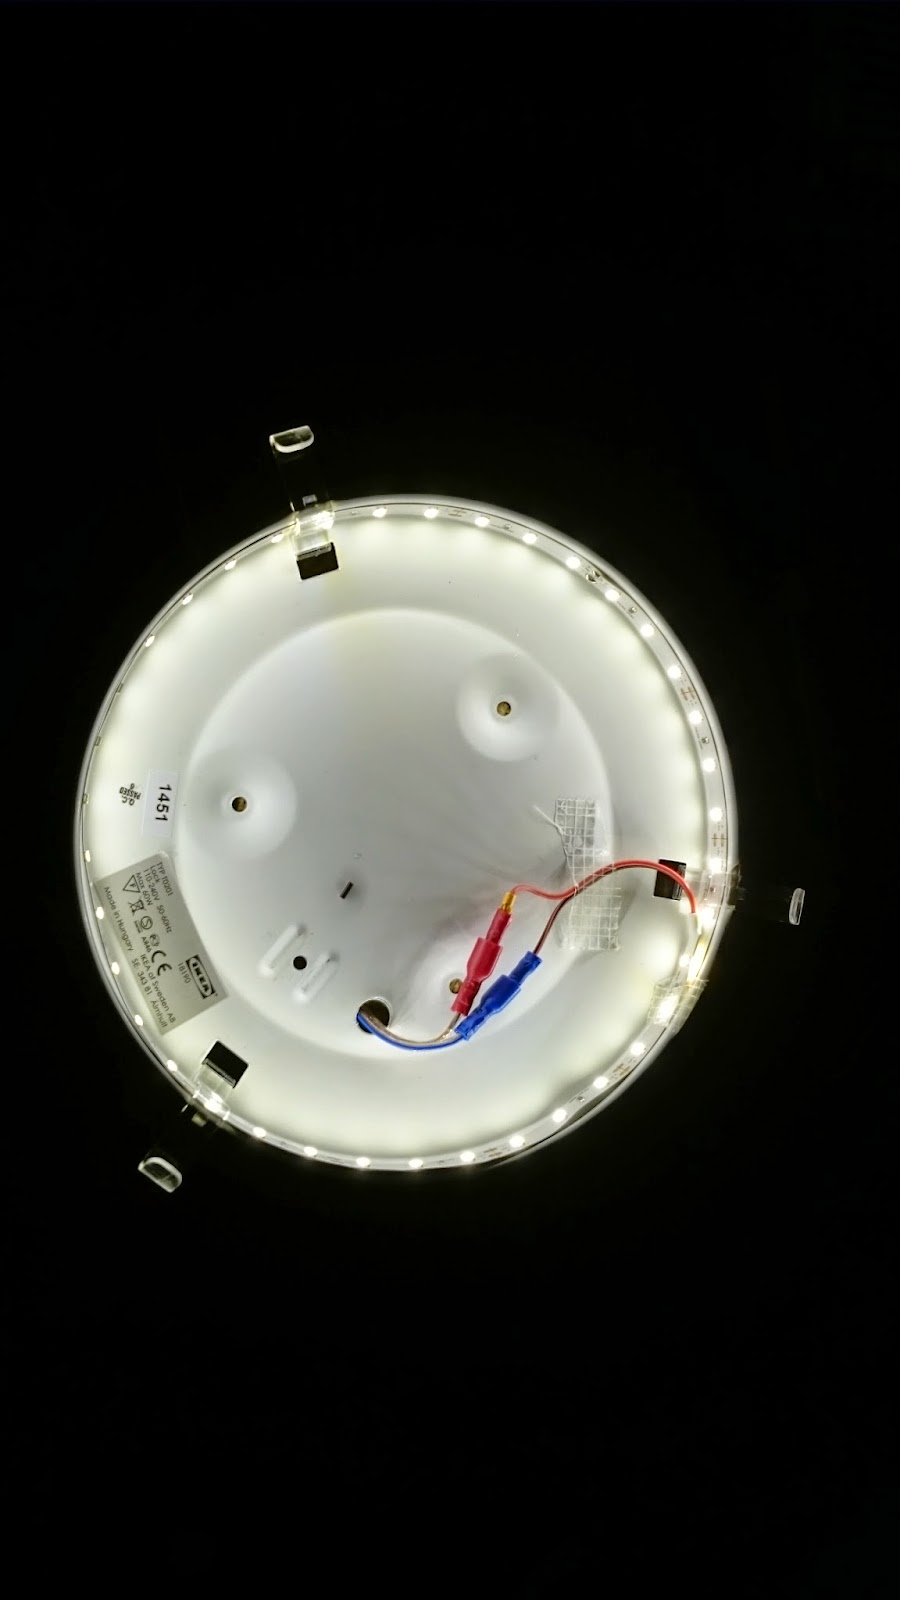 |
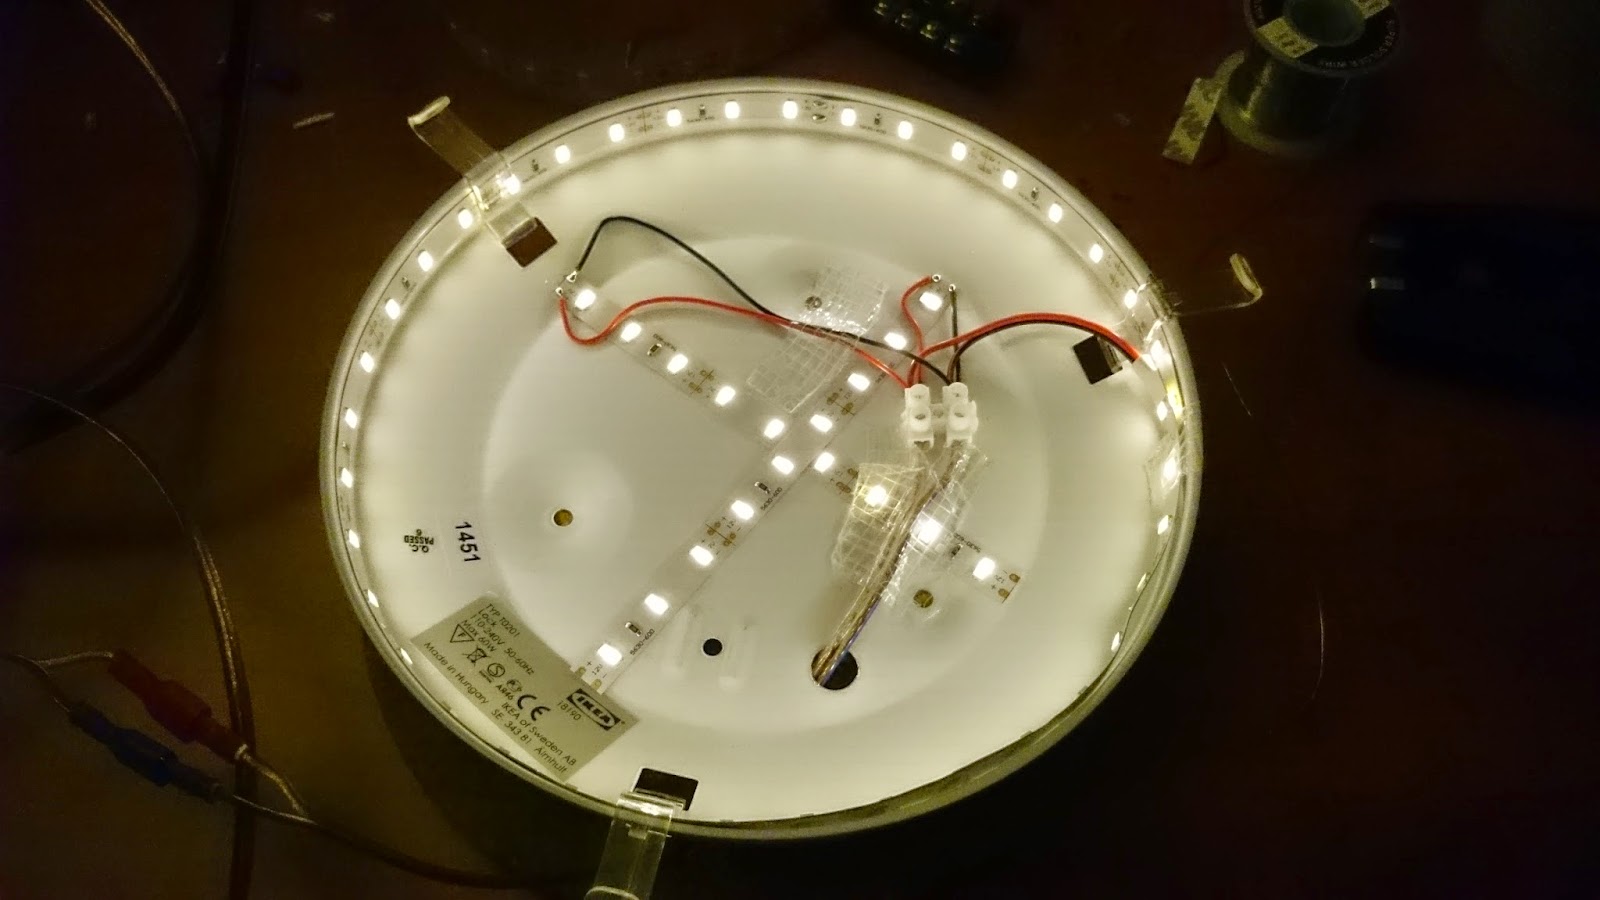
| As a first try I ran a ring of LED strip on the inside around the rim. It worked but the amount of light delivered was a little bit too low |
 |
| Internal connection of the first try |
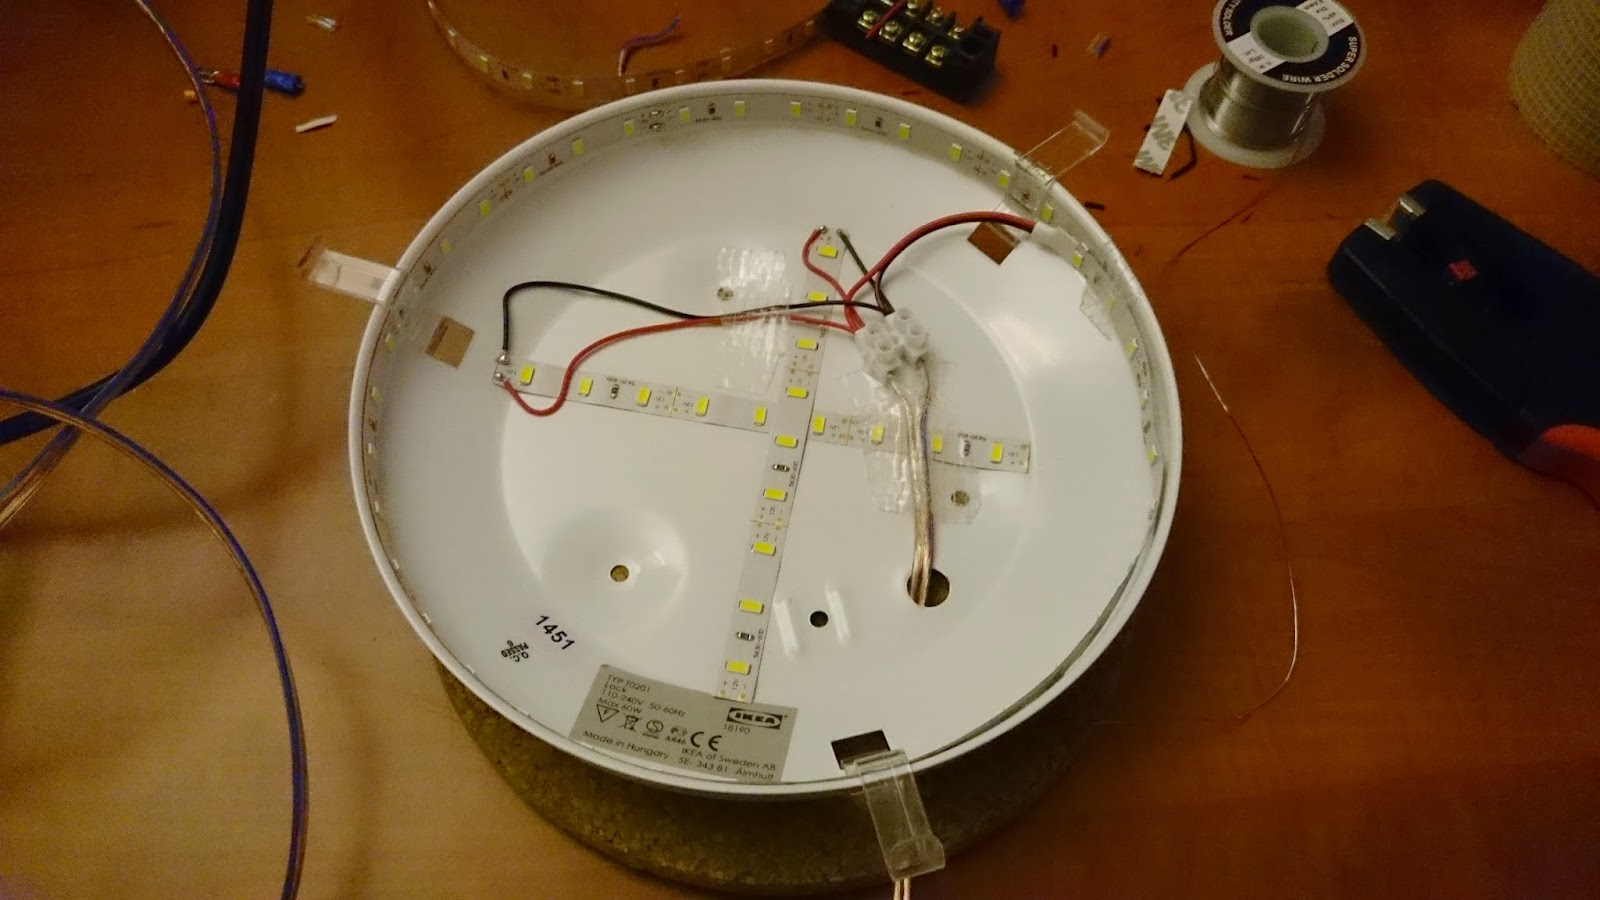 |
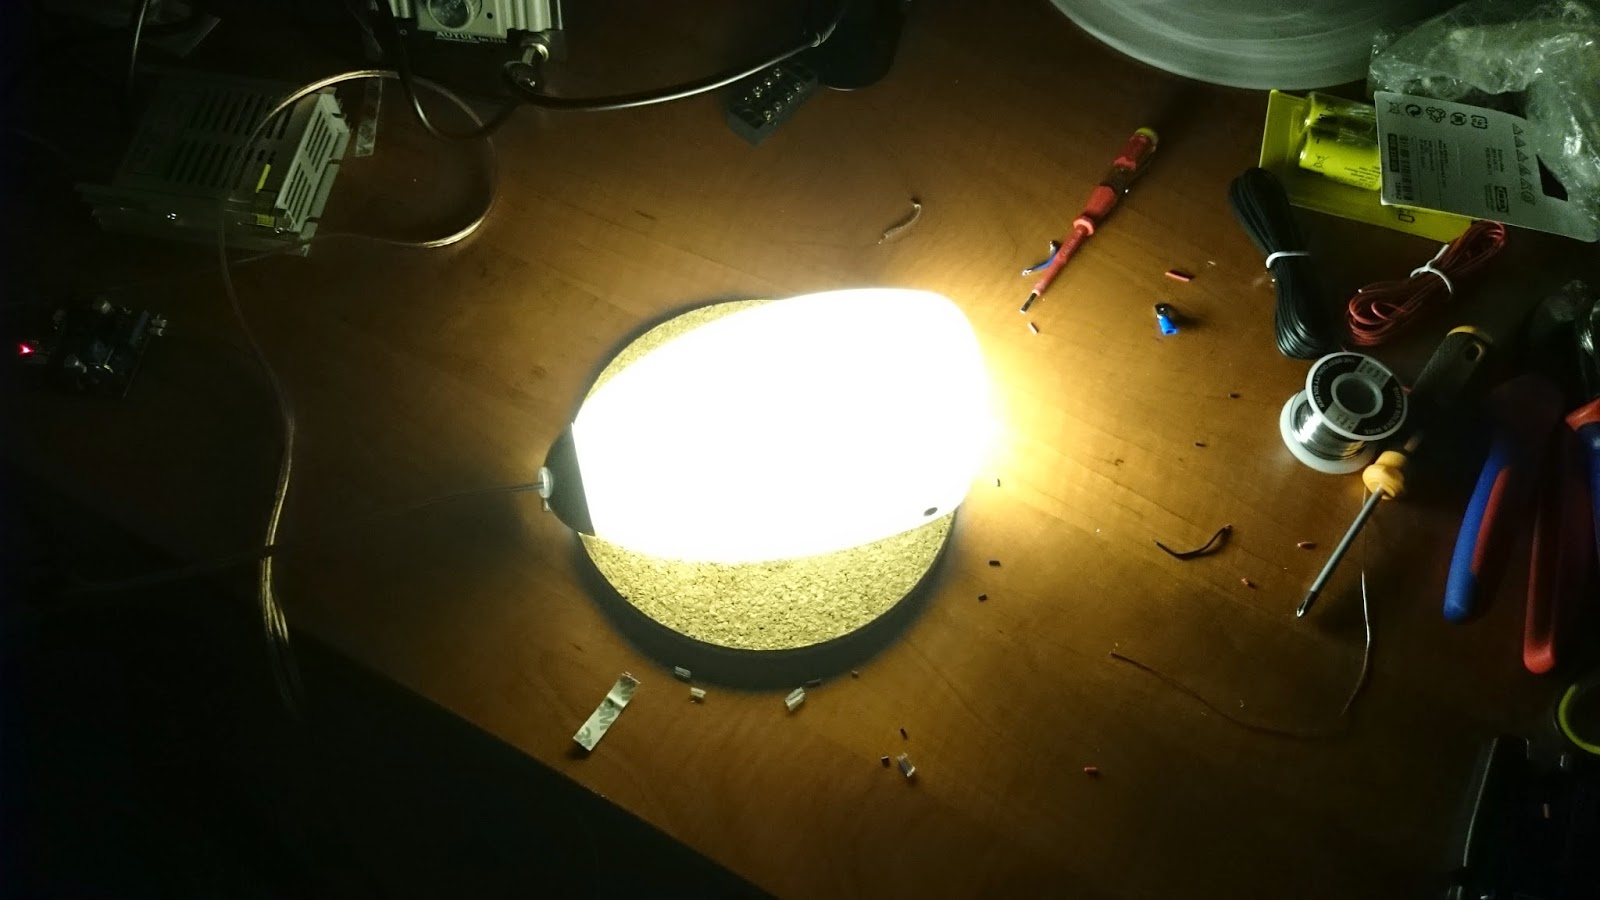
| I added another cross of LED’s inside of it. Where the outside ring give it a very evenly distributed light pattern the extra cross gives it a big boost in light levels. The amount of light is now excellent! |
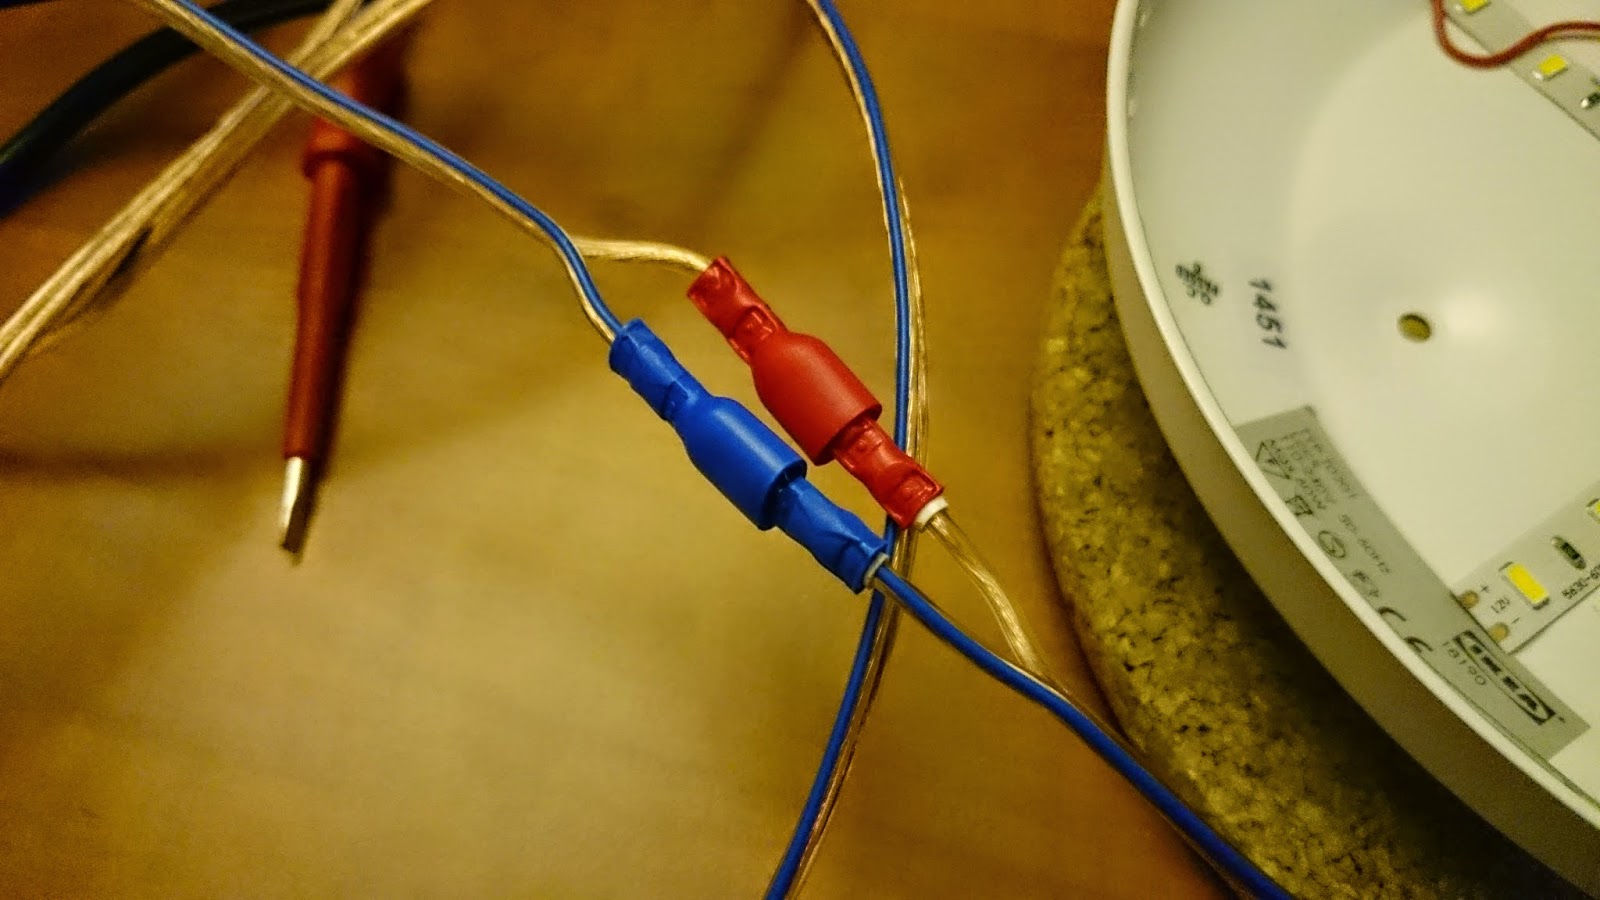 |
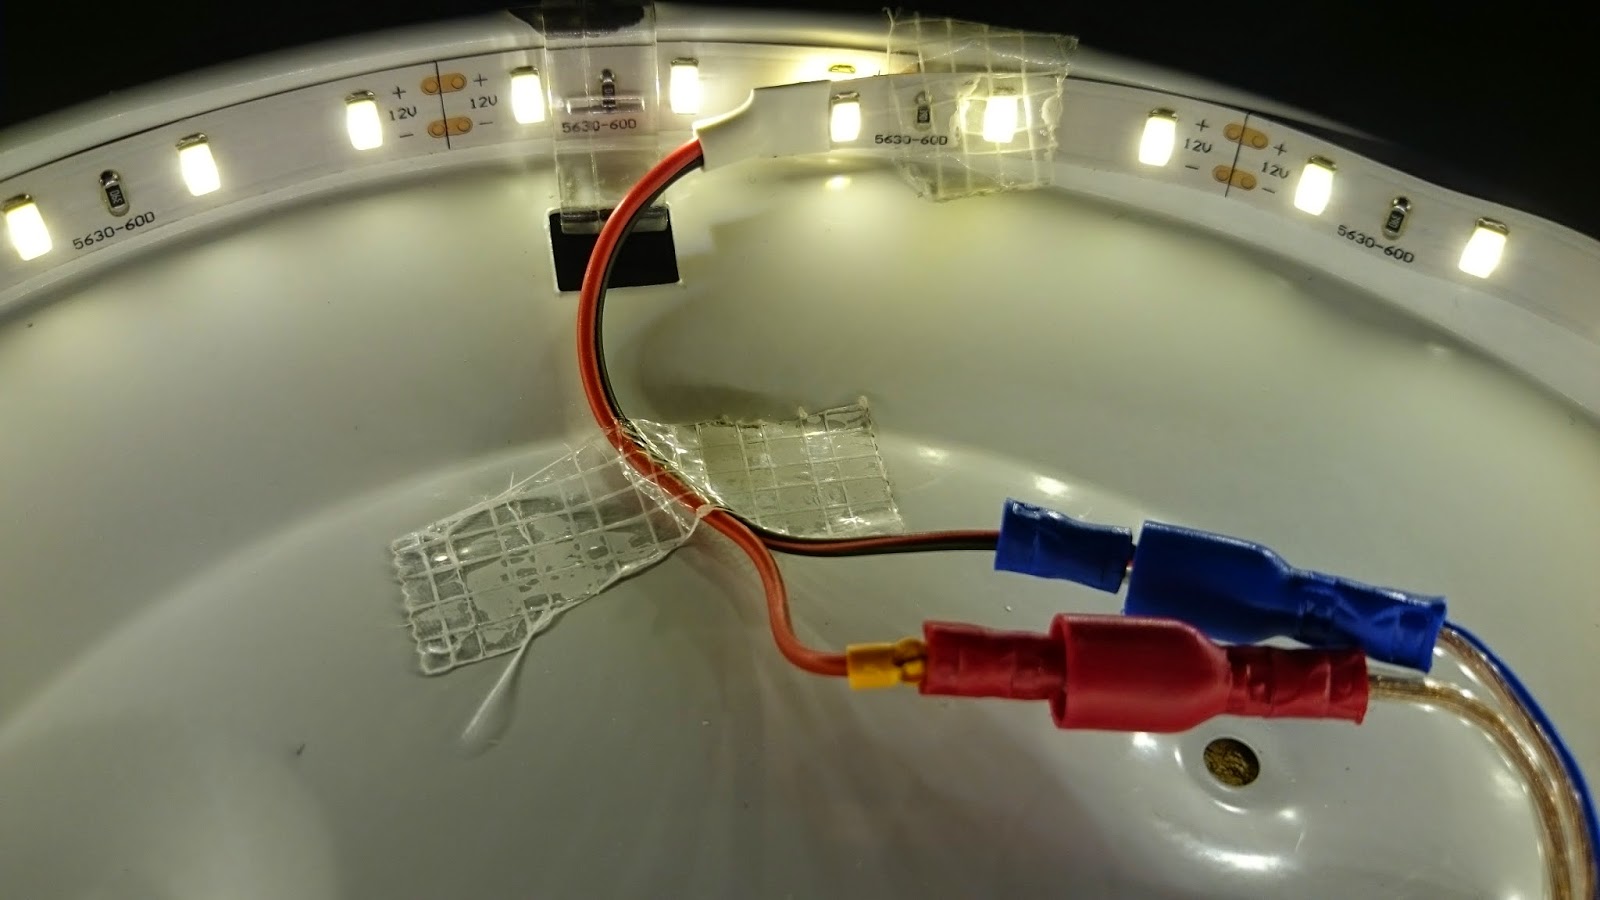
| External connection, be sure to get the isolated kind and use the isolated parts on your PSU side and not on the lamp side |
 |
| All soldered up. Using a white connection terminal block to split the connection. |
 |
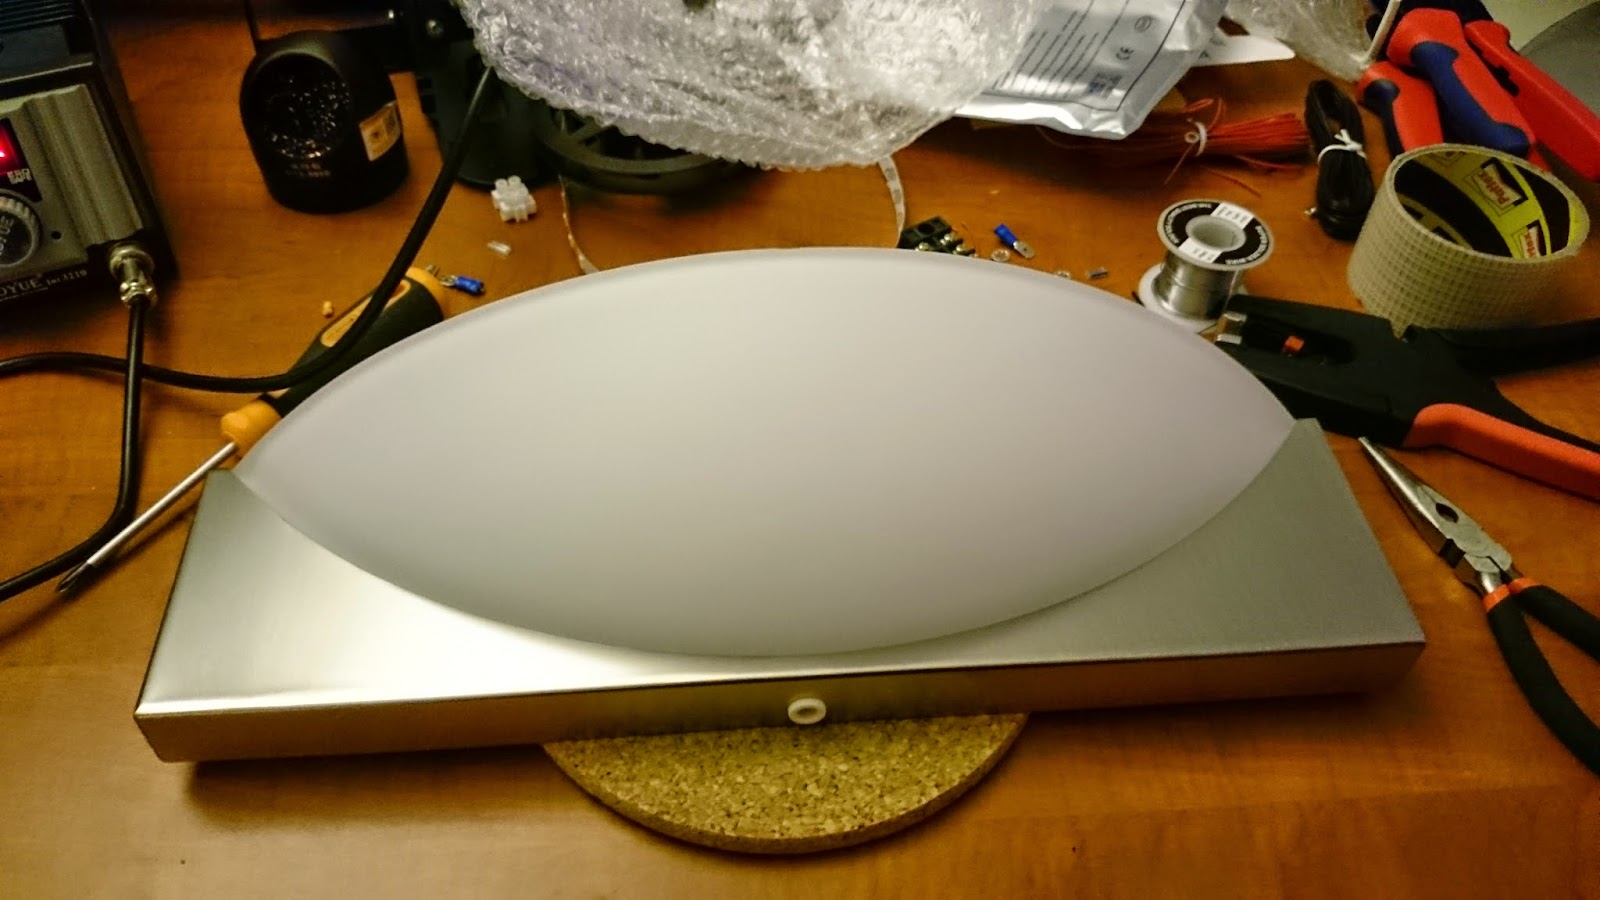
| Light at full intensity. With the added cross it really shines! Power usage is around ~8 watt total (Wall draw, so with ESP8266 board and PSU efficiency) |
Lamp 2: Fancy wall light
The second lamp is the most fancy. It’s a medium sized wall light. It has some fancy metal and glass front and looks quite nice. The interesting part of it is that the back side of it might have enough room to actually house the ESP8266 board + PSU. I can see one of these in the middle and then 2 of lamp 3 on the sides in a hallway or something and all the electronics and PSU could be housed in the middle lamp. I’ll try that when I get my parts in.
This lamp is called KLAVIATUR, you can find it here. It costs 14,95 euro.
 |
| The Ikea lamp, looking quite original 😉 |
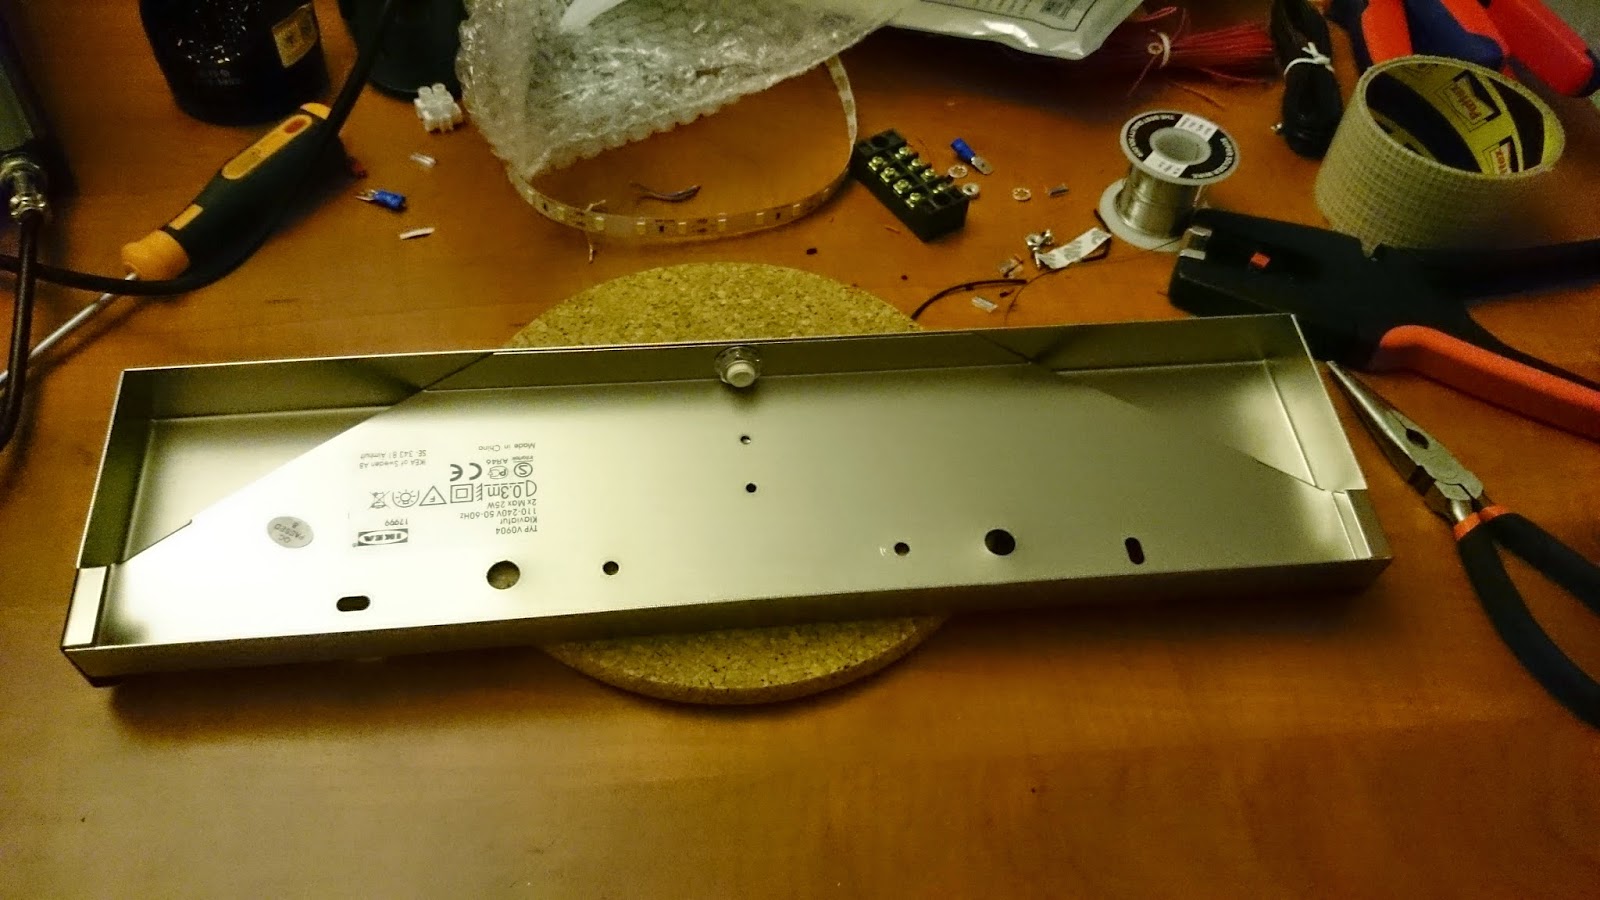 |
| Back side with all of it’s guts removed. Maybe, just maybe there is enough room to house all the components needed! |
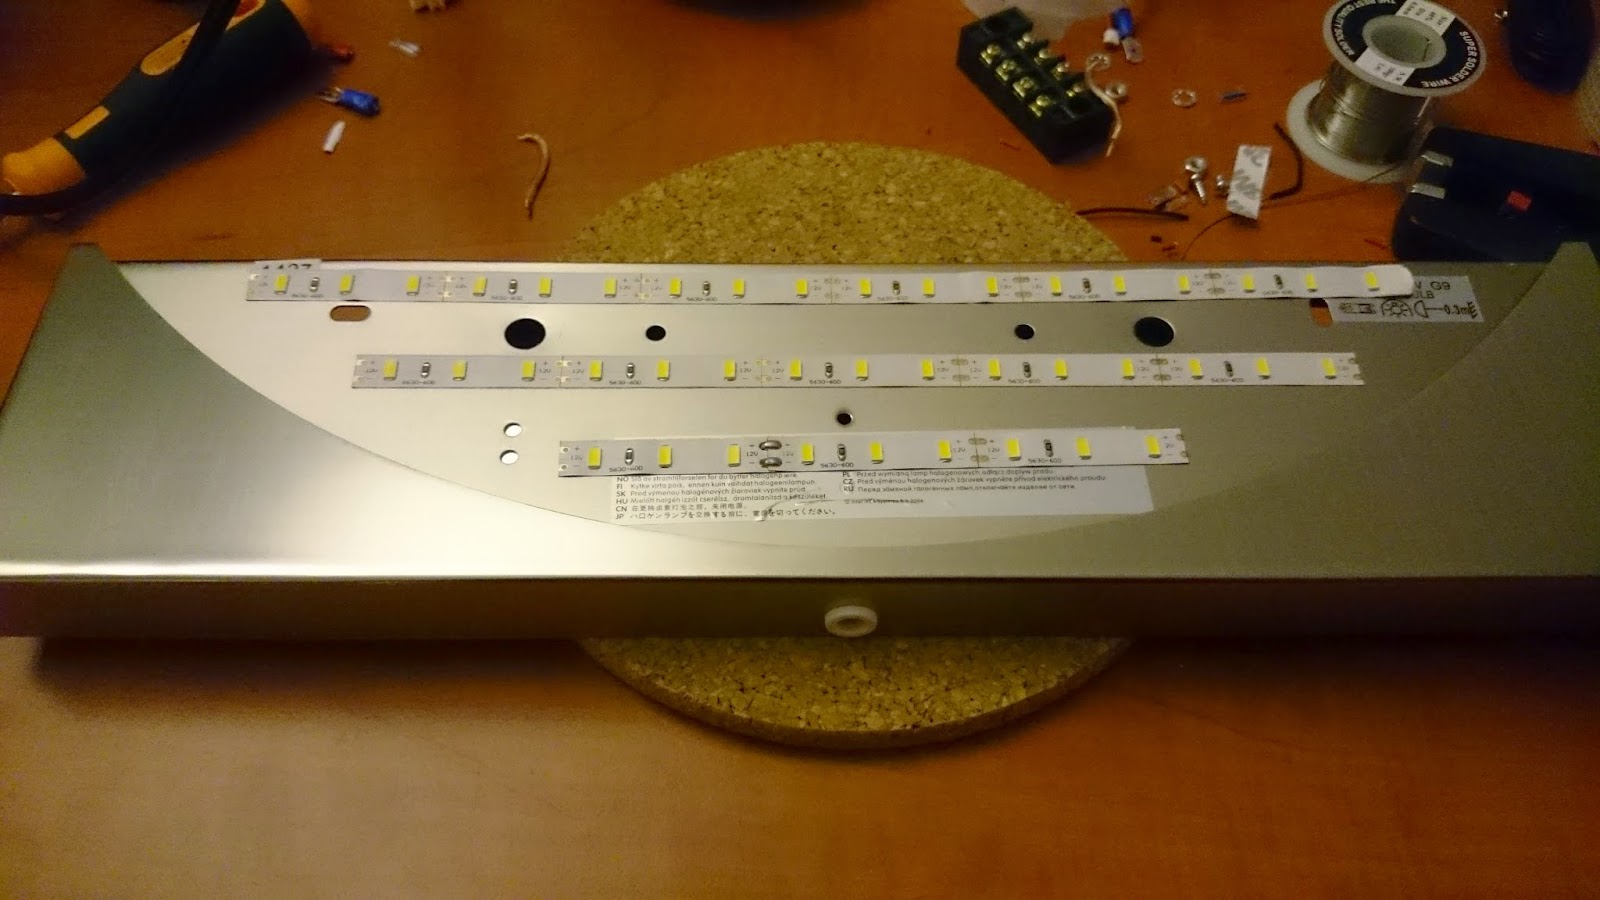 |
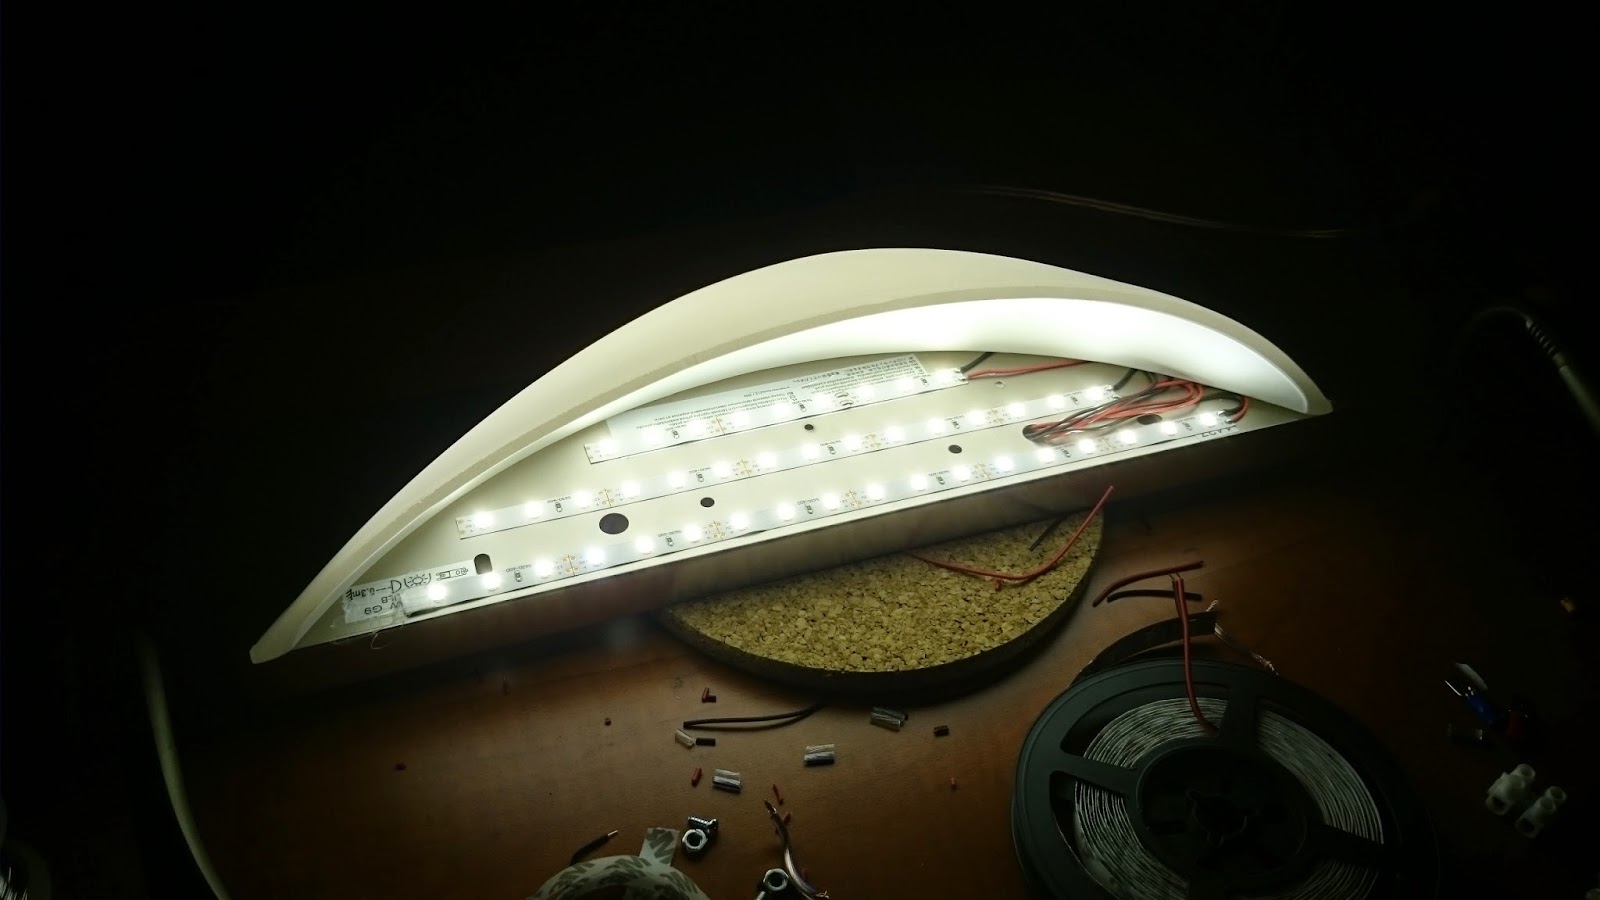
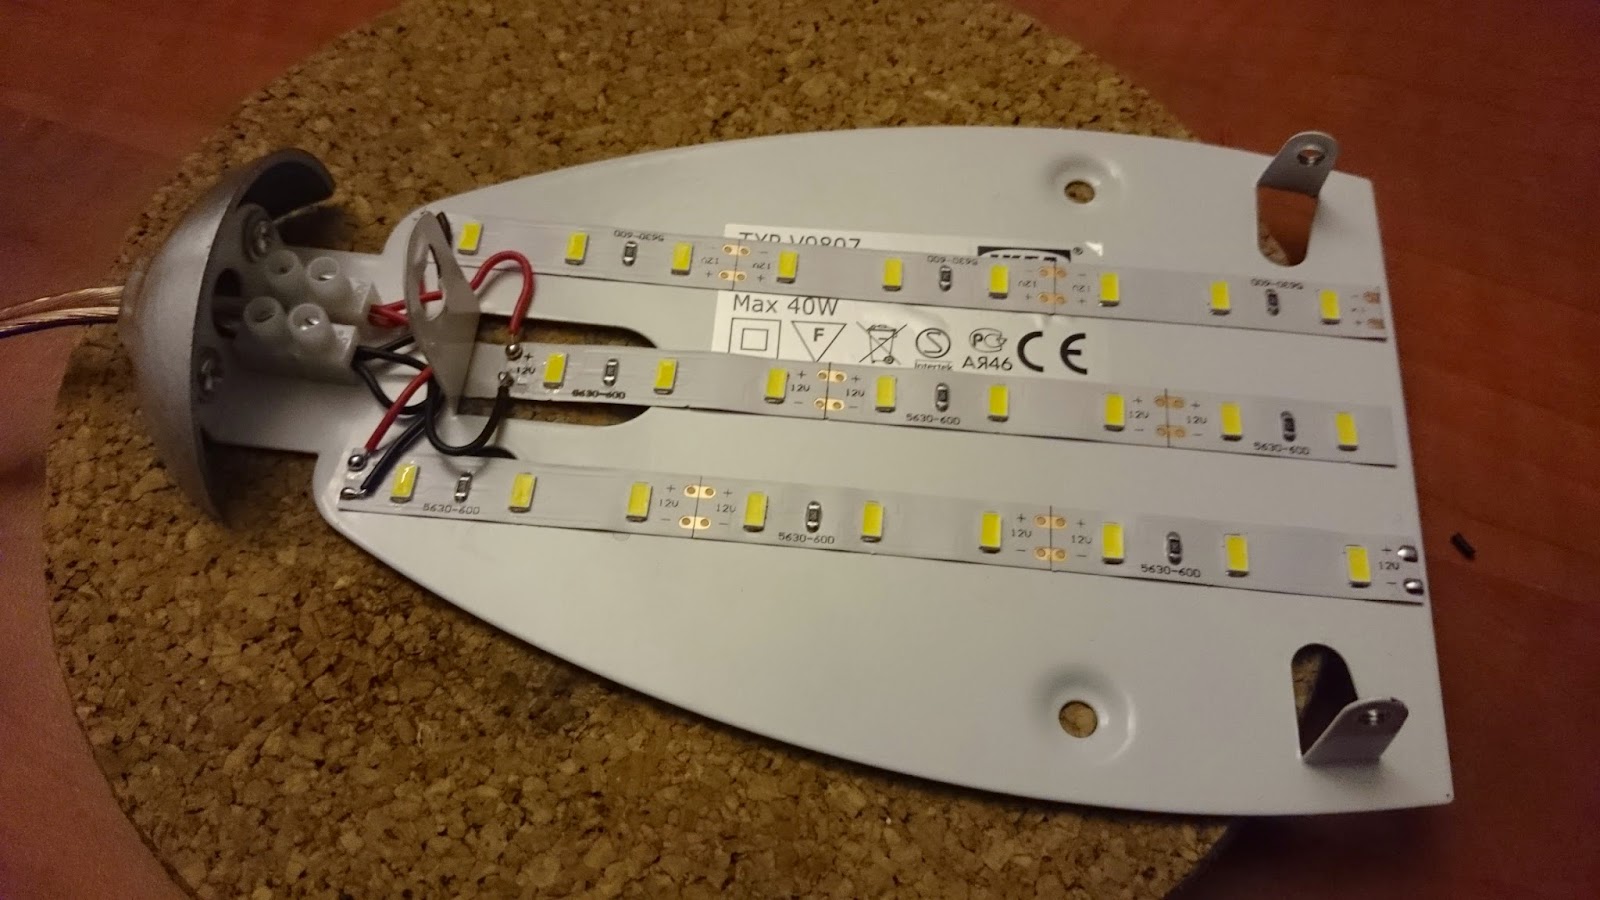
| LED strips applied, little bit crooked but that shouldn’t matter |
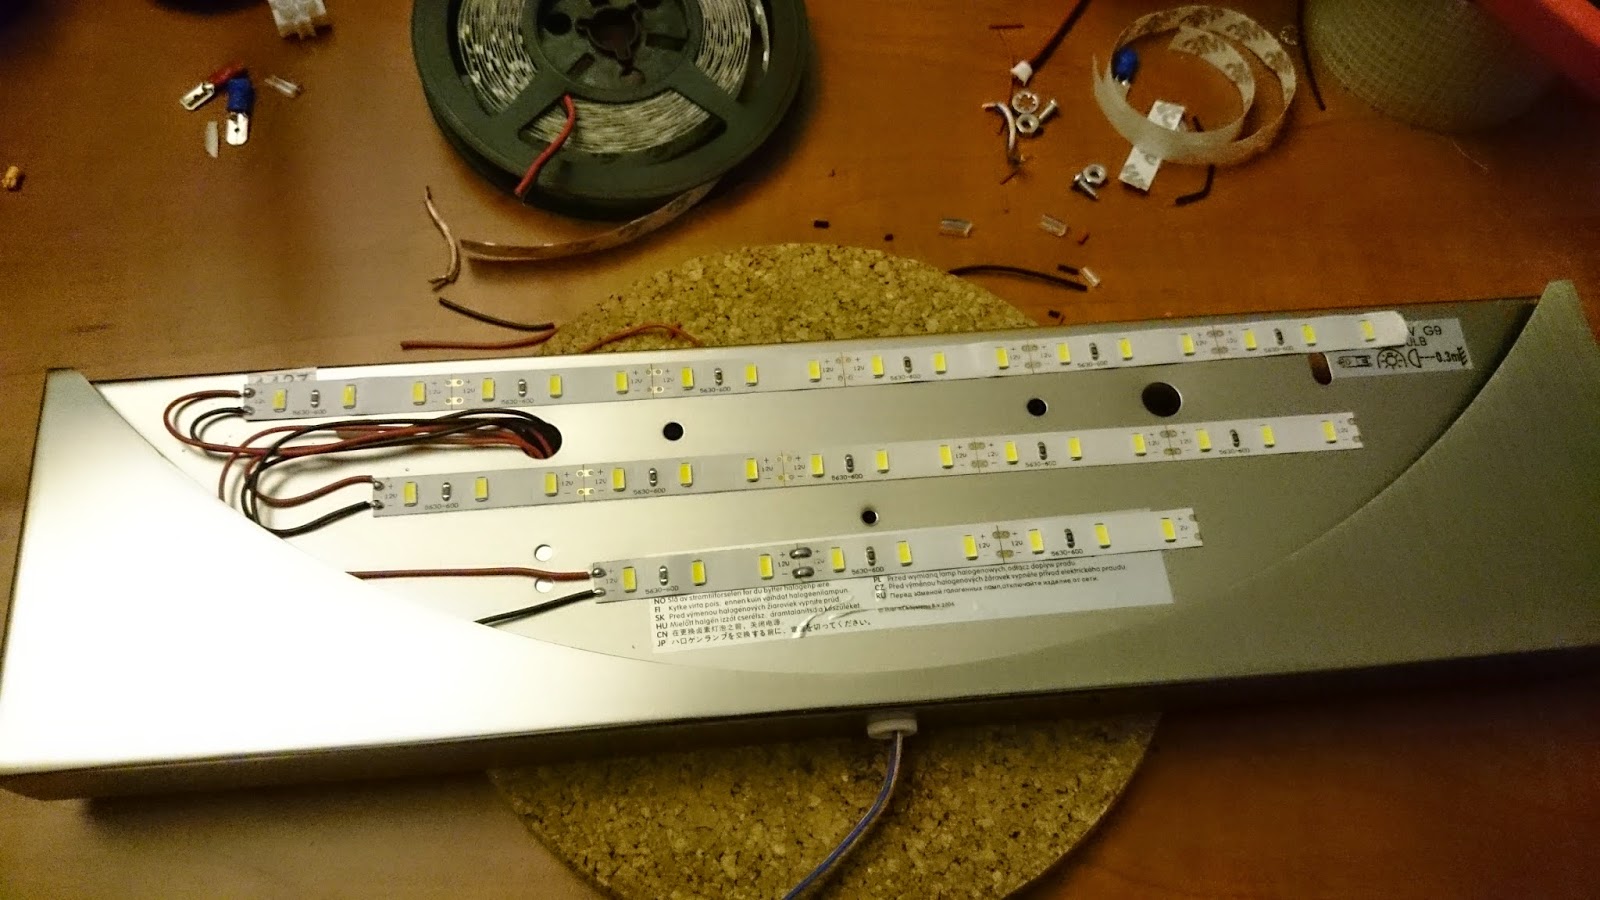 |
| All soldered up. Make sure the cables don’t block a LED |
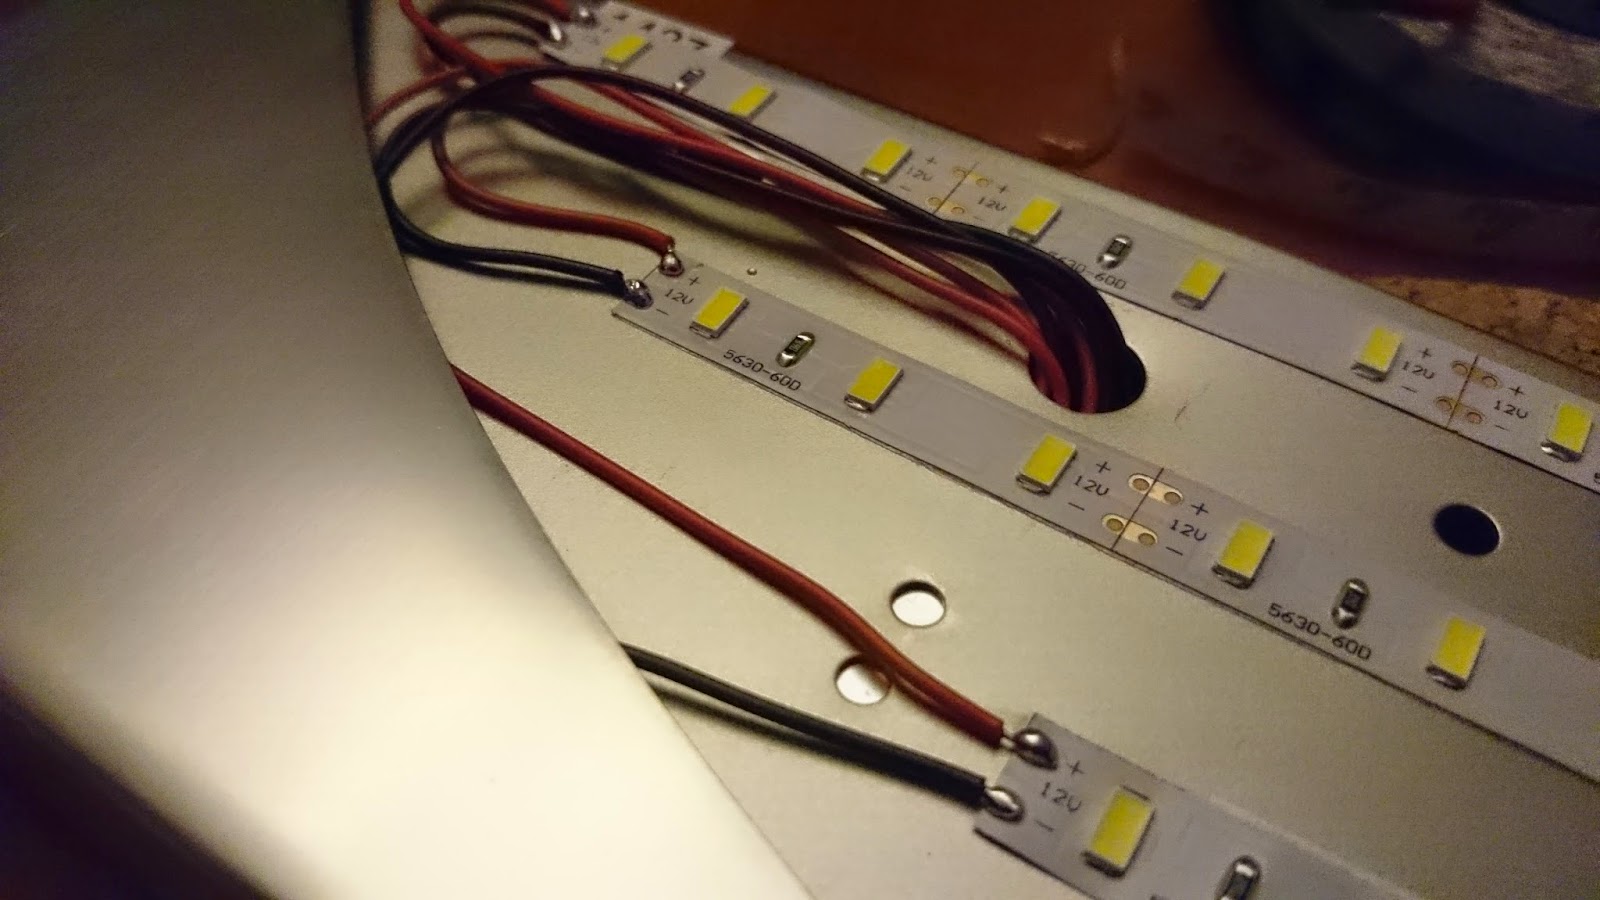 |
| Close up view of the soldering and wiring |
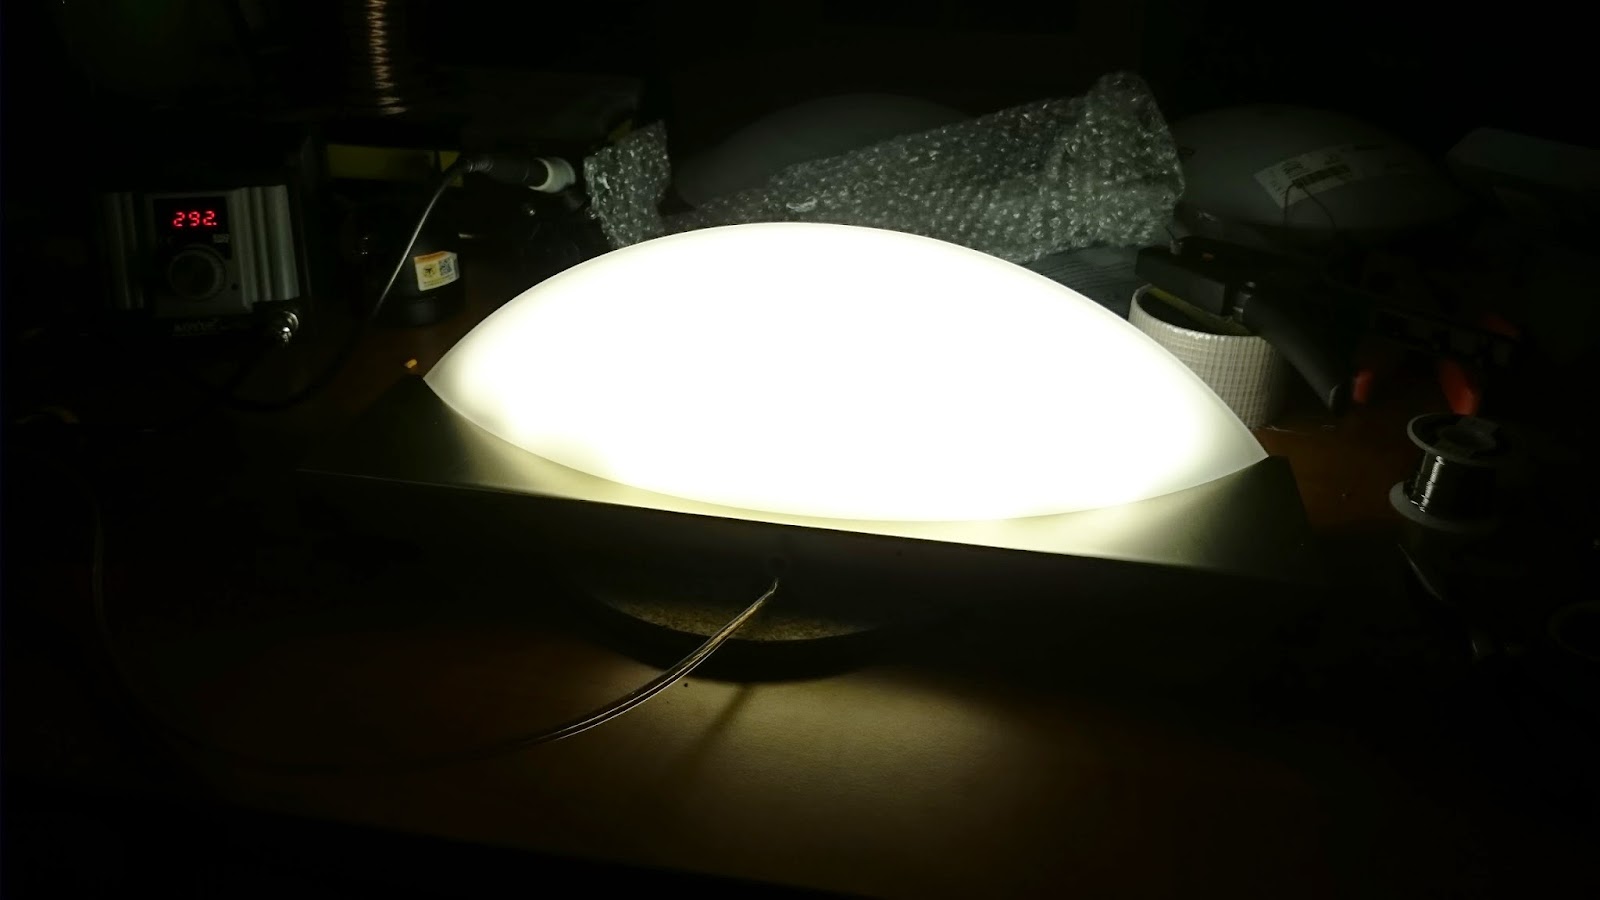 |
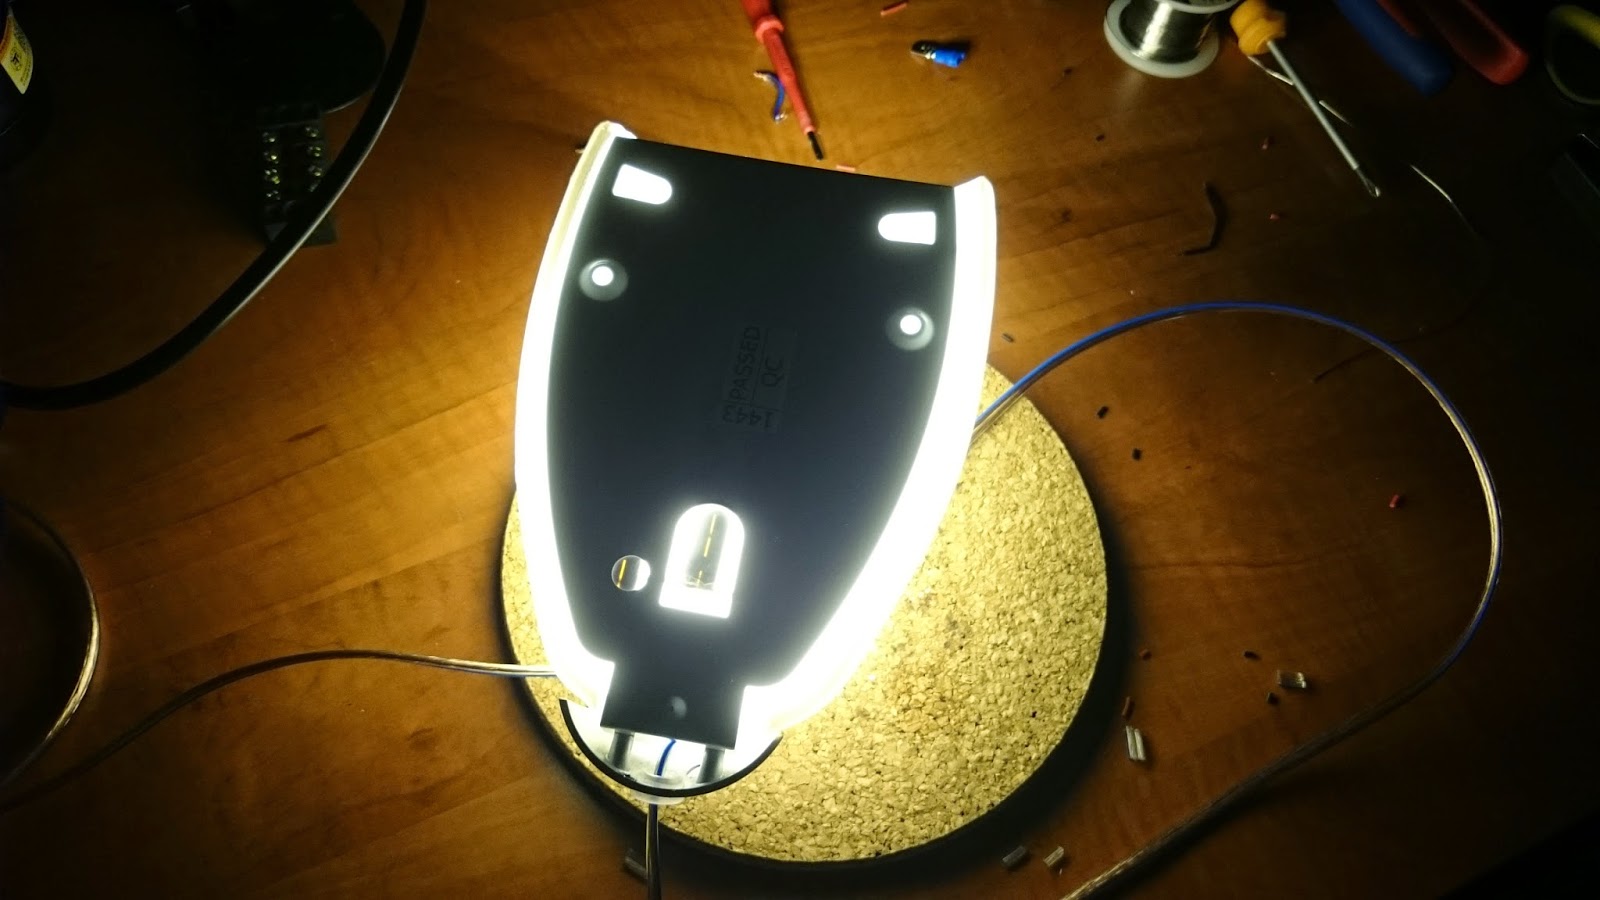
| Full even spread light, nice and even |
 |
| The LED’s inside of the lamp, when mounted high enough it should not be visible at all |
 |
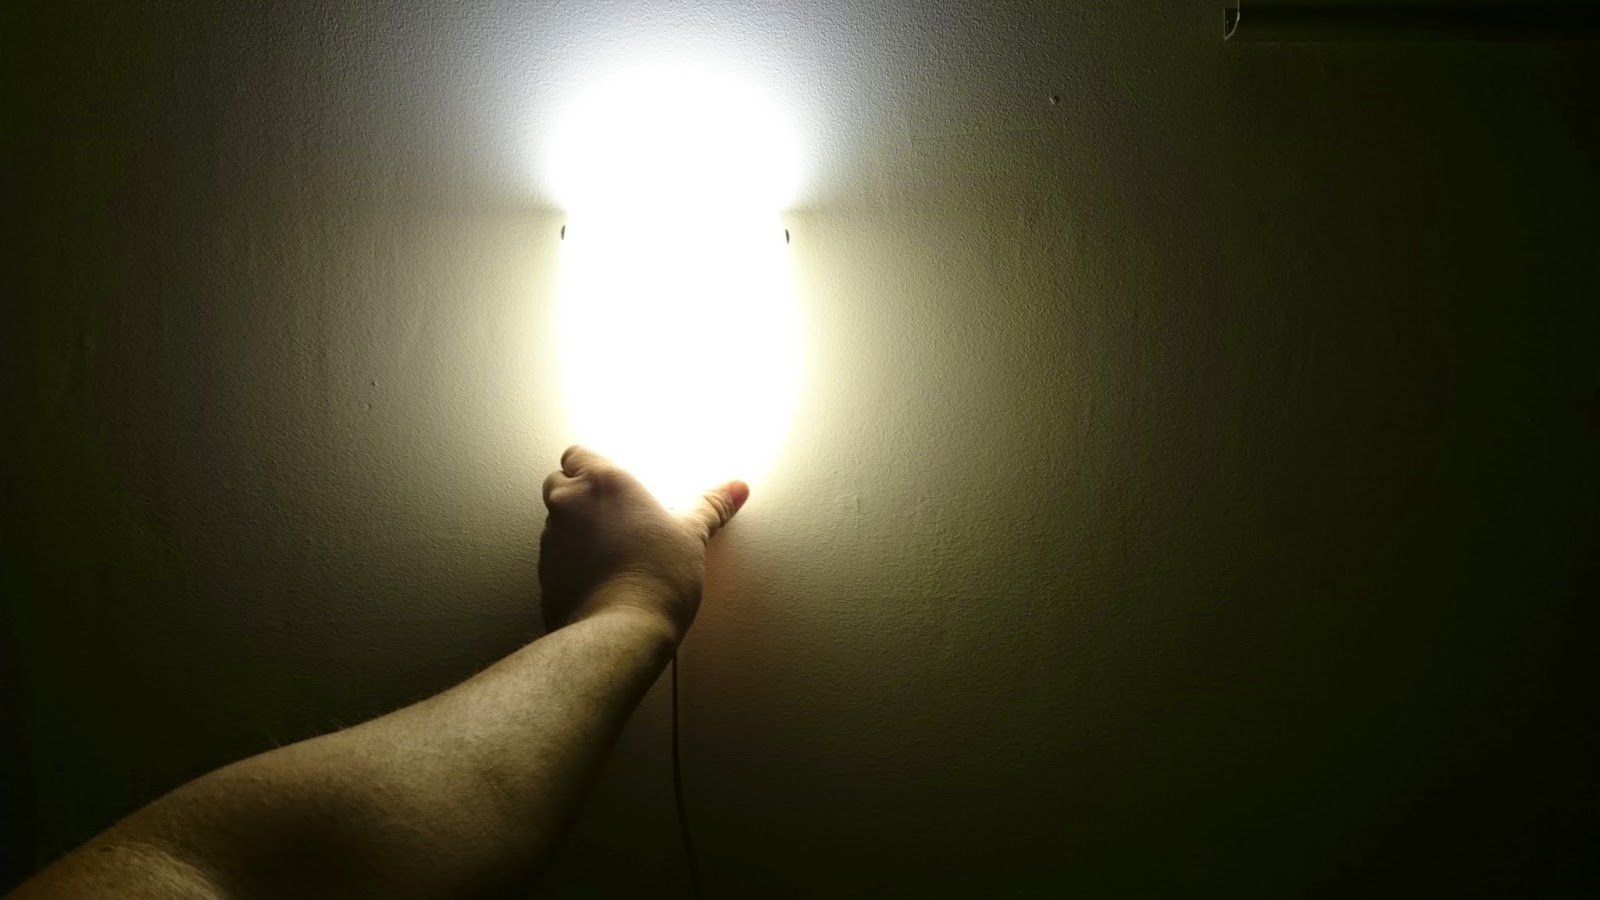
| Full power it shines pretty bright |
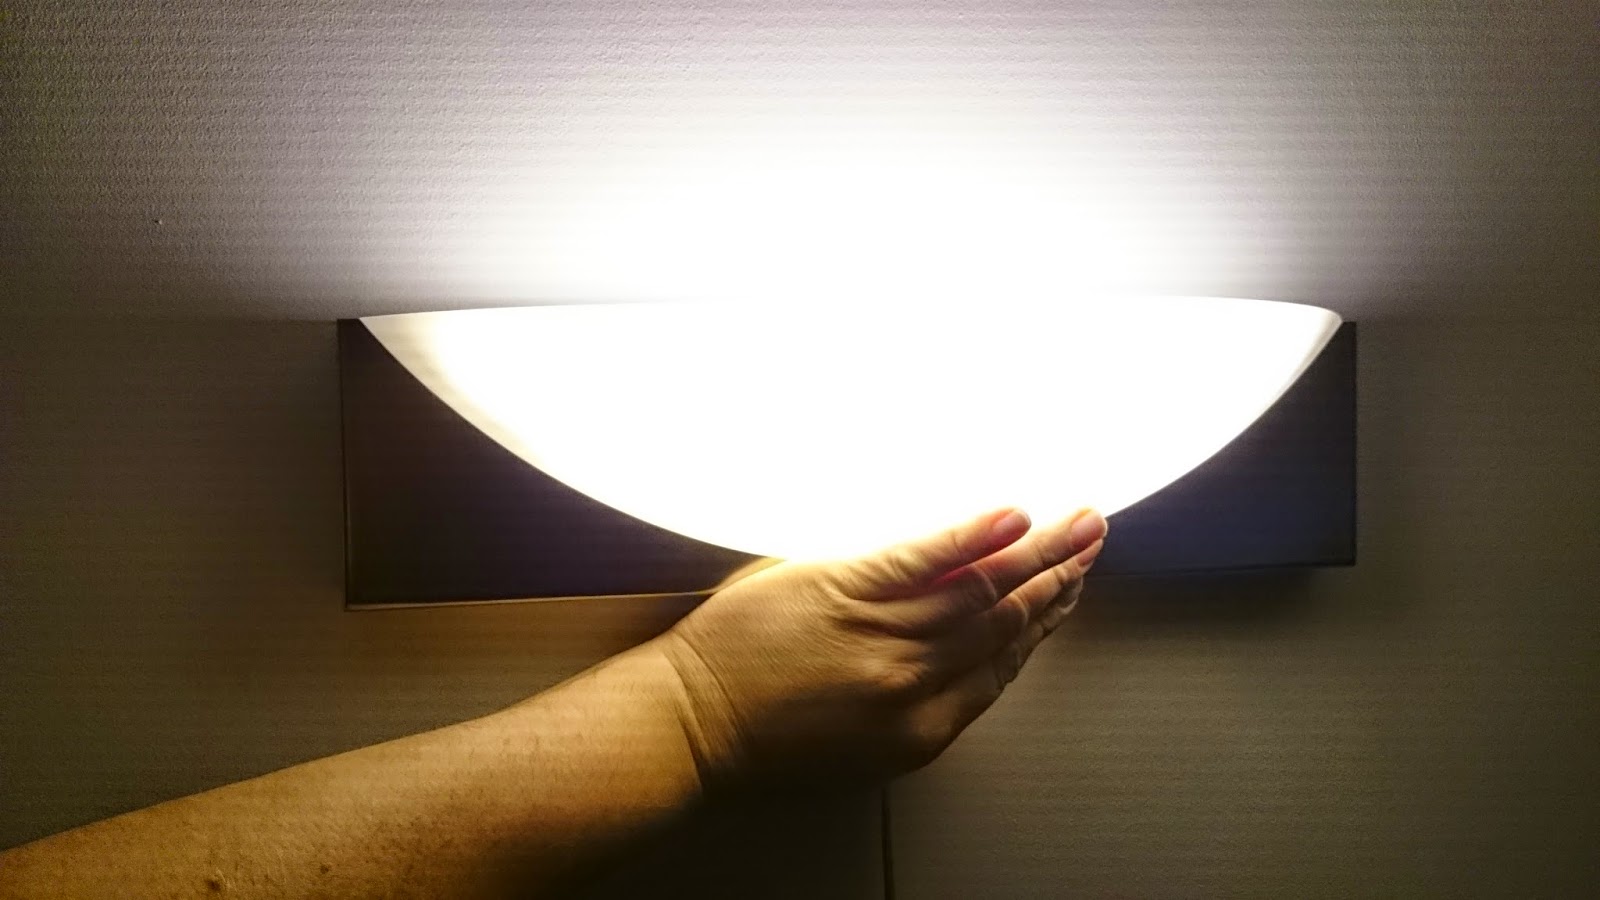 |
| Holding it up against the wall the show the effect |
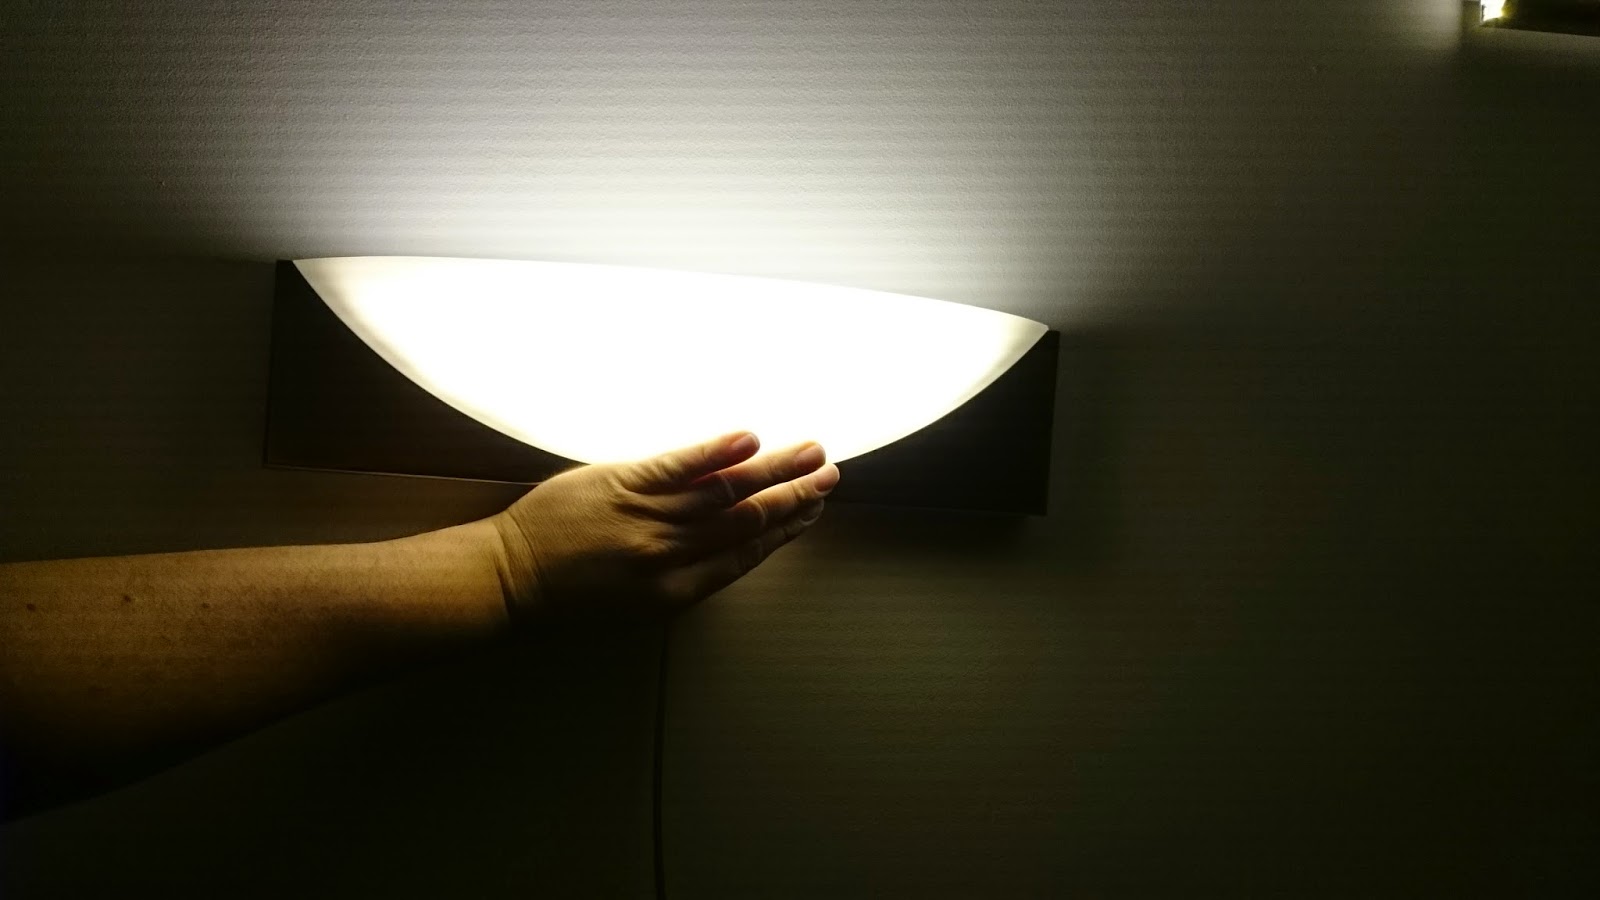 |
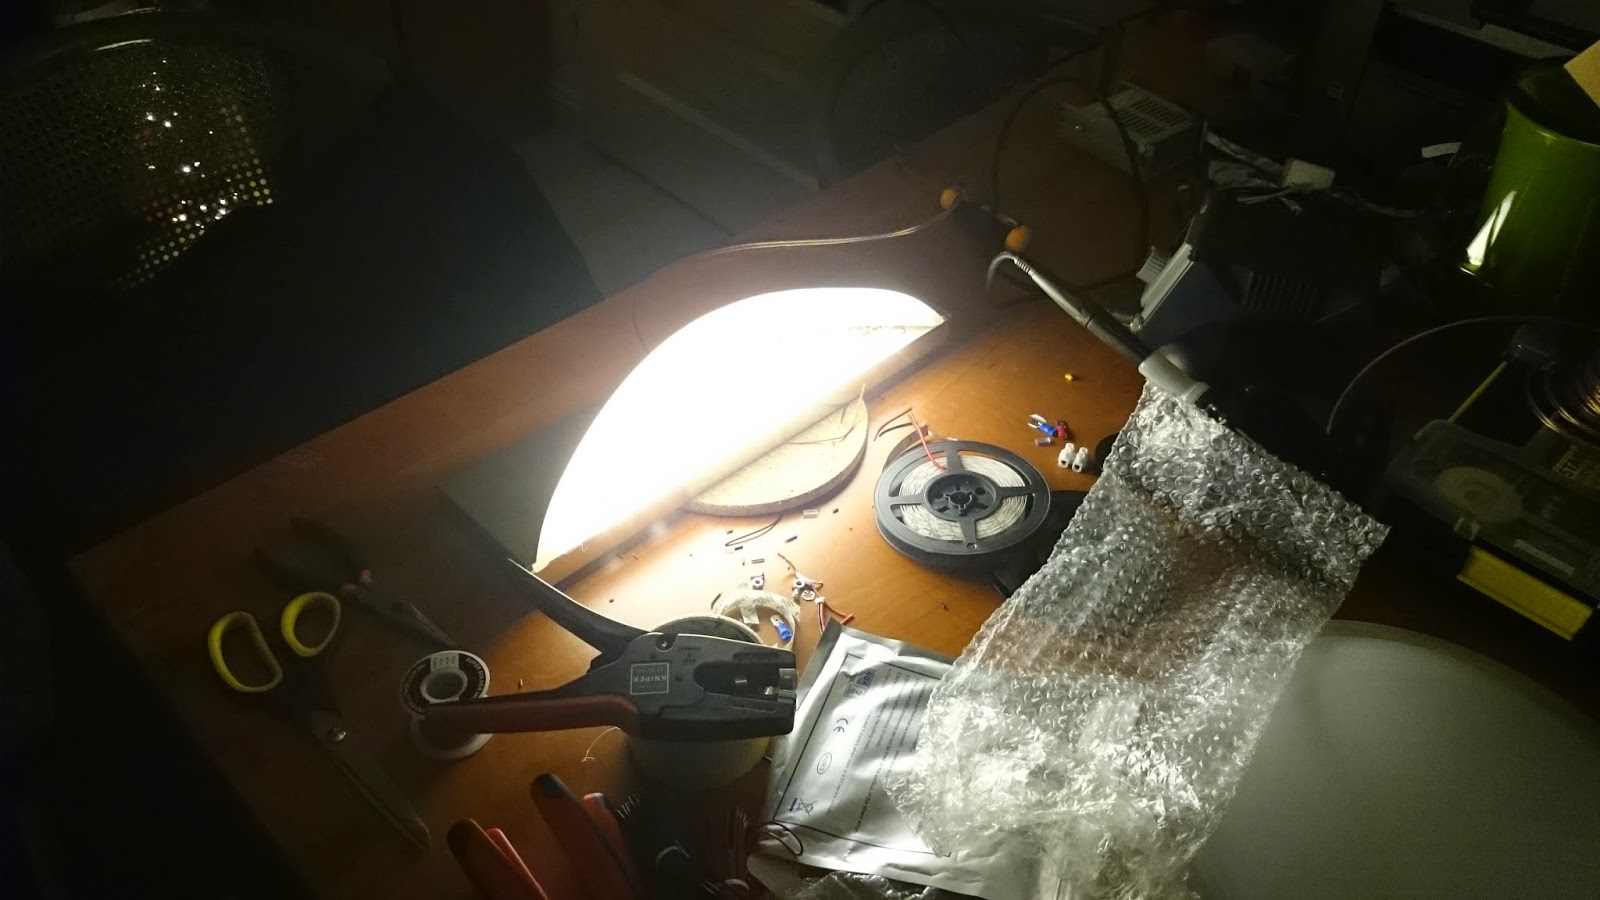
| Showing the light |
Lamp 3: A small wall light
The third lamp I bought was a small wall light. Again a nicely frosted version with a metallic highlight. I think this light was the most fun to modify because it’s quite cheap but still gives you a very nice and sleek nice looking wall light!
This lamp is called the SANTIR, you can find it here. It only costs 4,99 euro.
 |
| Opened the light up and removed the normal lamp socket. With a good tool you can screw it out of the plastic plug |
 |
| The LED strip layout and soldering up the connections |
 |
| A white terminal block in the bottom fits perfectly! If you use solid cable like me, make sure you don’t stick them in too far so that a live cable can touch the lamp itself |
 |
| Holding the lamp against the wall. The frosted glass seems colored a little bit making the light softer/more yellow. The top lets the light shine a nice glow onto the wall |
 |
| Back side of the lamp. Enough holes to run the cable through instead of using the ‘official’ bottom hole |
 |
| Plenty of light, won’t light of the room by itself but a few of these can light a hallway nicely |
 |
| The finished version, as I said above you can reroute the cable through the back making it even nicer! |
And that’s it, all of these hacks turned out quite well. Hiding the individual LED’s quite well, providing a nice and smooth/even light. As I wrote above I think Lamp 3 is the best success. It’s just so cheap to buy and modify and it looks awesome! The light it produces is also very nice and warm, when hung at the right height you will never see the individual LED’s and you can easily run a few of them using one ESP8266 module.
The ultimate combo would be Lamp 2 and 2 of Lamp 3 as a sort of set and housing the ESP8266 module and a 12v PSU in the back of it. I’ll update this article when I figure that out. 🙂
The ultimate combo would be Lamp 2 and 2 of Lamp 3 as a sort of set and housing the ESP8266 module and a 12v PSU in the back of it. I’ll update this article when I figure that out. 🙂
Brilliant work! Great inspiration for some of my plans, thanks for posting!
So do you turn them off just via your mobile phone or does an actual physical switch turn them on. Can you do it both ways to either turn them on remotely or with a normal switch? Would that require a relay?
I researed valuable information on this point as I am working on a class project. Thank you posting useful information and its now becoming easier to accomplish this task. led products