This third part will be a hardware and design overview of the Storage server that I am using. This server combines a NAS with some secondary functions for me such as SabNZBd, Sickbeard, Couchpotato, FTP, CrashPlan, etc. I know that kind of taints it’s pure function (serve me storage) but since I used a pretty hefty machine for it, all seems to be working quite well and since this is not a company installation I believe the otherwise wasted CPU power can be put to good use! This article will be one of the most complex because it will hold the configuration I made and also partially the reasons why.
Before starting this build I researched most of the popular storage distributions out there. I tried the newest iterations of FreeNAS, NAS4Free and some others less known. I did not feel very drawn towards a Solaris based variant because their future is kind of hazy. In the end I settled with ZFSguru, it ran well in my test VM’s and seemed to provide the most open and complete OS if you needed something that wasn’t possible yet in the web interface. And the web interface that is there is quite attractive. 🙂
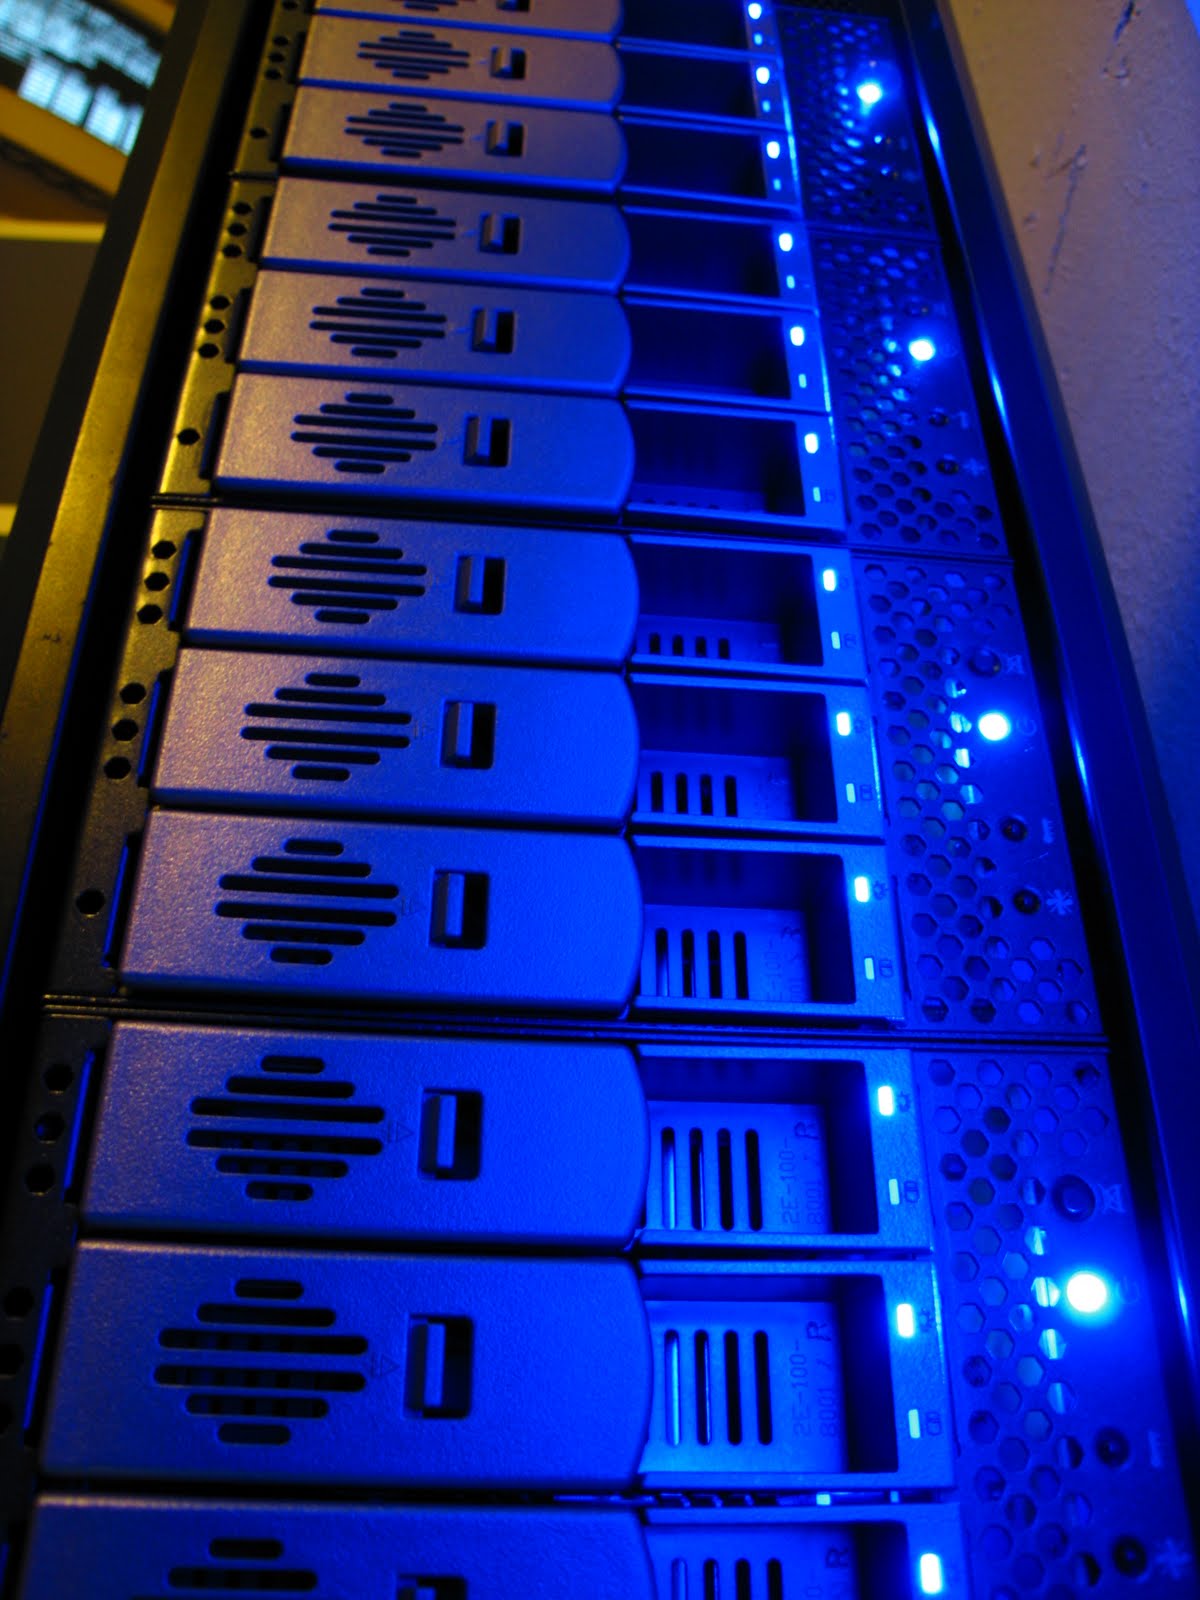
But first, the hardware! The hardware was a re-use of the hardware used for my former ESXi server. Since I replaced that I had this hardware to re-purpose and since it’s not that much of a power guzzler, I believed it to be the perfect candidate to be promoted to a full-time storage server.
Hardware:
Case: Cheapest Sharkoon case with 9×5.25″
Memory: 2x8GB 1600Mhz + 2x4GB 1333Mhz total = 24GB CL9 1333Mhz
Storage Controller: 6x Intel 6Gbps chipset port, 1x PCIe x8 IBM M1015 8x 6Gbps SAS controller (LSI 9220-8i)
OS: ZFSGuru 9.2-001
The whole layout and partitioning was designed before committing anything to the actual machine. I advise everyone to do the same! It might seem tedious work but you will end up with a better configuration in the end because you have to figure out how everything works (Pro’s, Cons, Advantages, Disadvantages) and what it does before you are confronted with it.
Disk layout:
Onboard Disks:
1x OCZ Vertex 2 SSD 240GB
1x OCZ Vertex 2 SSD 180GB
1x Samsung 2TB F3EG HD203WI
IBM M1015: (Flashed to newest LSI IT firmware)
1x Samsung 2TB F3EG HD203WI
5x WD Green 4TB WD40EZRX
Total Space (Gross):
SSD: 420GB
2TB HDD: 4TB
4TB HDD: 20TB
Disk RAID levels:
SSD – Boot Mirror, L2ARC, ZIL
2 x 2TB in RAID1 makes 2TB net disk space (LZ4 enabled)
5 x 4TB in RAIDz1 makes 16TB net disk space (LZ4 enabled)
Total usable space 18TB
The (software) tasks of the 2TB mirror and RAIDz1 have been separated to allow the RAIDz1 to go into spindown as much as possible. In the future I hope to write a script which will do something I would like to call ‘Hour-of-Day dependent spindown rules’. Basically, I wish to change the spindown rules at set times, preventing the system from spinning down the drives when I know I am going to use them, and try to keep them spinned down when I know I am not. Combined with the layout and strict 24Hr IO zoning this will hopefully provide me a little bit of savings on my energy costs while not ruining the drives by stopping and starting too much.
The RAID1/Mirror will be used as always-on disks for running several VM’s (using iSCSI), ongoing torrents, timelapse scripts, etc.
The RAIDz1 will be used for big data storage but should be able to spindown at least 50% of the day. It will also house an iSCSI volume for my testing VM’s which don’t run 24Hr a day.
SSD Partition sizing:
4TB’s:
Partition 1: Mirror 30GB (2x30GB) – System Partition
Partition 2: Stripe 8GB (2x4GB) – Swap Partition
Partition 3: Stripe – L2ARC – 120GB (2x60GB) – Read Cache
Partition 4: Stripe – ZIL – 10GB (2x5GB) – Write Cache
2TB’s:
Partition 1: Stripe – L2ARC – 70GB (2x35GB) – Read Cache
Partition 2: Stripe – ZIL – 10GB (2x5GB) – Write Cache
ZIL/SLOG
There is a choice here, striping the ZIL/SLOG is generally not recommended. You need to take special care of the SSD’s you use, that you use a UPS, etc. Data Integrity is important!
Be mindful of the chain the data follows:
NIC -> CPU -> Memory Write Cache -> Controller (Cache) -> Disk Cache -> Disk Platter
When your data is on the Disk Platter it’s safe. Any other step in between can cause data loss. Adding a ZIL/SLOG to the mix goes between the “Memory Write Cache” and the “Controller (Cache)”. This step needs to be protected just as well as any other step.
This can be done multiple ways, but most important is that the data doesn’t get lost in a buffer that disappears when the power turns off. Best way to do this is using an SSD with a Super Capacitor or other form of buffer protection. I myself use OCZ Vertex2 SSD’s and I consider those to be in the middle, they don’t use a RAM buffer inside of the SSD, so any write done to it should land on the NVram pretty quickly.
All other stuff needs the same thing. If you have a controller with Cache on it, it’s needs battery or NVram protection. If you use disks with cache memory (all mechanical disks do) you need to either buy a UPS which will shutdown your system gracefully or turn that cache off.
Only then you can be 100% sure that when the OS tells you something was written that it was actually written to your disks. This isn’t just true for ZFS based storage systems, but for any storage system in the world. And all is not black and white in the world, often some protection is in place, but not all, it all depends on how sure you want to be, the performance you need and ultimately your budget.
I myself have chosen to “stripe” my ZIL/SLOG (It’s not really striping, they are use simultaneously) and not put them in a mirror. This could potentially lead to dataloss in the future. But since this is a home server, and I make regular backups of the data I truly value (Using crashplan) I find this acceptable. (Be mindful that in previous versions of the ZFS filesystem it could mean that losing your ZIL/SLOG would mean you lost all data on your pool, with the current v28 and higher this is no longer the case and you will lose ~5 seconds of written data.
L2ARC is a secondary read cache buffer which is often a lot bigger then your ARC which resides inside of your RAM. The idea is that if your ARC cannot hold your HOT data anymore at a certain point it becomes cheaper to add more L2ARC in the form of SSD’s thus still providing you with a multitude (Especially for random I/O) of the performance that the third layer, your disks will have. Don’t grow your L2ARC insanely large though because the mapping tables to keep the data on there consume RAM so will actually decrease your ARC in size! L2ARC is not bothered by a power outage or any other form of malfunction. Currently the L2ARC cache (And ARC for that matter) will have to be rebuilt after a reboot. This is done automatically. In a future version L2ARC will remain persistent during a reboot!
SSD Detailed Layout:
240GB
Part 1 30GB Mirror System/root
Part 2 4GB Swap
Part 3 35GB L2ARC-2TB_1
Part 4 5GB ZIL-2TB_1
Part 5 60GB L2ARC-4TB_1
Part 6 5GB ZIL-4TB_1
180GB
Part 1 30GB Mirror System/root
Part 2 4GB Swap
Part 3 35GB L2ARC-2TB_2
Part 4 5GB ZIL-2TB_2
Part 5 60GB L2ARC-4TB_2
Part 6 5GB ZIL-4TB_2
SSD Free space after partitioning:
Free space 180GB (180-30-4-60-5-35-5) = 46GB keep as over-provisioning
Free space 240GB (240-30-4-60-5-35-5) = 106GB keep as over-provisioning
Over-provisioning serves to keep the SSD healthy. It gives the SSD controller more room to do it’s garbage collection (No TRIM available) and also makes sure that your read and writes will remain at a more constant level. If you fill up your SSD completely, especially with 1st and 2nd gen controller the SSD could dead-lock requiring a secure erase to bring it back to life again.
iSCSI volumes:
ZFS-iSCSI-2TB – 1TB of space
ZFS-iSCSI-4TB – 1TB of space
Actually installing this server and tuning and such will be detailed in the next article!

This comment has been removed by a blog administrator.
This comment has been removed by a blog administrator.
Really awesome blog. Your blog is really useful for me.
Thanks for sharing this informative blog. Keep update your blog.
Oracle Training In Chennai