It’s been about 1,5 to 2 years since I started the project to create my own wirelessly controlled PWM LED dimmer. Since that time I’ve kept refining the PCB and code and this post will be a sort of revisit and revision history of QuinLED.
In future posts and videos we will be doing a new tutorial on what components you need, how to solder it all together, program the ESP8266 and link it to Domoticz. I also plan to create posts about the LED Power wall I’m going to build to house everything centralized in my house.
–2019 update–
I’ve been working on new QuinLED modules and they have recently been released. To make all the content surrounding the new dimmers and everything LED easier to find I’ve started http://quinled.info as a sister website to this one!
There you can find the newly released QuinLED-Quad and QuinLED-Deca modules, improving upon a lot of features compared to the now called QuinLED-OG! This doesn’t mean the QuinLED-OG isn’t a viable solution anymore, hundreds of modules are still being used each day and it’s still the smallest and by far the cheapest design.
In 2019 I will also be releasing Digital Controllers for addressable LED strip and LED panels, more about that on the new website!
So check out the new website and then decided which dimmer best suits your needs!
http://quinled.info
More in this series
- ESP8266 LED Lighting: Revisit and history of QuinLED (This post)
- ESP8266 LED Lighting: Board files and components list
- ESP8266 LED Lighting: QuinLED soldering tutorial & Tools
- ESP8266 LED Lighting: Setting voltage and flashing NodeMCU
- ESP8266 LED Lighting: Programming and controlling QuinLED
- ESP8266 LED Lighting: QuinLED v2.6 PCB
- ESP8266 LED Lighting: Installing COB LED downlights controlled using QuinLED
- ESP8266 LED Lighting: Using QuinLED with Domoticz
- ESP8266 LED Lighting: Outdoor Wall/Garden Cube LED lights
Be sure to also checkout
Old series about my ESP8266 dimmer
- ESP8266 WiFi LED dimmer Part 1 of X: The setup
- ESP8266 WiFi LED dimmer Part 2 of X: The Hardware
- ESP8266 WiFi LED dimmer Part 3 of X: Flashing and programming the ESP-01
- ESP8266 WiFi LED dimmer Part 4 of X: Configuring Domoticz
- ESP8266 WiFi LED dimmer Part 5 of X: Ikea Lamp hacks
- ESP8266 WiFi LED dimmer Part 6 of X: ESP8266 Domoticz Wall Switch
- ESP8266 WiFi LED dimmer Part 7 of X: Updated Dimmer and Domoticz code
- ESP8266 WiFi LED dimmer Part 8 of X: Version 2 of the PCB design
- ESP8266 WiFi LED dimmer Part 9 of X: The new house lighting plan
- ESP8266 WiFi LED dimmer Part 10 of X: Finding the right lights
Video
The video basically says it all. Go and watch it!
What is it, how does it work?
As I said in the video, in one sentence, it’s a ESP8266 based PWM WiFi controllable dimmer. That’s a whole lot of acronyms in one sentence, so I’ll try and explain each of them desperately.
ESP8266
The ESP8266 is a micro-controller like you might know an Arduino or a Pix. These are small computers which are programmable to carry out certain tasks. They are most often tasked to handle controlling simple functions inside of a device.
In our case, the ESP8266 creates the WiFi connection and runs the program that, depending on the input value it receives, dimms the connected LED lights to the desired intensity level.
We use the two GPIO pins that the ESP8266 has to pulse the MOSFETs.
PWM
As I explained in the video, PWM is a method of digitally controlling a signal. In my case I use it’s properties to dimm the connected LED lights.
My program in the ESP8266 pulses it’s GPIO’s a 1000 times per second. The width of the pulse determines the resulting light intensity. That all sounds a bit technical, but maybe this diagram can explain it a bit better:
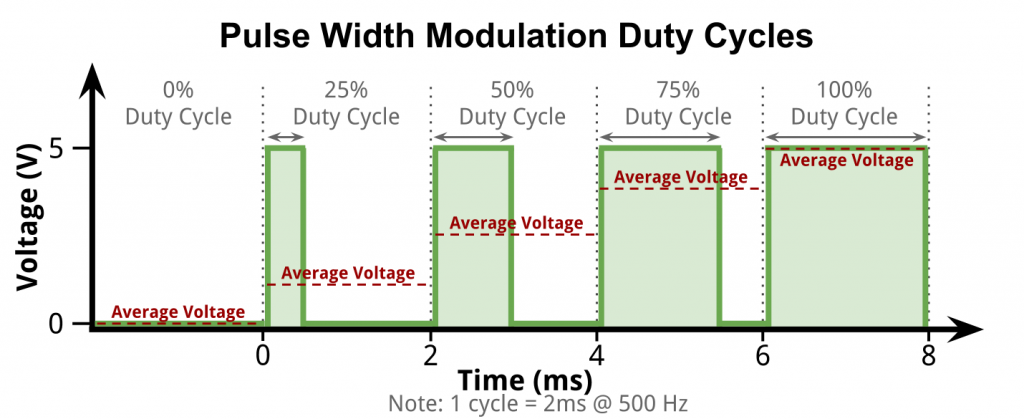
Pulse width modulation
Although the GPIO pins on the ESP8266 generate the pulsed signal, the MOSFETs amplify this at the original voltage and handle all the current.
MOSFETs
A MOSFET is basically a gate that can be switched on and off very quickly. The ESP8266 can only handle very low amperages at 3.3v, enough to light of a single low-power LED a bit, but certainly not more then that.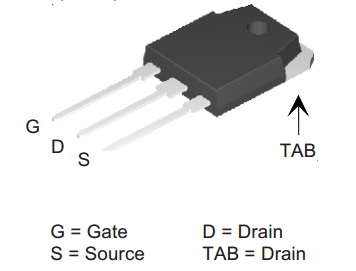 A typical TO220 package mosfet
The MOSFETs I use have three pins. Input, Output and a gate. Basically, my PCB connects the incoming 12v, 24v or 36v (or anything in between really, my design needs 5v at the lowest) to the input pin and connect the output pin to the LED lights.
The gate is connected to one of the GPIO ports on the ESP8266 and that’s, in simple terms, how the whole design works!
What do I plan to do with it?
The whole inspiration behind this project is because I believed commercial LED dimmers are too expensive and don’t offer the features I desired.
Since this is a custom solution which is software controlled, we can make the connected lights do anything we desire!
Because of that, in later code, I added an auto-calculating dimming algorithm which you can tell how long it should take to fade from [current value] to [target value]. This makes for automatic and slow of fast smooth transitions, depending on what you need!
If you are interested in where these lights are going to go in the house, take a look over here.
And if you are interested to see which lights I selected, read the article over here!
And everyone who is interested to see how far the house has progressed up until this point, check out this post and this post.
Next article
The next article will be about the hardware you need, the QuinLED board and how to solder it all together!
If you have any questions or comments, please leave them below or under the YouTube video!
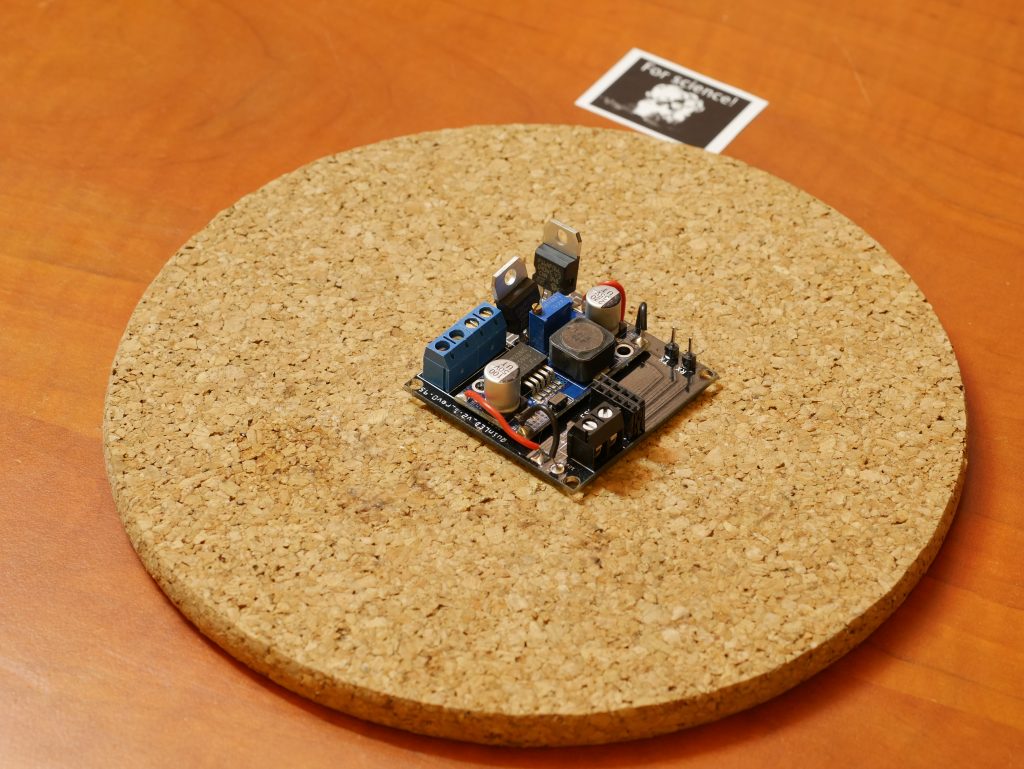
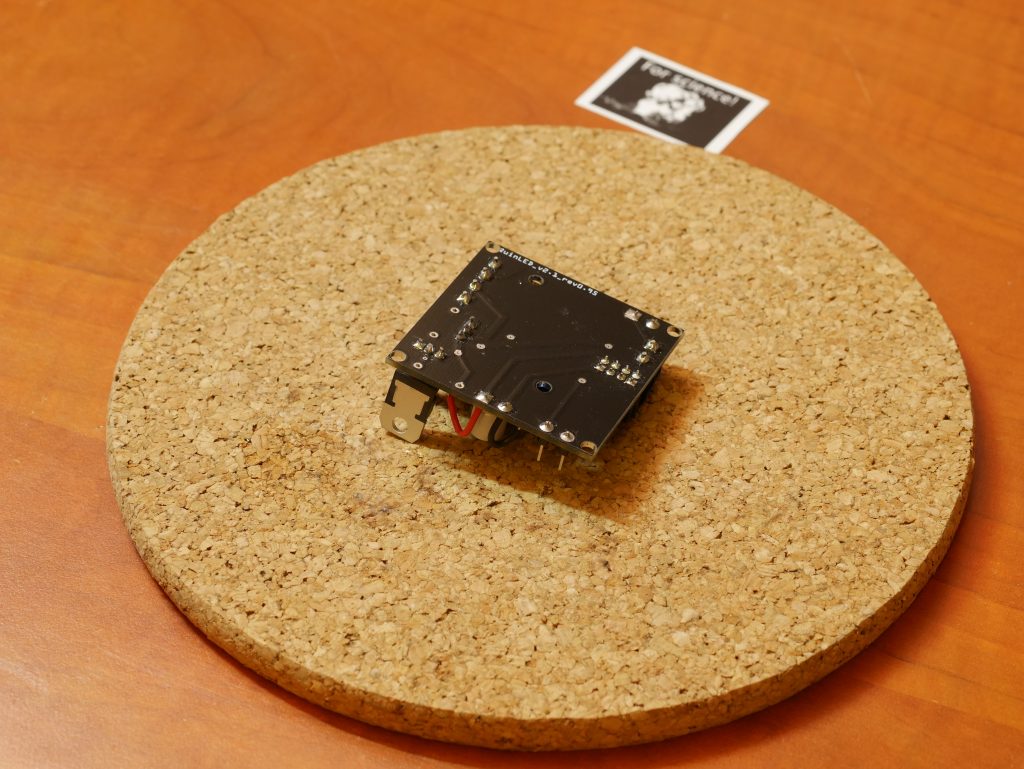
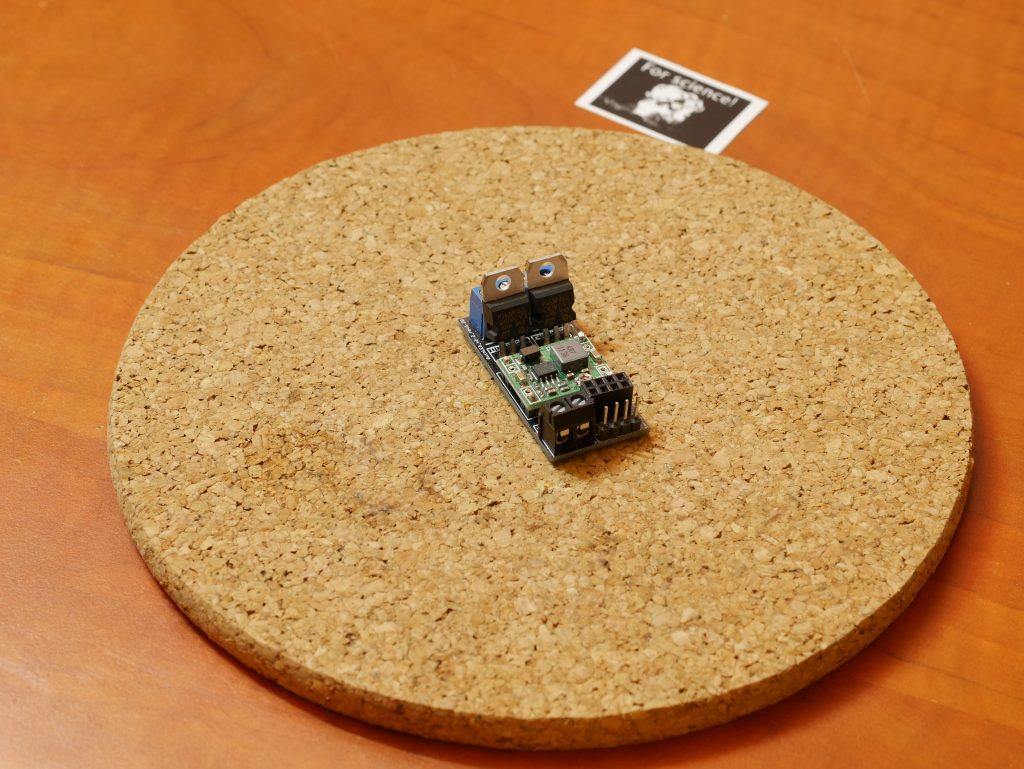
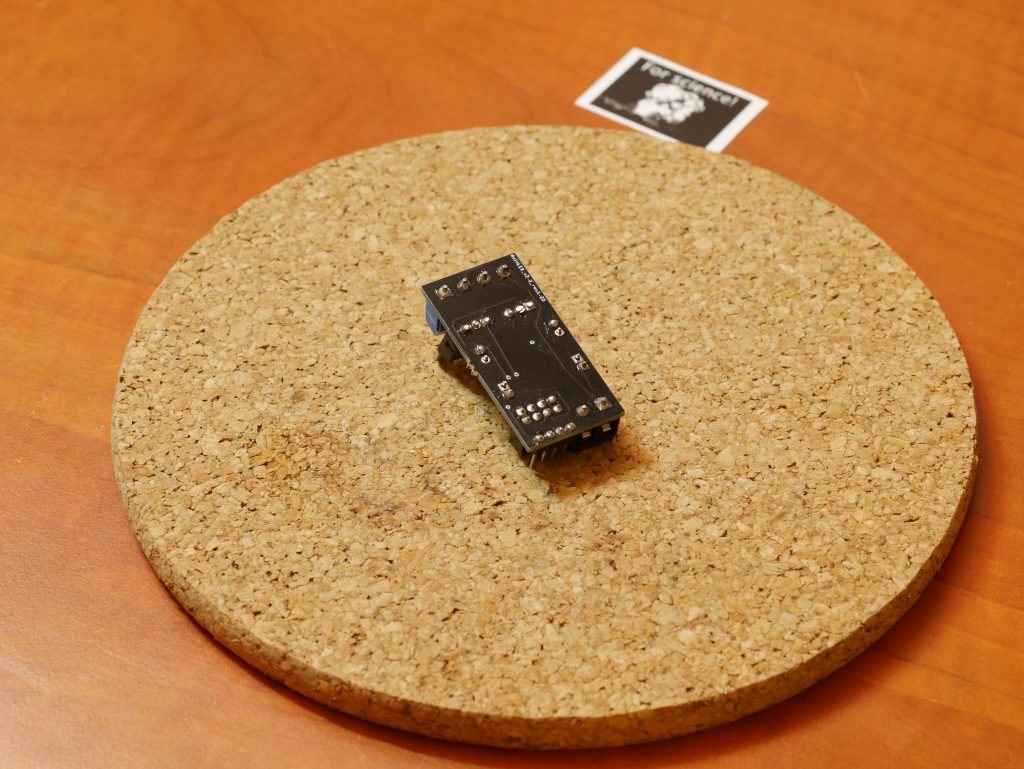
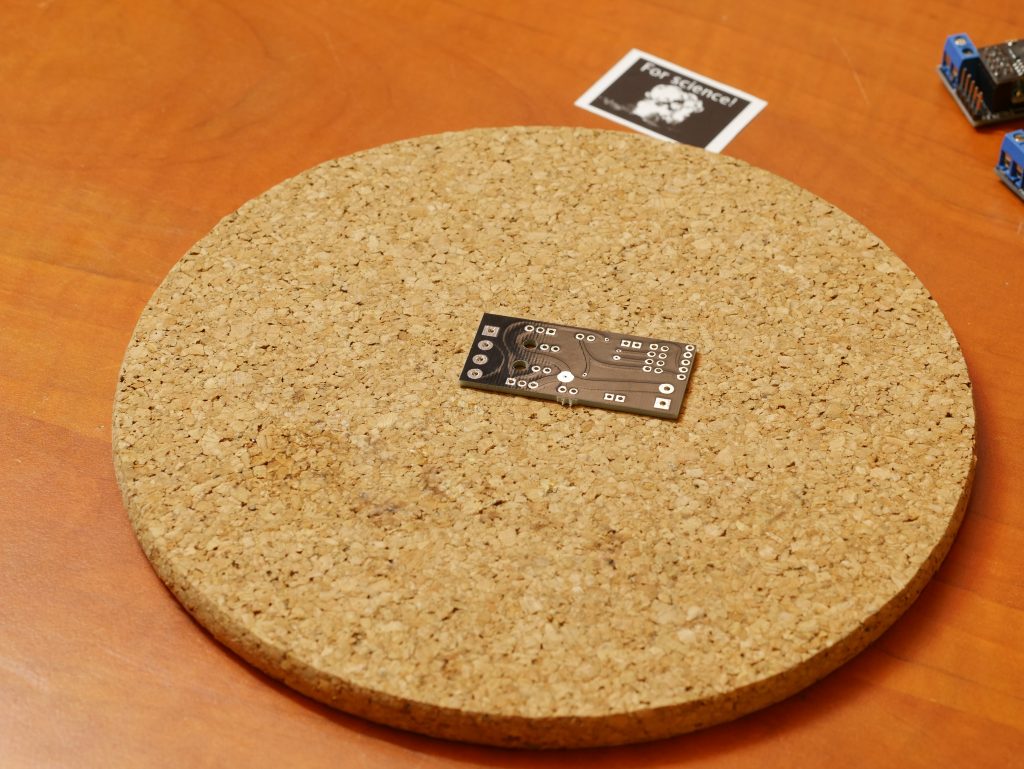
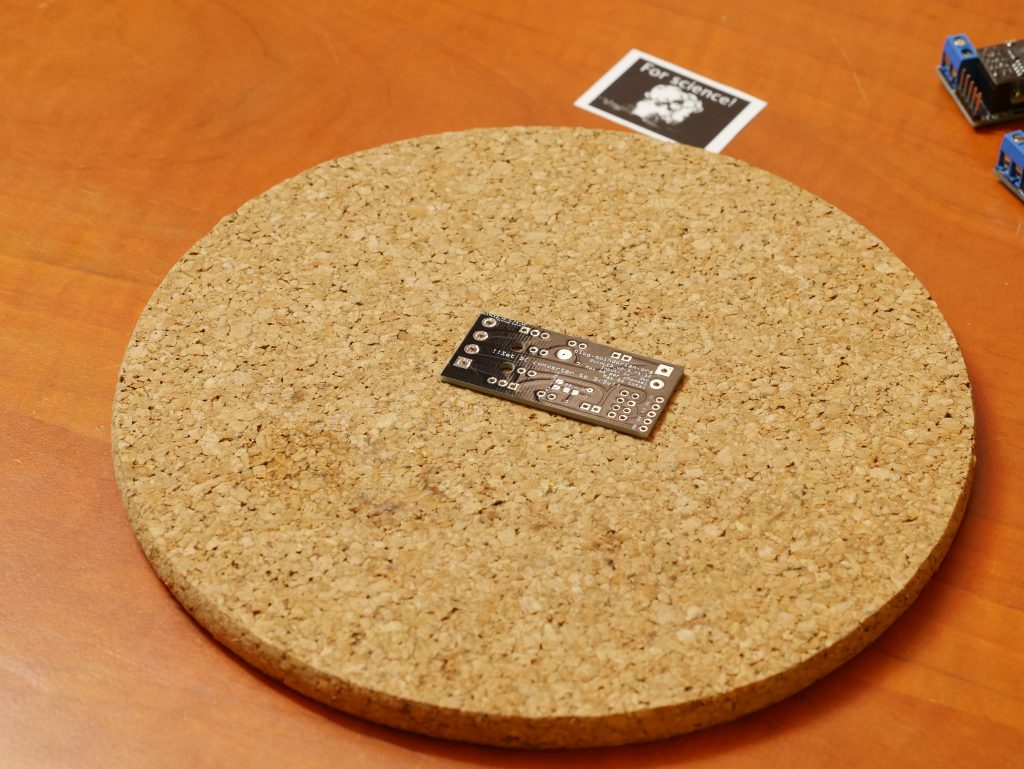
Revision Photos
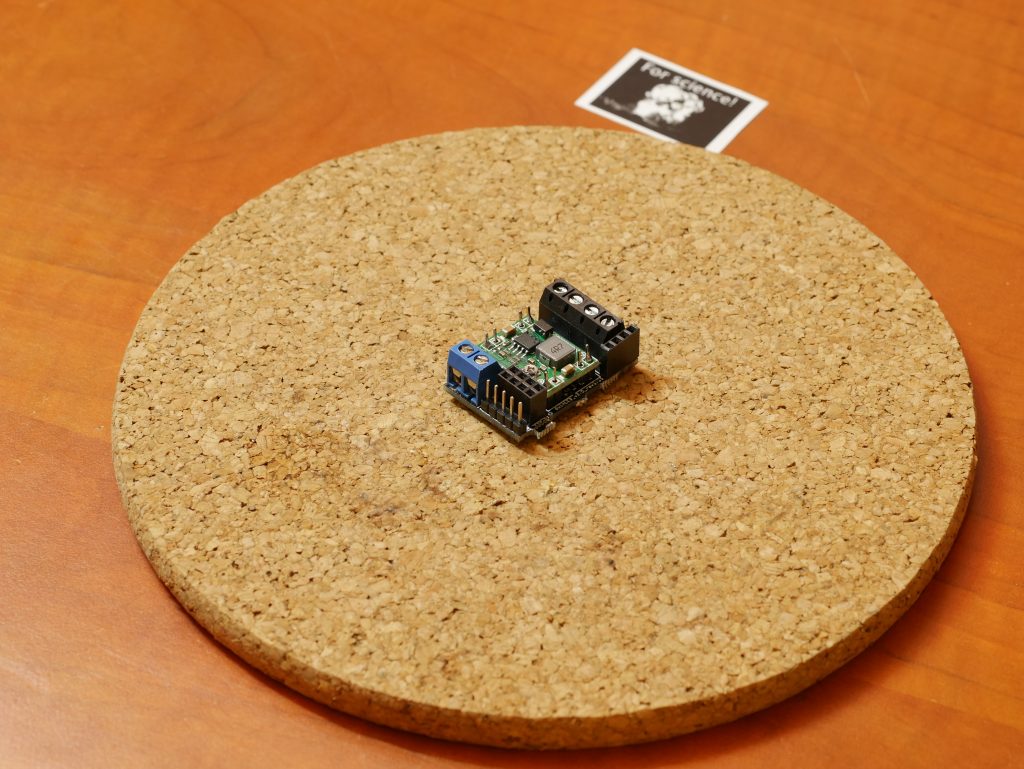
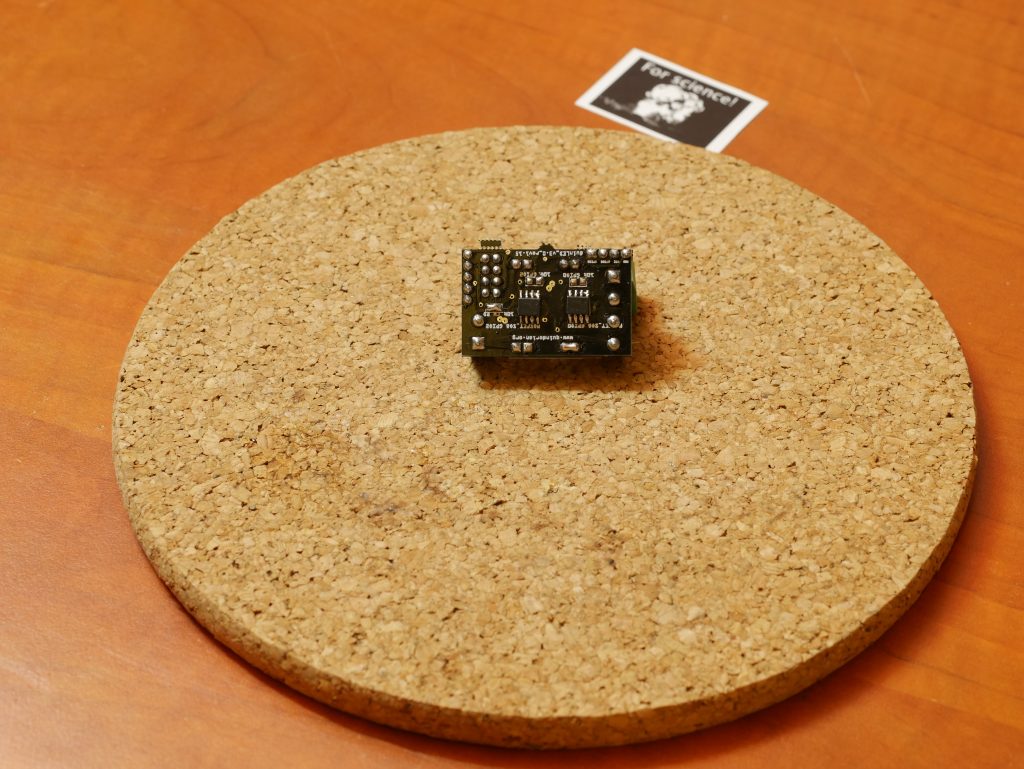
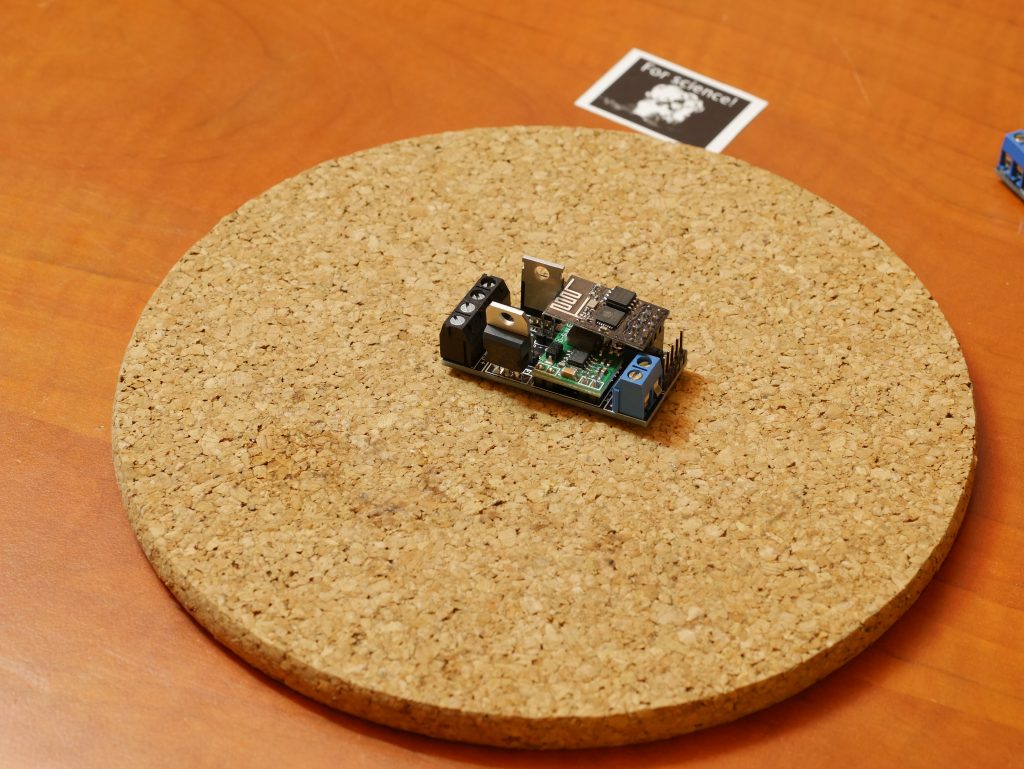
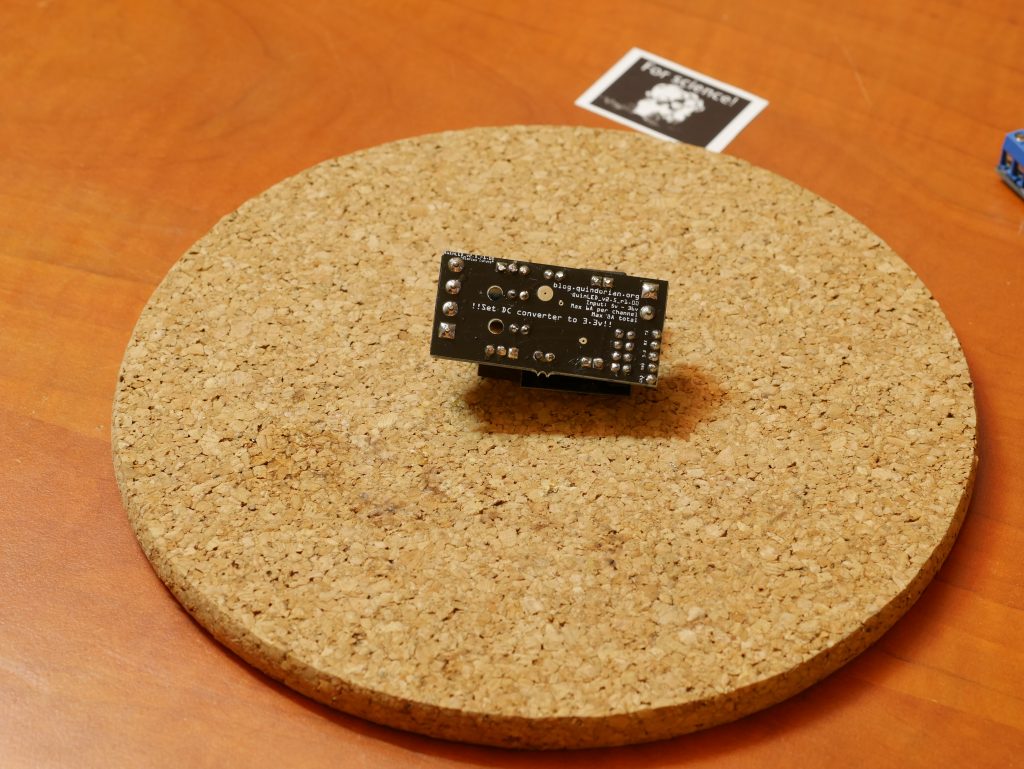
Prototype board
Version 1 PCB
Version 2 PCB
Version 3 PCB
Version 2.5 rev 1.00
Version 2.5 Rev 1.12
Version 2.6 rev 1.00
Check the articles in the top of the post, version 2.6 is now available and I recommend anyone getting started getting that version!
Old Article
As I mentioned, this is more of a revisit of the project I started about 2 years ago. If you would still like to read the original article, you can find it here.


Hi !
Thank you very much for what you are doing.
I’m very interested in your QuinLED Projet since the beginning. I have tried to do it myself but it seems to me that the 3.3v from the ESP8266 is not enough to power the gate of the MOSFET. So at the end the led strip is blinking.. If you have any idea, please tell me.
Thanks a lot,
Perhan.
Sadly, I think you received bad MOSFETs. I’ve had this problem with ordering them in China too.
The MOSFETs you get aren’t the “L” version which means they require up to 5v to fully trigger the gate, where with the correct kind it only needs 3.3v. This also causes the flicking you’ve observed because the ESP8266 just can’t supply enough juice to correctly trigger the gate.
I’m really sorry if you bought it through one of my links. 🙁
I have corrected all the links to a supplier which at least lists very clearly that the gate will trigger at 2.5v! (http://s.click.aliexpress.com/e/7QRNfamQF)
Alright that makes sense to me now 😉
Thank you very much (even if I ordered by one of you former link) :p
So I bought new ones from your new link and I keep you in touch.
Just keep on doing videos and posts, I really enjoy.
Many thanks.
Awesome, please let me know if the one’s you get from the new link work correctly for you. Selecting the right seller, the right product and consistently receiving that same product can sometimes be a challenge. 😉
Great, the new MOSFETs from your new link are working perfectly well !
Thanks a million.
Awesome, thnx for letting us know. This seller certainly isn’t very cheap (I can get them cheaper locally) but at least they are of the correct type!
I have built a few of the version 2 boards, I love how they work, thank you! One issue I have is that it appears that the transistors switch on the ground line. This means that in a projects where I have COB lights mounted to a metal frame that the frame has to be at a positive voltage… 🙁 Shouldn’t the ground be common and the power line be switched? Maybe I’m missing something…
Another symptom of this common positive power is the MOSFETs can’t touch. I realize this problem is mitigated in the recent design by putting the on opposite ends of the board. It seems like correct design should be a common ground where they can both be bolted to the same heatsink. I may be wrong and would love to get feedback on this.
I incorrectly assumed the mounting plate of the COB lights I’m using was connected to negative. It would be nice to only have to run one wire to each light and have a proper ground, but all is good. 🙂 Thanks again for such an awesome project!
No problem!
About your earlier comment, from what I understood while designing the board and the project is that the MOSFET should indeed switch the ground (or minus) side.
I’m not sure if it makes a difference for single color LED strips but with RGB strips for instance the strip has a single + line running through the strip and 3 RGB lines. If you would would PWM the + you would never be able to regulate the color.
That way it made sense to me and that’s why I’ve always been dimming the ground (minus) side which has worked fine for me. 🙂
Good to hear that with your COB lights the base plate isn’t connected to the ground chassis in this case. 😉
Because of the way MOSFETs work, the gate has to have a voltage higher than the source. The ones we use require a Vgs (as it’s called) of >2.5V difference.
If we were to switch the 12V line instead of GND, we would need to provide more than 14.5V on the gate. That’s why we switch GND instead, since that triggers nicely on ~3.3V 🙂
Thanks Tom, that makes sense.
Hi,
The whole series is very professional and it’s enjoyable for beginners (like I am) too.
I decided to build this project. When will be the last article coming?
“I believe this might be related to my earlier designs not having resistors on the boards so maybe leakage current is killing the ESP’s?” – youtube
Should I wait for a revisited version?
Hi.
I was watching your website and was wondering where you make your pcb. Im trying to make my own project with same idea as you but then with RF.
Im working at the moment with europrint stuff but i want my own prints.
So where do you make the pcbs.
I get my PCB’s at dirtypcbs.com but if you read my text or watched my videos, wasn’t that obvious?
the link to DirtyBoards does not work anymore!
Right you are, don’t know what happened there. I’ll try and get something up as soon as I can so boards can be ordered again!
Hi
I have followed your tutorial ( great tutorial btw ) but i have som problems with my leds. it is 12V leds and i use 12V power supply but when i power it on that shine very poor. i see that my input is 12V and without the led attached i’ve got 12V out on the channel but with the leds attached i just get 6-7V. If i adjust the voltage on the regulator i can get 12V out but then my ESP will get about 4V and probably will be fired. What am i doing wrong? any suggestions?
it seams that many people have trouble with MOSFETS here. can it be a error source in my ase to?
Yeah, you probably got sent wrong MOSFETs too. I keep changing the link to hopefully get a supplier which always sends out the right one’s but sadly, it’s hard. If you can source the MOSFETs locally which adhere to the 2.5v trigger voltage, it will certainly work! 🙂
I finally got my quinleds working and flashed with ESPurna and controlled with home assistant. So thank you, for this project, its awesome and I learned so much. Two questions though, I didn’t have the small smd resistors so I skipped them and everything is working, should I bother to order them and solder them on?
Also, would there be a point to attach some small heatsinks I have laying around on the mosfets?
The little resistors are there as an optional extra. They should provide a little bit more protection/filtering but nothing more then that. I’ve run modules without them for over a year without issue but it’s just better to have them if possible.
A heatsink normally isn’t needed. At least mine don’t run hot at all but I don’t use them up to the maximum potential either (Mostly only a few lights or short lengths of strips per channel).
Hi, I was wondering which mosfets you used for the version 3 model? The footprint of version 3 seams a lot smaller. Is there a reason you haven’t documented that version (yet).
Kind regards.
Yeah was a bit smaller (in all dimensions), v3 was an experiment on using SMD components only. But I found that because the MOSFETs where SMD they could handle a lot less current (heat) and thus the boards become a lot less usable. It also had other constraints such as a lower voltage range and other issues that I abandoned it for now. Maybe in the future I’ll take a look at it again, but not right now.
I am starting to look at designing a new variant which I’m going to call QuinLED-Octa for now. If everything works out the way I want it, it will be an 8 channel version (instead of 2), able to handle a bit more power (in total, not per channel) and also allow for a much higher PWM frequency then currently used (Currently it’s 1Khz, but I’m looking at using 20Khz or even higher) so that the lights also become suitable to be used during video filming, etc.. But that project is going to take a few months, so more about that much later!
I just built 2 QuinLEDv 2.6 and I am experiencing troubles with the Mosfets from your link to aliexpress. THey wont go higher than 9v and are flickering from time to time. Behaviour seems so change when they heat up a bit. Just ordered them from Conrad now. Fun project though!
Would be great if your new project supports RGBW/WW. Thats 5 channels, so its possible 🙂
Oh and I altered your lua script for domlticz so it uses a default dummy dimmer with 0-100% range. Changed the multiplier from 33 to 10.23 and used a round function to send valid values to the ESP.
Those MOSFETs keep “hurting” people. I really try to get a supplier which will send the correct one’s, often I find one and then they change the product they send to people. I’ve already thought of an idea to fix that in my new QuinLED-Octa design, or not really fix but to make it compatible with MOSFETs that use 5v gate power.
The new Octa design will have 8 channels so running 8x Single Color, 4xWW/CW, 2xRGBW and 1xRGBW/WW should all be possible in the end. But as I said, don’t expect that project soon, I’m working on it during some spare time. 😛
Awesome, I’ve known of the new 0-100% dimmer, but I believe they are currently re-working dimmer and RGB(W) code in Domoticz so I intend to hook into that when it’s done. For myself I’ve also tested mapping the 32 positions it has now to more visually different lighting levels. I’m also debating switching to MQTT instead of my own scripts, but that’s all work in progress. 😉
Hi,
I really like your work on the board. It is super compact. Its just want I needed for my project. The only thing which is a bit concerning is the 12V to 3.3V conversion. In the past I have tired to use a DC-DC buck down converter based on MP2307. But they would get super hot and I had to revert to linear regulators (7805 to go from 12V to 5V and then AMS117 to go from 5V to 3.3V). But maybe I was just using the wrong type of down converter? I cant figure out which one you are using. Can you please help.
I figured it out from the close up pics. Your DC-DC module is using the MP1584 chip. Do these get hot if they are running for long periods?
Good question, I’ll look it up and get back to you the exact type!
But the amount of current the ESP8266 draws should never be enough to generate any kind of heat really. I certainly haven’t had any issues with it (some modules running for more then a year)!
The DC-DC down converter modules which I used (with the MP2307), would get hot even if there was no load on the output. The 12V to 3.3V conversion would heat up the module so much that it would be hard to touch. But if the modules you are using (assuming they are based on MP1584) do not get hot, then that is awesome! Please do let me know. Ive ordered the PCBs and looking around for the mosfets – hoping to source them from local vendors to avoid fake ones.
Hi, how do you think IRLZ44N will work instead of your mosfets? I heared that there are some similiar PWM projects that are using them. Im sick of P16NF06L. Bought them from 3 sources, one local and none were working alright.
Yeah, I’m sick of the P16NNF06L myself too so I can really understand where you are coming from. With that said, the replacement you are looking at (IRLZ44N) looks like a great match. The gate voltage of 2.0v should match perfectly with the 3.3v outputs.
I will be ordering some myself but please let me know how it turns out, I will change links everywhere to point to that one. Hopefully there are less (bad) counterfeits for that one.
I can confirm that the FDP8880 as being sold by Conrad (#1263830) work excellent! They’re a tad more expensive than those from China, but my experience with those was terrible so far (bad batch I suppose).
Super intresting project!
Is there any that have developed it futher to include a momentary switch as additional input. Today I have a LED dimmer I want to exchange to WiFi based, but still the wall mounted switch.