Because we’re now living in the house I can finally get to work on installing the actual lights I’m going to be using all throughout the house. So, I made a video on how to install lights and connected them to QuinLED!
This post is part of a series
The index for this series can be found here.
Video of preparing and installing the lights
Because a video can sometimes explain things a lot quicker then the written word can, here is a video about the whole process. After watching it, read on though because all the links to everything used are in this article!
Equipment used
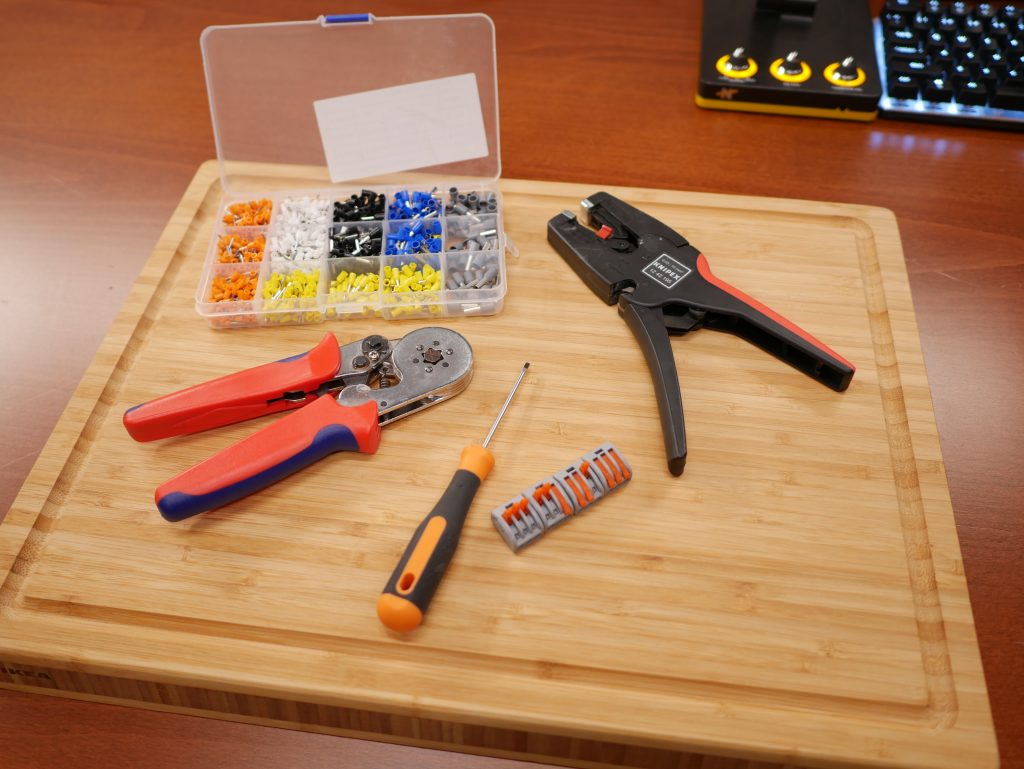
First off, let’s start with all the tools and equipment you need to accomplish installing these lights. Click on the pictures or links below them of each item if you feel like you need it. 😉
Automatic wire stripper
When installing or using any kind of wire having a decent automatic wire stripper is the most important tool to have in my opinion. I’ve only learned about this magical tool recently but it’s made working on ANYTHING which needed stripped wires so much easier. Trust me, get this tool, you’ll thank me later.
Type 1
The same type as you see me using in the video. It uses 2 little knives which automatically adjust tension. I love this thing!
Self-Adjusting insulation Wire Stripper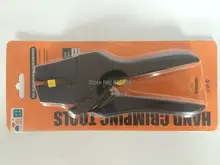
Type 2
These wire strippers don’t use a little knife inside of the tool but basically has two grippers which pulls the mantle apart. It works surprisingly well in reality!
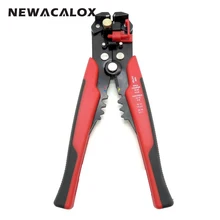 Automatic Multifunctional Crimping Stripping Plier
Solid Wire End/Ferrules and Crimping tool
When using stranded cable it can be frustrating to get the ends into terminals or create a strong and secure connection with them. To fix this I recommend using wire ferrules with a crimping tool. This created very secure connections which won’t come loose even while vibrating such as in a car, etc.
Ferrule assortment box
The little ferrules you put on the end of the cable come in lots of different sizes. I’ve listed a assortment box which has the most common sizes used, the same one you see in the video!

Ferrule crimping tool
To crimp the ferrules on the wire you need a special crimping tool. These also come in lots of different variaties but I personally like the one’s with 6 sides giving your a hexagonal pattern in the crimp like the one listed here:
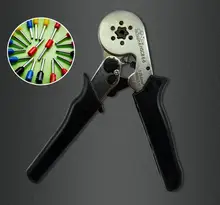 HSC8 6-6 Self Adjusting Crimping Plier 0.25-6mm2
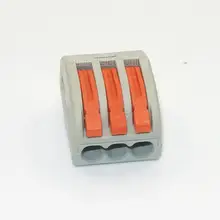
3 pin connectors/terminal blocks
To quickly attach the wires in parallel, as we’re doing in the video, I like using these little connector blocks. They accept a range of cable thickness and especially when used with solid cable (it accepts 2.5mm2) combined with stranded cable with ferules on them, they form an excellent connection!
Watch out for the spring loaded pegs though, when they snap closed sometimes they catch your skin and it’s painful. 😉
3 pin type
I advise getting a whole bunch of these. As I mentioned in the video I’ve been using these all through the house wherever I needed to connect cables together, very convenient!
5 pin type
The 5 pin can be used situations where for instance you have one power supply or need to connect multiple cables to a single channel of QuinLED. It allows you to quickly connect the wires together in a secure way!

Screwdriver
Get yourself some decent screwdrivers. For the longest time I didn’t really bother with getting the correct size screwdrivers but again, just like the tools above, they just make your life that much easier! For the wire terminals on the QuinLED boards you mostly need a small flat head or Philips head screw driver.
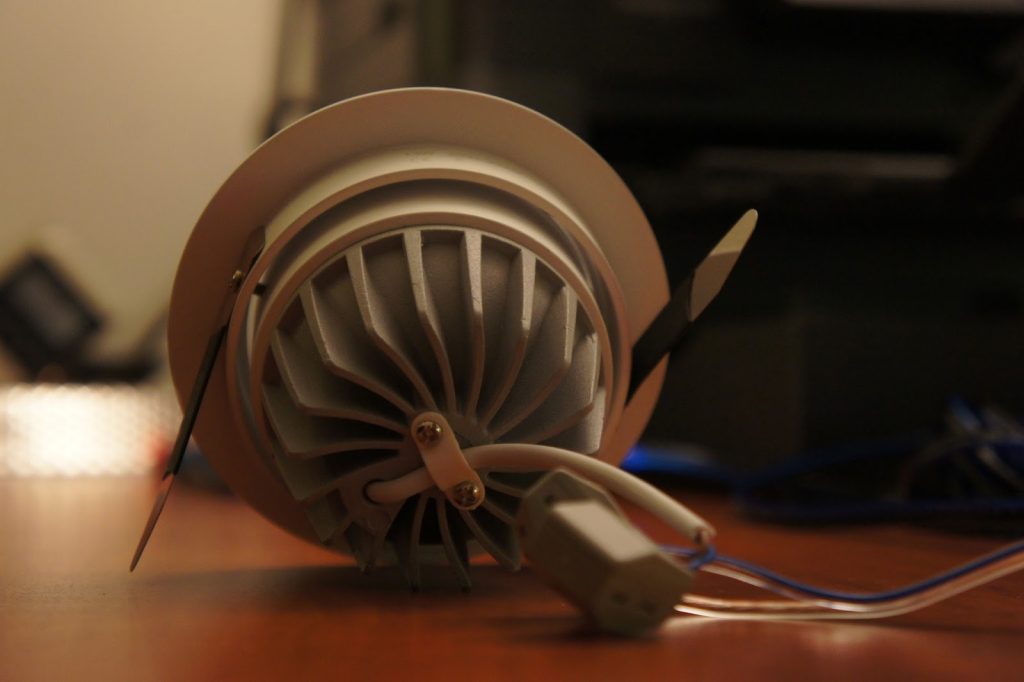
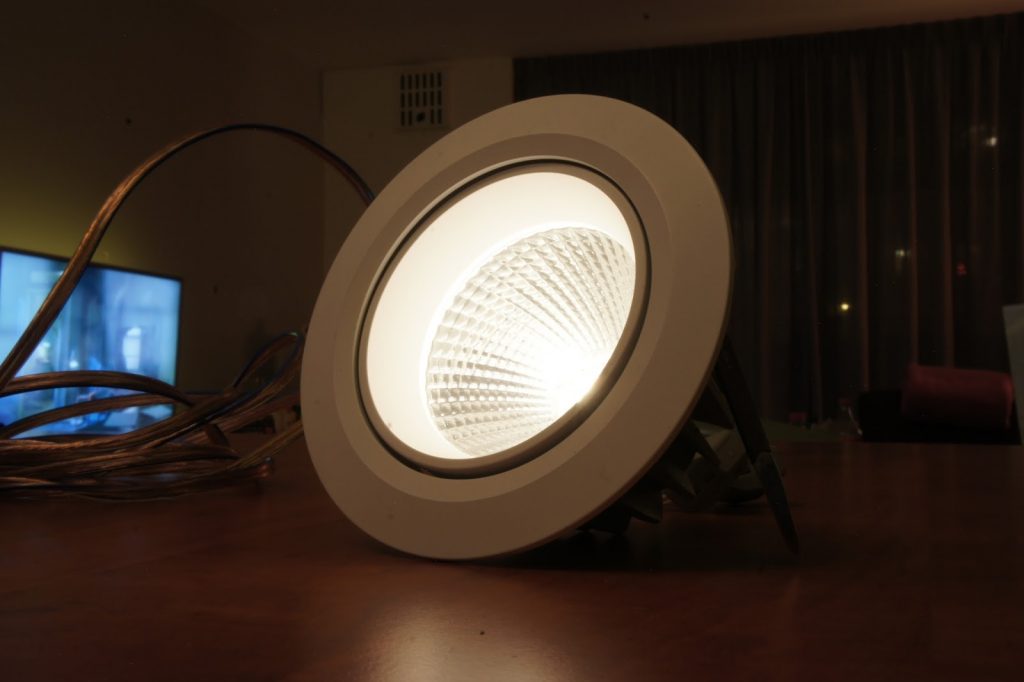
The COB LED downlights
–more information: Also take a look at this previous post I did about these lights, it has more information!
The COB LED downlights are from a company called LEPU. As I mentioned in the video, they used to be on Aliexpress and that’s where I bought these lights from them (after trying so many others!).
These downlights where the perfect balance for me with high quality LED light. So many lights out there produce a total shit color or have horrible CRI values, look green/blueish and just well, aren’t very nice to live with.
These however have a lot of red in them, like natural light has, and combine the color of a row of 2000K LEDs and 3000K LEDs inside the same LED COB. By adjusting the voltages up or down you can raise or decrease the “temperature” of the light, allowing you to set them to the color you like to see best!
Because the dimming QuinLED uses is PWM based we can vary the light intensity of the light independent of the light color, giving you a lot of flexibility!
This also means that using the correct wire thickness is important because voltage drop will directly influence the color of the light!
You can find the LEPU company here and their Alibaba storefront over here. That is also the place to buy some!
For me personally I first bought a few samples and then after I was satisfied with them I bought the rest of them.
How to hook it all up
Well, this is mostly what’s explained in the video, a short synopsis of it would be:
- Strip wires of COB LED downlight and attach wire ferrules
- Strip wires inside ceiling pots and use connector blocks to prepare paralel wiring
- Connect lights to connector blocks and insert into ceiling
- Connect string of lights to QuinLED output port
- Make sure the QuinLED input voltage is set to the correct voltage for the lights!
This explanation is quite short, so make sure and watch that video to see it step by step.
Ending remarks
Hopefully you enjoyed watching this practical implementation of COB LED downlights in combination with QuinLED! It shows how I use these modules in real-life to control the lights in my house.
Next up in this series is a video on how to connect QuinLED to Domoticz!


Andries,
even door je blogs gewandeld …Heel leuk en informatief… Wederom een aantal leuke tips gevonden !
Zou je het type nummer van die COB lights kunnen posten? Ze hebben zoveel verschillende!
I’ll try and look it up on the LEPU website but the COB light inside of them is the most important factor for the light quality. Look for their “Magic” light series which can change between 2000K and 3000K.
Well done Andries! Next year I will start with domotics. Your solution looks really solid. Thx for sharing your effort. It’s a lot of work but people like me really appreciate it. Goed bezig 🙂
Too bad these lights can’t be found anymore, they look really good!
They can’t? I believe the Lepu Lighting website on Alibaba and their own website are still working and you can order these lights?
Do you also use a light switch for when your phone is in the other room? If so, which ones?
Actually, since most of the lights turn on and off again automatically based on timers in Domoticz, we rarely change a light. Because everything is low-dimmed LED it almost costs no power at all. I might make some switches in the future for like the bathroom or something but other then that we’re content on using our smartphones when we want to change something. We’re the kind of people who have one around all the time anyway. 😉
Hey there. By any chance you know which lights are current in they store now (https://lepulight.en.alibaba.com/)?
I am not able to find lamps your are using in your video (https://www.youtube.com/watch?time_continue=66&v=8PfEUhqCN-Q). Thanks for any hints.
Hi!
I think i saw on Tweakers you were planning on doing an update about the downlight’s.. are you still planning on doing this?
I am looking for downlights and I was hoping you maybe allready did some research about good lights that we can find at the moment?