
The IP cameras I own do not have the HTTP picture URL ability some do. But I still want to use them to create timelapse videos. So I devised a way to do this using a cameras RTSP stream with FFMPEG.
update– Since writing this I have determined this method will always produce corrupted JPG files with my 5Mpix IP camera. I have devised a new method using VLC which does not have these corruption problems. The described method below remains valid but please check your results and then decide which method to use.

To do so I had to write a script which uses FFMPEG to read the RTSP stream and save periodic JPG files.
Now I do have to warn you, the result is that it works but it’s kind of sensitive. Especially when I use it with my 5Mpix camera, for some reason any kind of system load will result in either dropped frames or corruption in the frames. But, since the frames rush by fast enough, in my testing this has been barely visible thus not ruining the end result. If anyone knows how to make it less sensitive/more stable, that would be very much appreciated.
How it works:
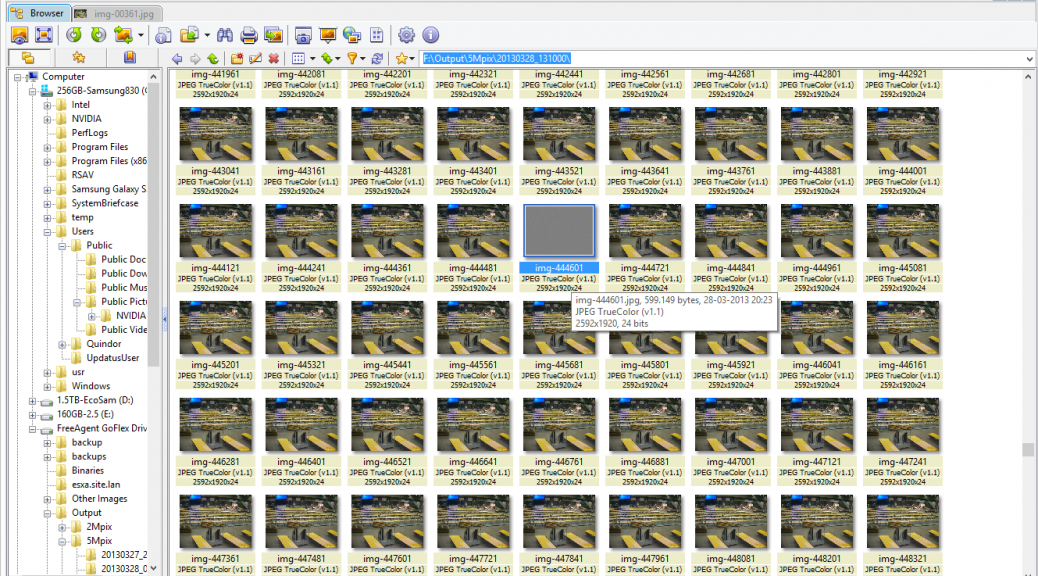
The script I’ve made will pack 4 hours of pictures inside 1 folder and then create a new folder. The folders will automatically get the current date and time. I did this so that if FFMPEG somehow fails or the machine reboots or whatever else I would be able to restart the script and continue instead of having it overwrite what is already written.
What we are trying to accomplish is the following:
Step 1
IP Camera –> RTSP –> FFMPEG –> JPG file
Then in a seperate process we will use the JPG files as imput and do the following.
Step 2
JPG –> FFMPEG –> MP4 movie
Then we will combine the separate MP4 movies into a single one
Step 3
Multiple MP4 –> FFMPEG –> Joined MP4 final movie
Prerequisits:
The only thing you need is FFMPEG. I advise downloading the newest version from http://www.ffmpeg.org/ . This will do everything from fetching the stream to encoding the x264 files.
Step 1 Script:
:begin
@ECHO OFF
ECHO.
SETLOCAL ENABLEDELAYEDEXPANSION
:: Use WMIC to retrieve date and time
FOR /F “skip=1 tokens=1-6” %%A IN (‘WMIC Path Win32_LocalTime Get Day^,Hour^,Minute^,Month^,Second^,Year /Format:table’) DO (
IF NOT “%%~F”==”” (
SET /A SortDate = 10000 * %%F + 100 * %%D + %%A
SET /A SortTime = 10000 * %%B + 100 * %%C
SET SortTime=0000000!SortTime!
SET SortTime=!SortTime:~-6!
)
)
:: Display the results
set now=%SortDate%_%SortTime%
set now=%now%
echo %now%
:: Proceed with RTSP capture
mkdir d:TimeLapseoutput5Mpix%now%
start /ABOVENORMAL /WAIT d:TimeLapseBinariesffmpeg -i rtsp://172.24.8.10/mpeg4 -rtsp_transport tcp -f image2 -threads 4 -t 14400 -async 1 -r 1/5 -q 1.5 -vcodec mjpeg d:TimeLapseoutput5Mpix%now%5Mpix%%08d.jpg
ENDLOCAL
goto begin
If you analyse the batch file you will see I use the path: D:Timelapse. In that directory I have made a binaries directory where the FFMPEG.exe file is and this script is located.
Next to that we have the output directory and a directory for the specific camera I am using this with. Please be sure to change them as your situation dictates.
To try and prevent corruption the actual FFMPEG process gets started with “abovenormal” priority. This will have it spawn in a new window and the console window will log the date directories created in that run.
Step 2 JPG merge to MP4:
This step instructs FFMPEG to merge all the files found in the specified directory and create an MP4 file of it.
The options I’ve selected generate an insane high quality file. Later on we can reduce the quality to shrink the size if needed. Since we are doing multiple compression runs on top of each other I don’t want to compound the compression artifacts.
ffmpeg -f image2 -r 1/0.03 -i d:TimeLapseOutput5Mpix??date??5Mpix%08d.jpg -c:v libx264 -preset slow -crf 18 -framerate 30 d:TimeLapseOutputVideo5Mpix001.mp4
Please be sure to check the paths and change them into the paths that you are using in your own enviroment. This part is still a manual process. Depending on how many hours you wish to make a TimeLapse of, it’ll be a bit of work. You need to make sure that you number up the output files accordingly. So first 5Mpix001.mp4 then 5Mpix002.mp4, 5Mpix003.mp4, etc.
Once you have those collected in one dirctory you can use FFMPEG to create a single movie of them.
I have made a 4 hour sample movie:
This is still a manual operation. I might write a script for it in the future. For now I advise creating a batch, copying this command and filling in the directory there. Then you can start it and leave it alone for a few hours, depending on how much there is. For 12 Hours of output my Quad-Core i5 took about 1 Hour to process.
This is the only step where you can choose the final quality of the video. Using these settings the output should be almost lossless, but the file will be quite big, definitely not suitable for on the WEB. By raising the “-crf 18” variable to a higher value, quality will decrease but also filesize will decrease.
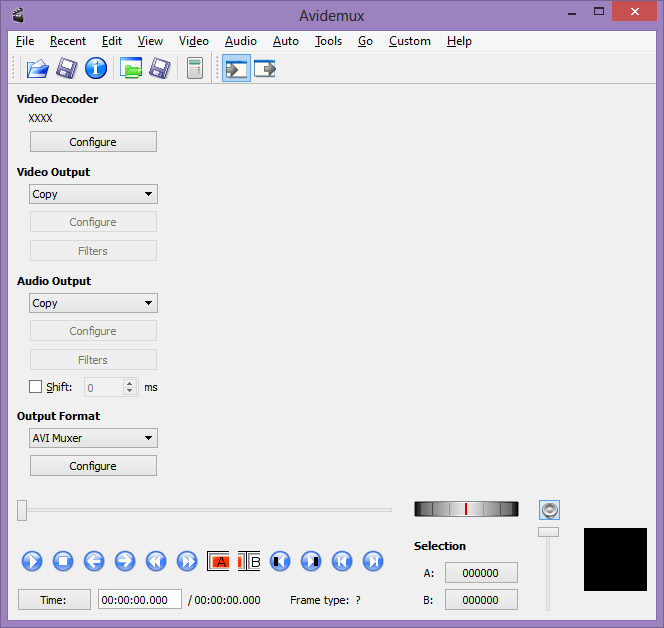
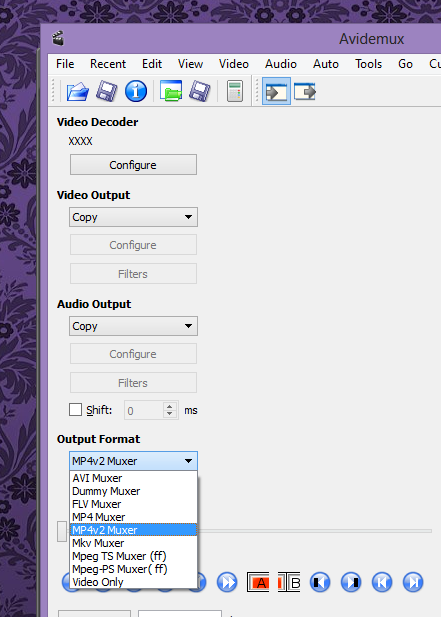
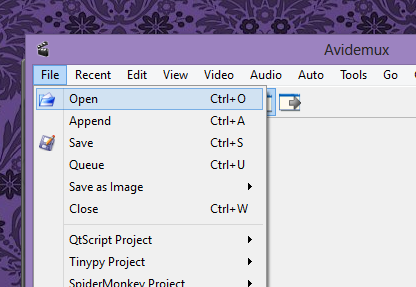
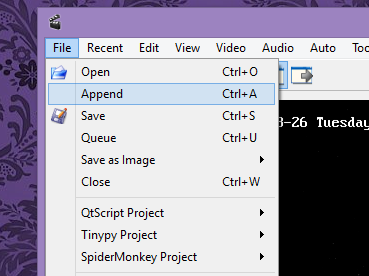
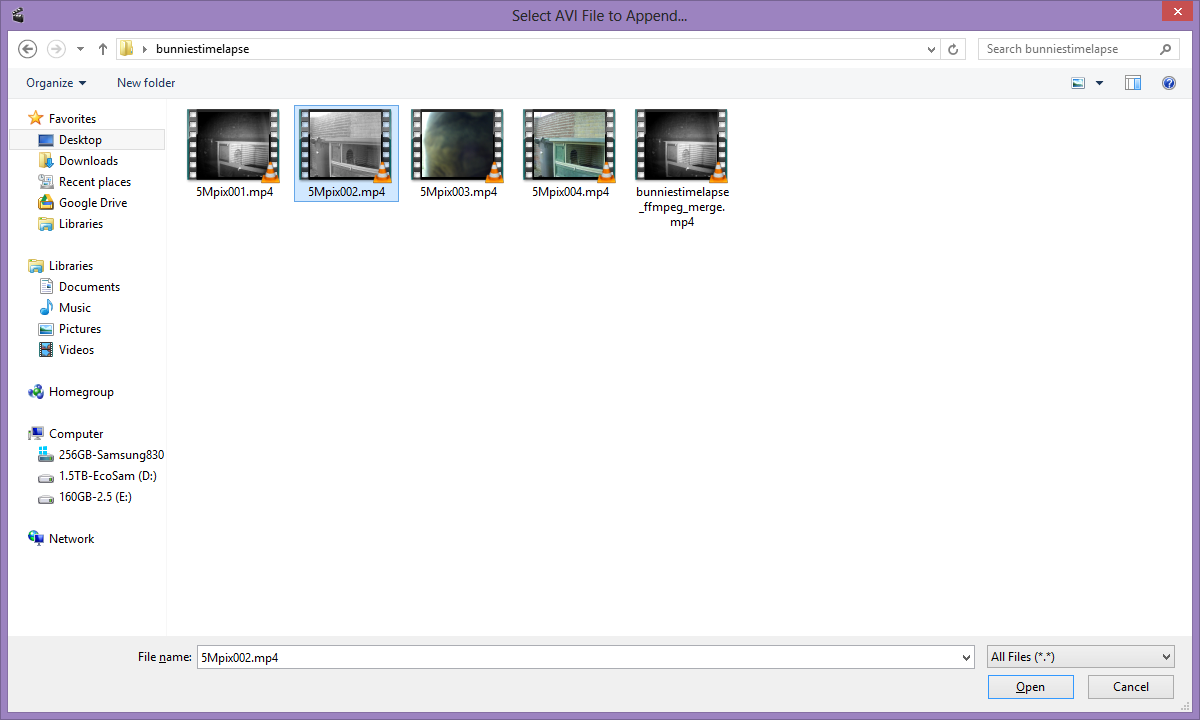
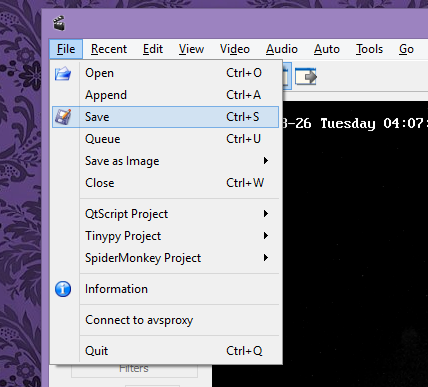
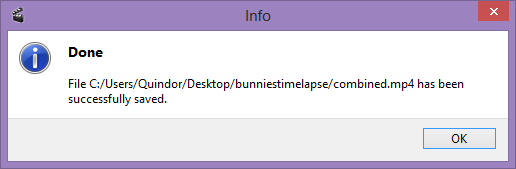
I tried to do this using FFMPEG but was unable to get it working correctly. I then looked for another tool to use and ended up with AviDemux. This tool did the job clean and simple without transcoding or anything. This is much preferred over having to do compression over compression.
Screenshots how to merge 4 MP4 files as one continues file:


Cool 🙂 I writed special console linux-application via C++ using libav for screensnapping RTSP streams (we have many cameras). Mine timelapse you can see on youtube video : http://www.youtube.com/watch?v=I1XCoE0AbeY
I hope you like it! 🙂
This is old, but im pretty sure this causes system instability when ran for long periods of time on a modern windows install.
A memory leak somewhere. It stopped when i quit using this