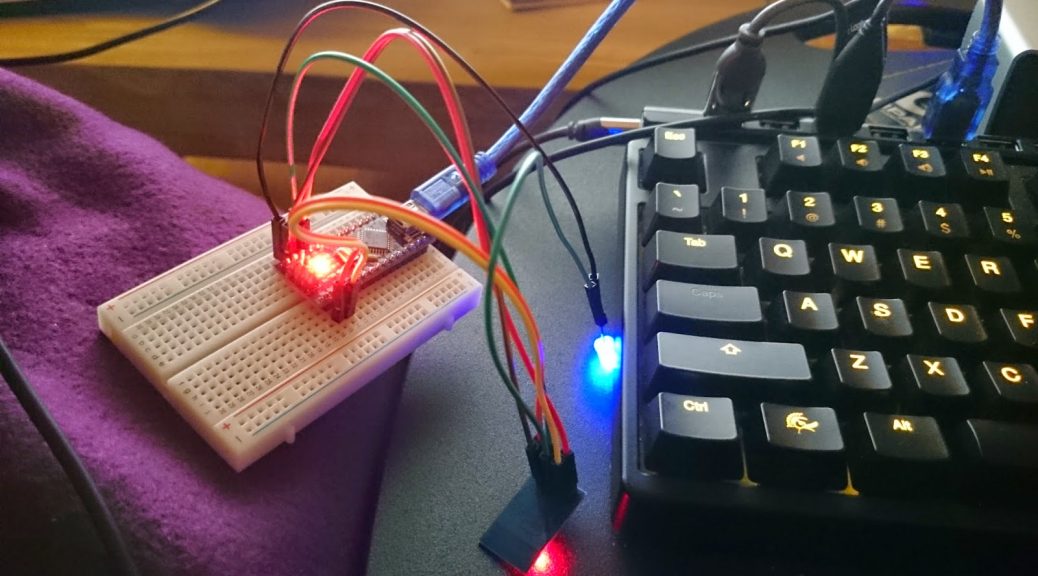
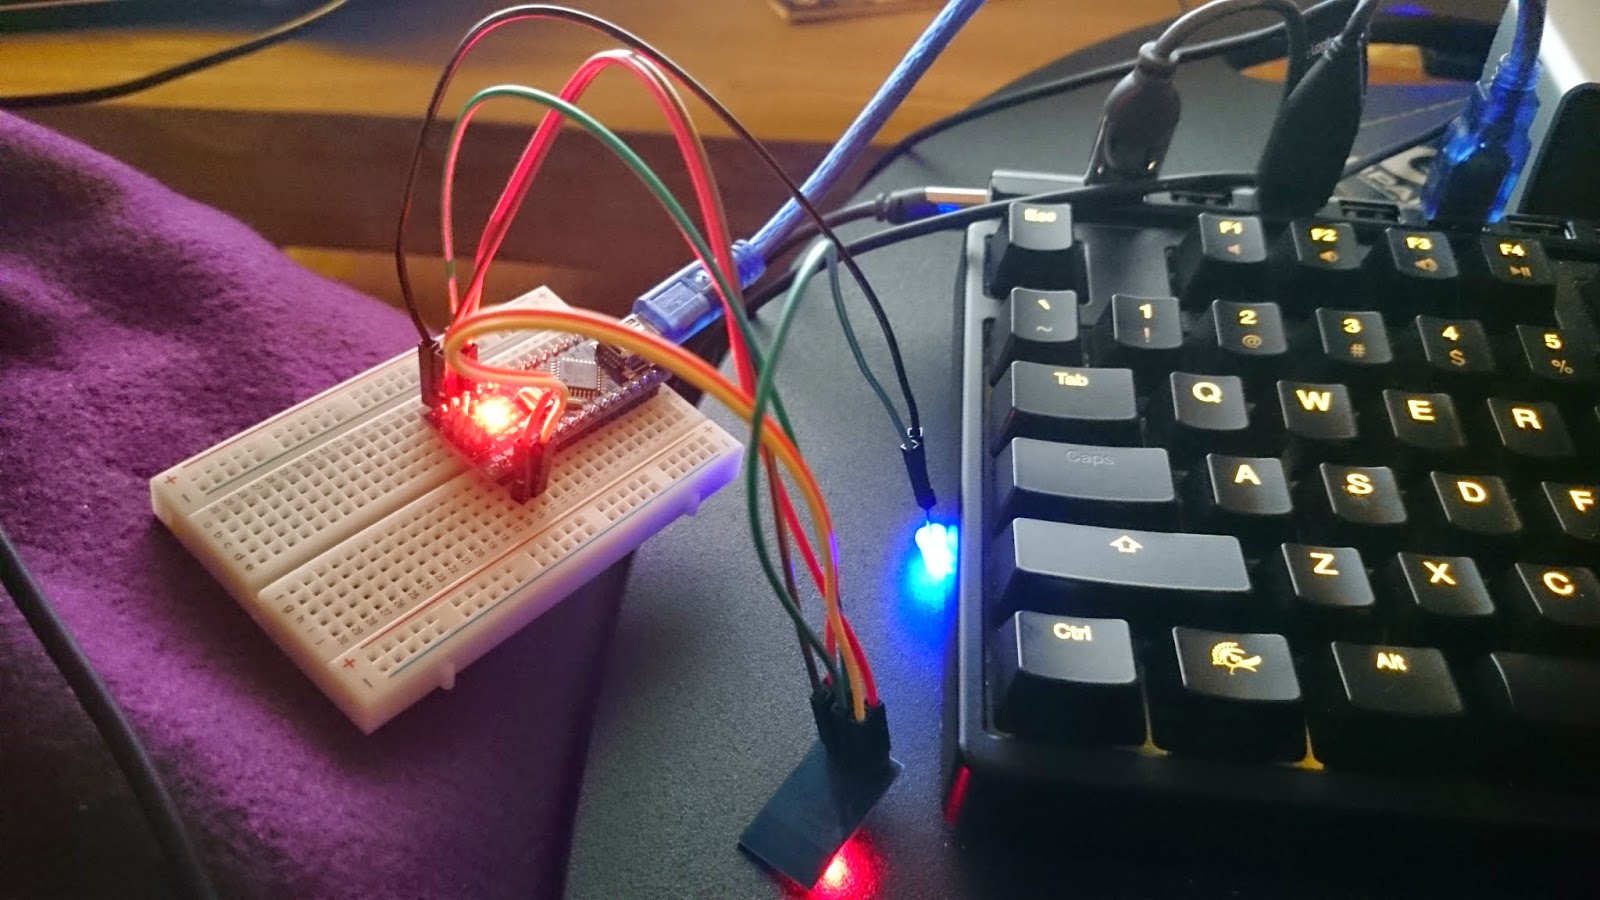
The next part I needed for my Domotica system was a way to have physical switches in my house which would run ‘virtual’ actions. Tonight I programmed the ESP LUA code to test this.
Today I programmed another part of the system I envision for my new house. It’s a bash shell script which checks if either my phone or that of my girlfriend is in range and depending on if it is or not it changes a switch in Domoticz. That way I can automate all the lights turning off when we are not home, and coming back on when we are!
Detecting the presence of the phones
I looked at several ways of doing this, from a simple ping script to a arp-scan, etc.
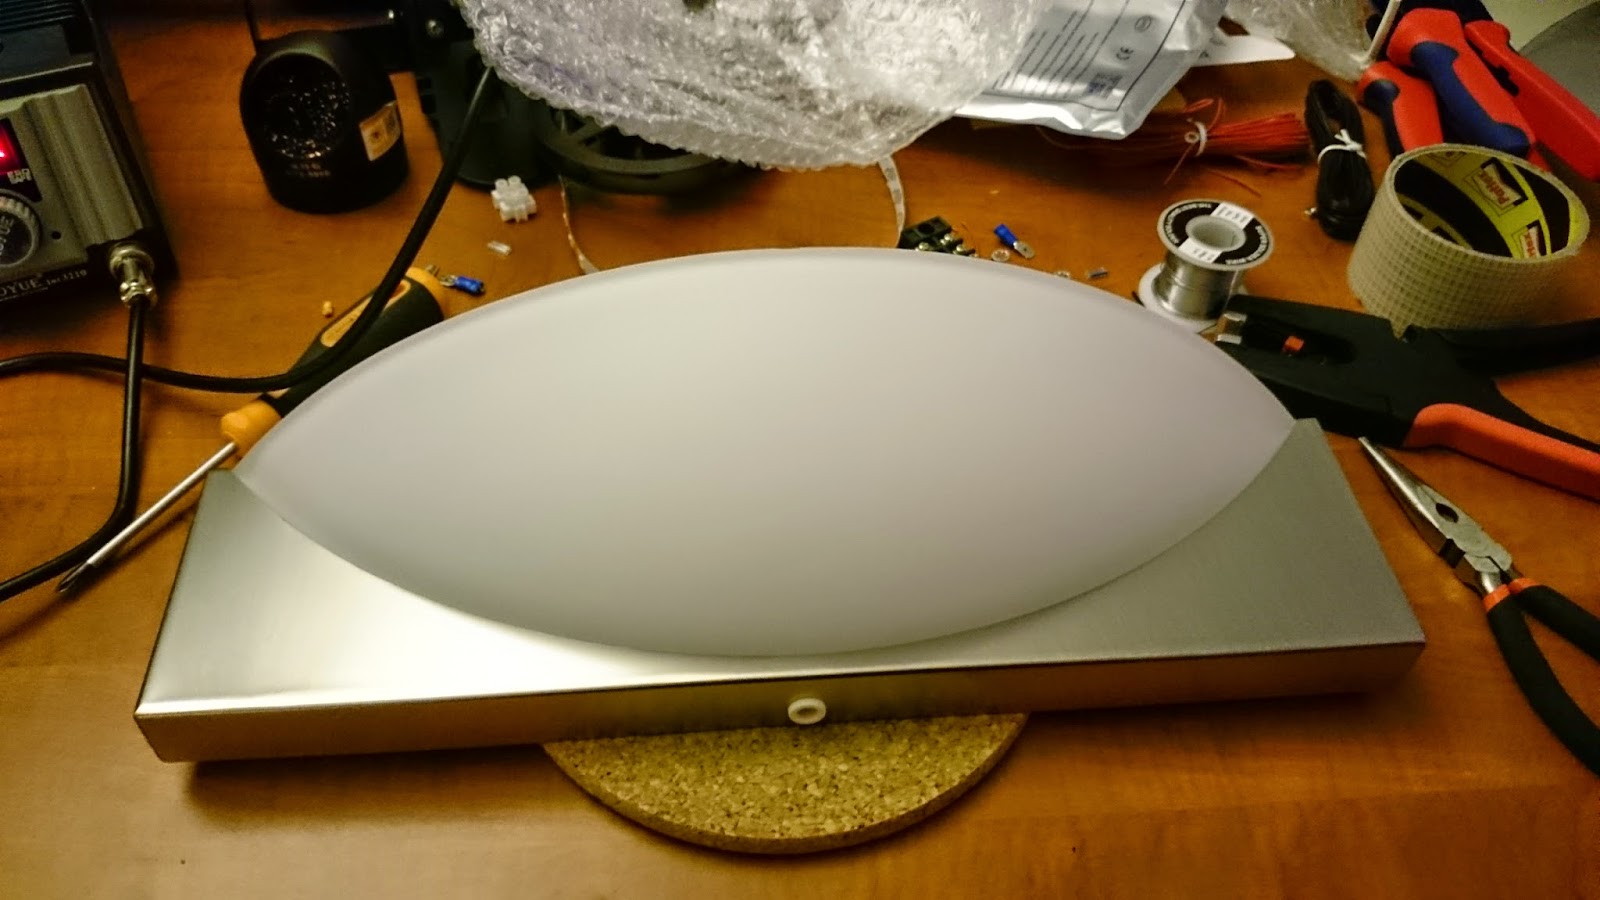
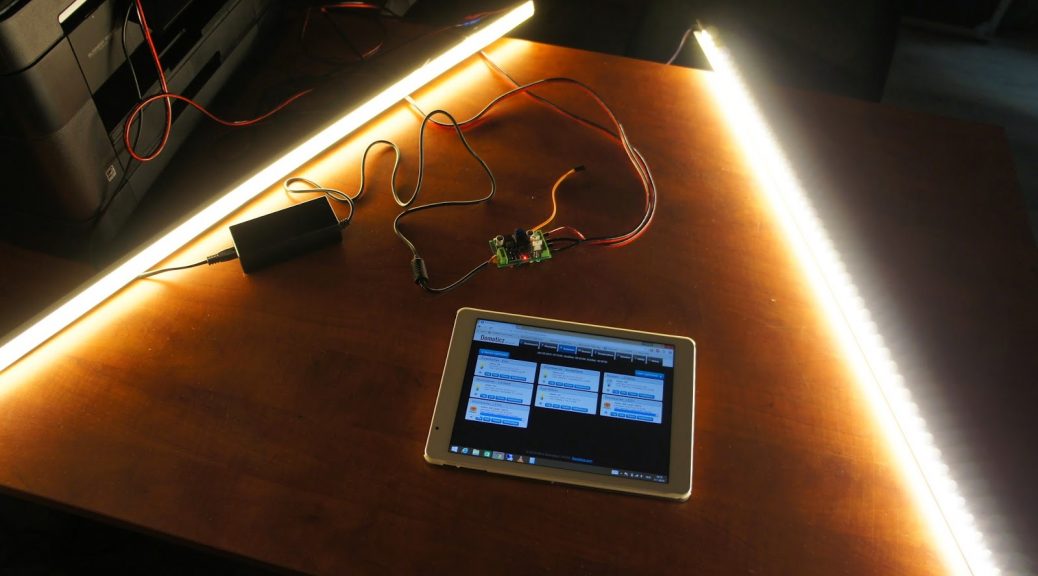
Since I now have a cheap WiFi controllable LED dimmer I’m looking at various ways of lighting rooms, hallways, etc. Since different rooms require different type of lighting they require a different lamp. Some simple, some more fancy. After experimenting with LED strips in aluminium profiles this post will be about hacking Ikea lamps!
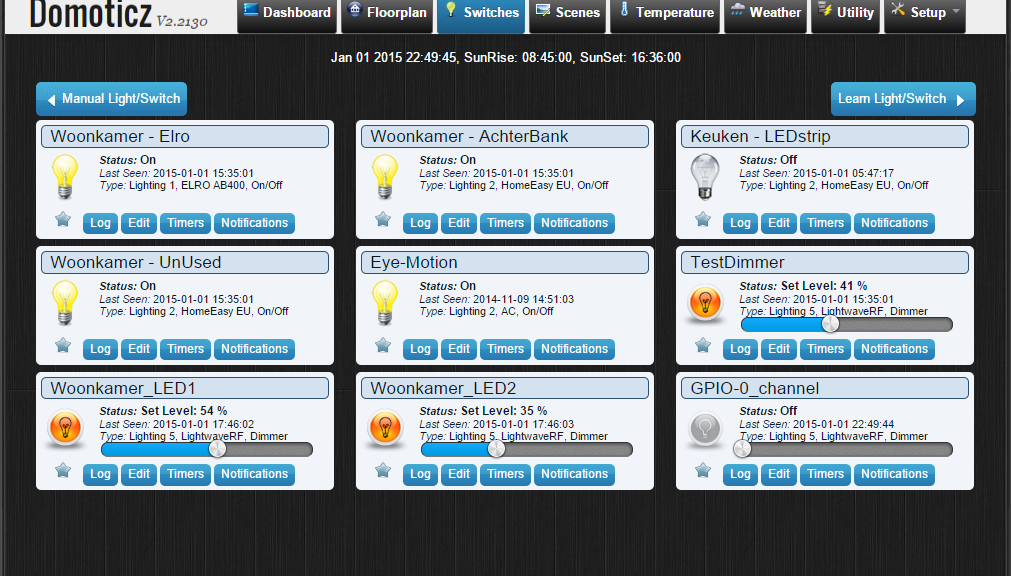
The last part of the ESP8266 WiFi LED dimmer project is getting it to work inside of my Domotica system of choice: Domoticz. We can do this using LUA scripts, in the end you will have an easy dimmer slider in Domoticz which you can use to control each channel of the ESP8266 WiFi LED dimmer.
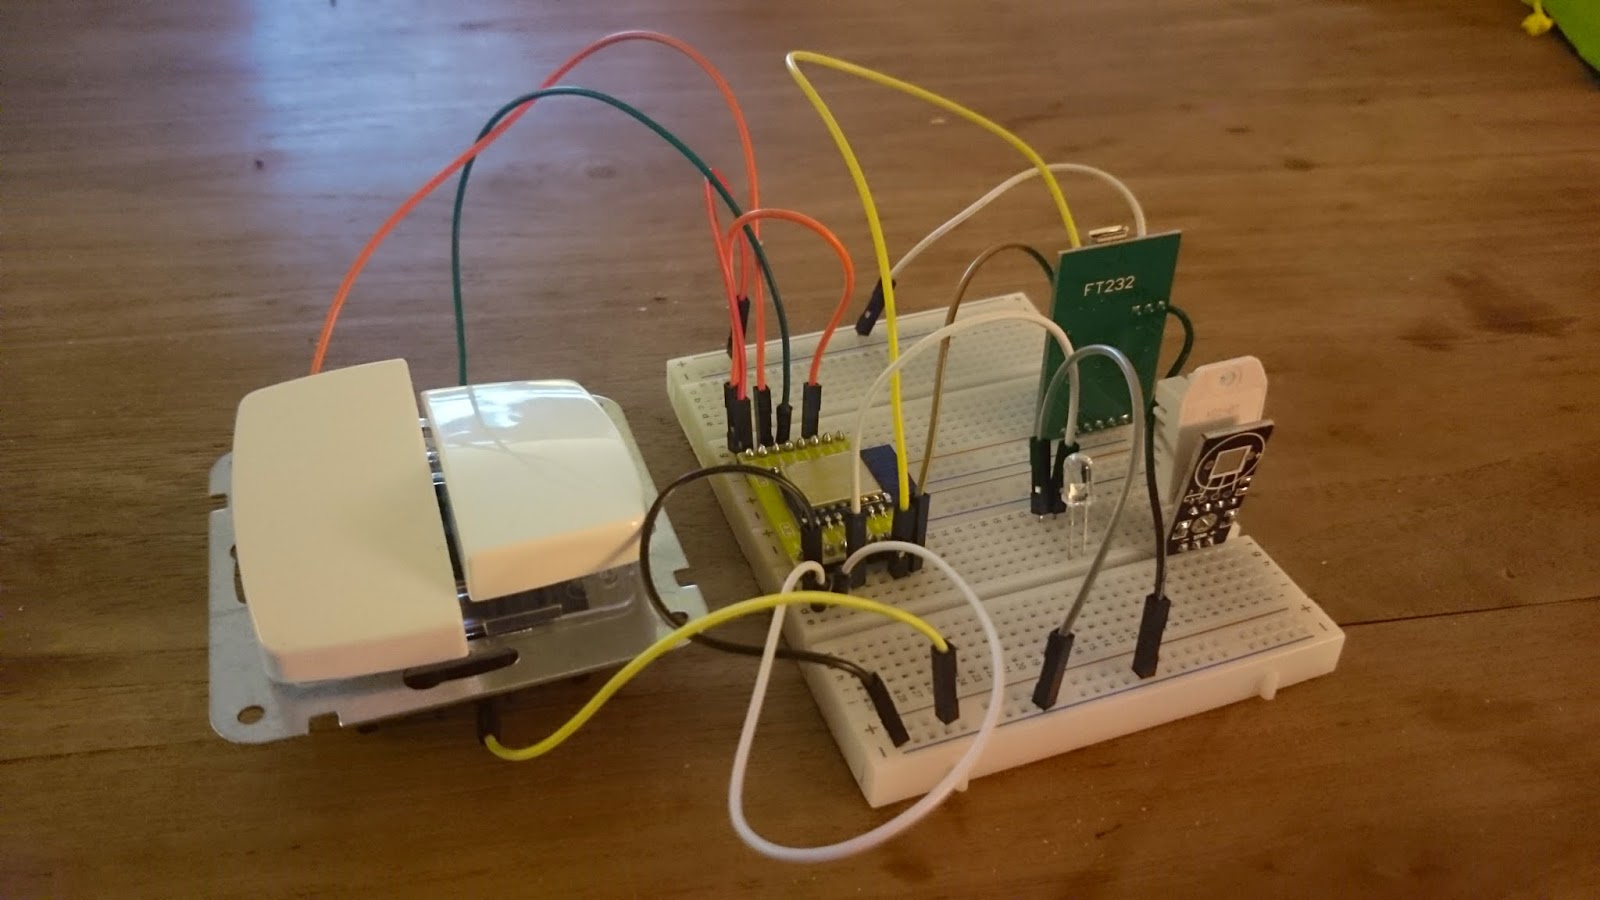
To get started with the ESP8266 ESP-01 I recommend flashing and programming it before soldering it down. This way you know it’s working and that the program code is also functioning. Depending on how you mount it on your board it can be a bit hard to do so later on!
Connect the board to USB using an Arduino or Serial-to-USB adapter
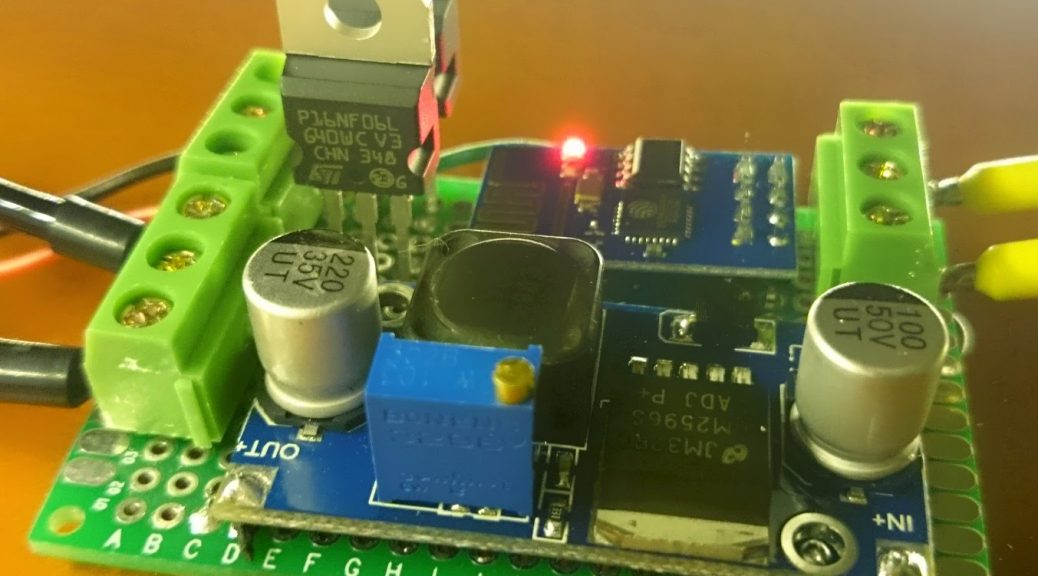
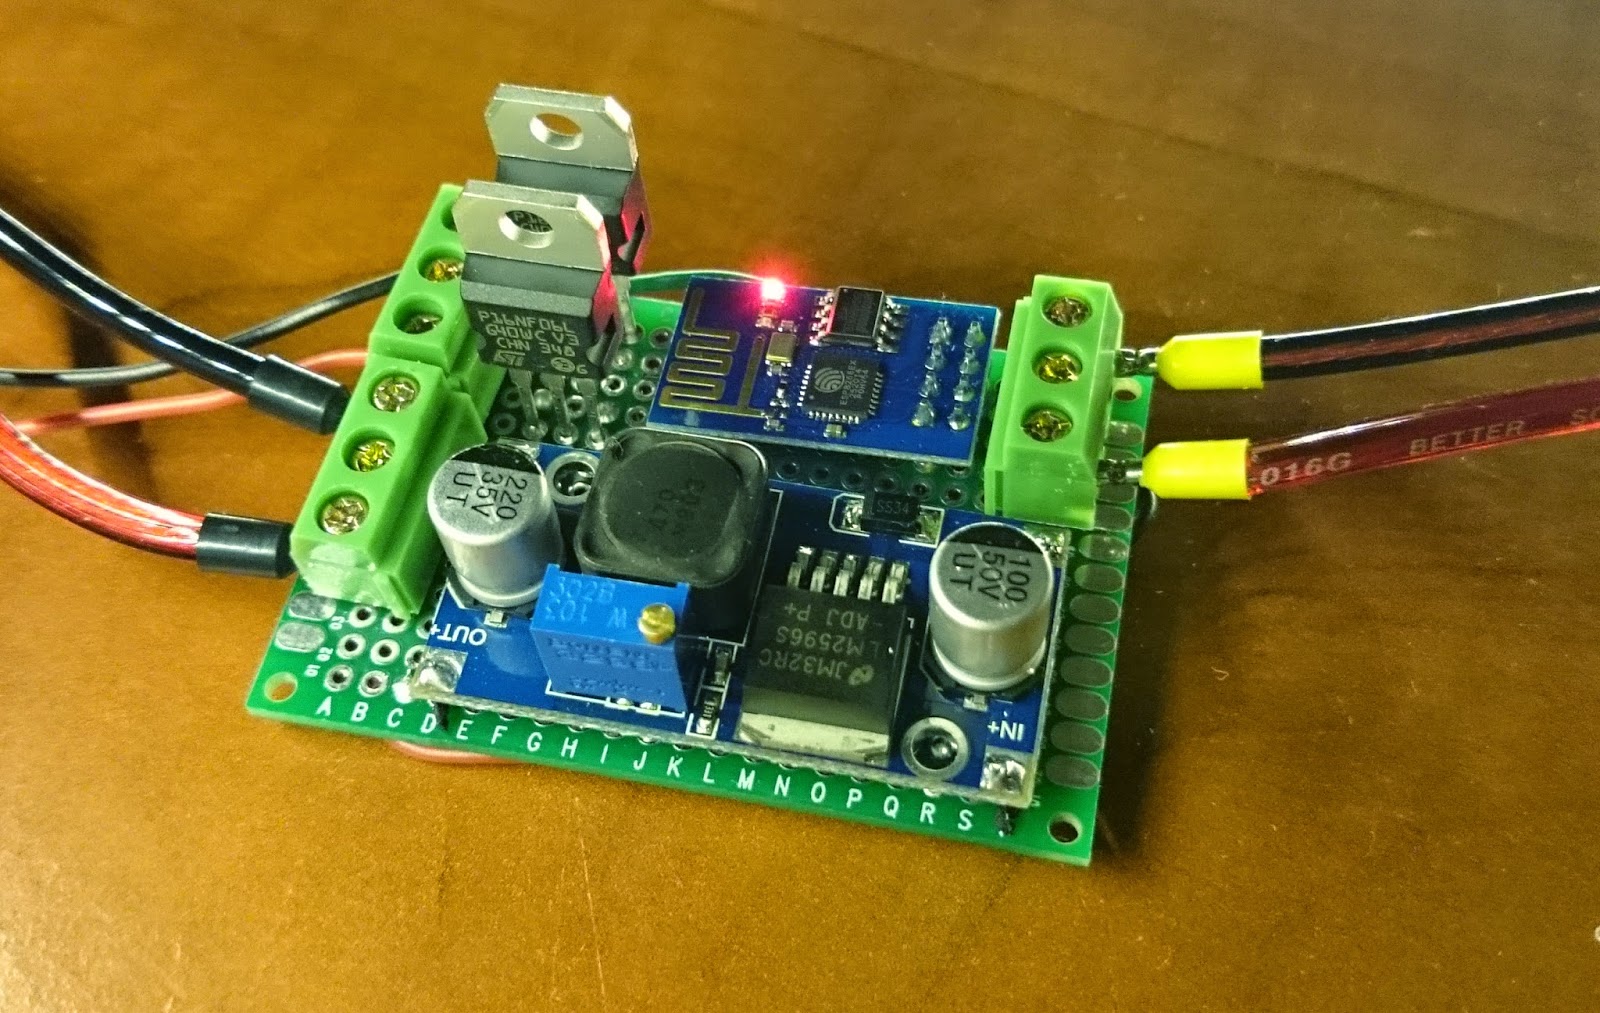
This post will describe the hardware you need to build your own WiFi controllable LED dimmer! This post will list what you need, why and where I bought it from!
For a while now I’ve been working on building my own network controlled LED dimmer. I have sampeled some commercially available remotely controllable LED dimmers (DX.com models, AppLamp, Fibaro Z-wave, etc.) but all either lacked some fuctions or where WAY too expensive to rollout house wide. So, I decided to construct my own version! In the next few posts I will detail my efforts and explain in detail how to build the latest version! Read on!
I’m a big promoter of ‘community’ driven Android ROM’s and in particular Cyanogenmod. For one reason or another all of my Android devices end up running Cyanogenmod sooner or later, stock ROM’s just don’t cut it, don’t get updated in time or are even just horrible with bloatware and other nonsense. But once in a while doing a flash I encounter a bug which Cyanogenmod/CWM or at least, something goes wrong. If you know what is going on, it’s easy to fix though, let me explain!
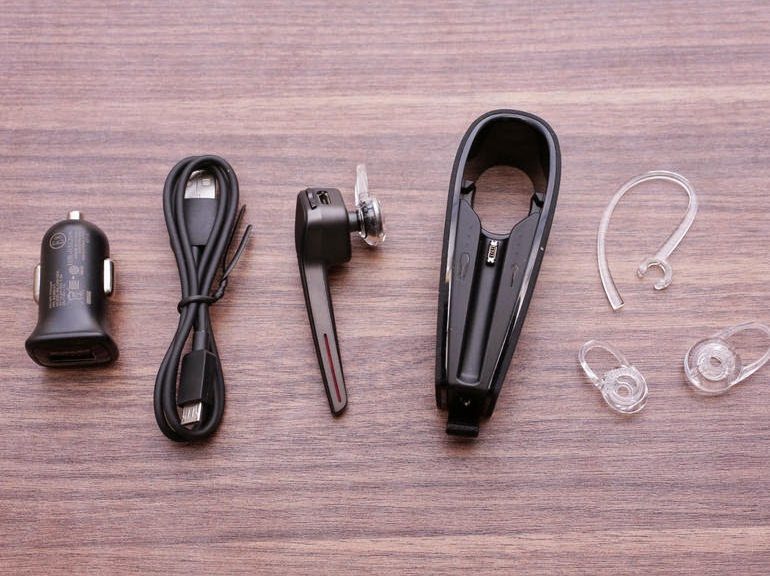
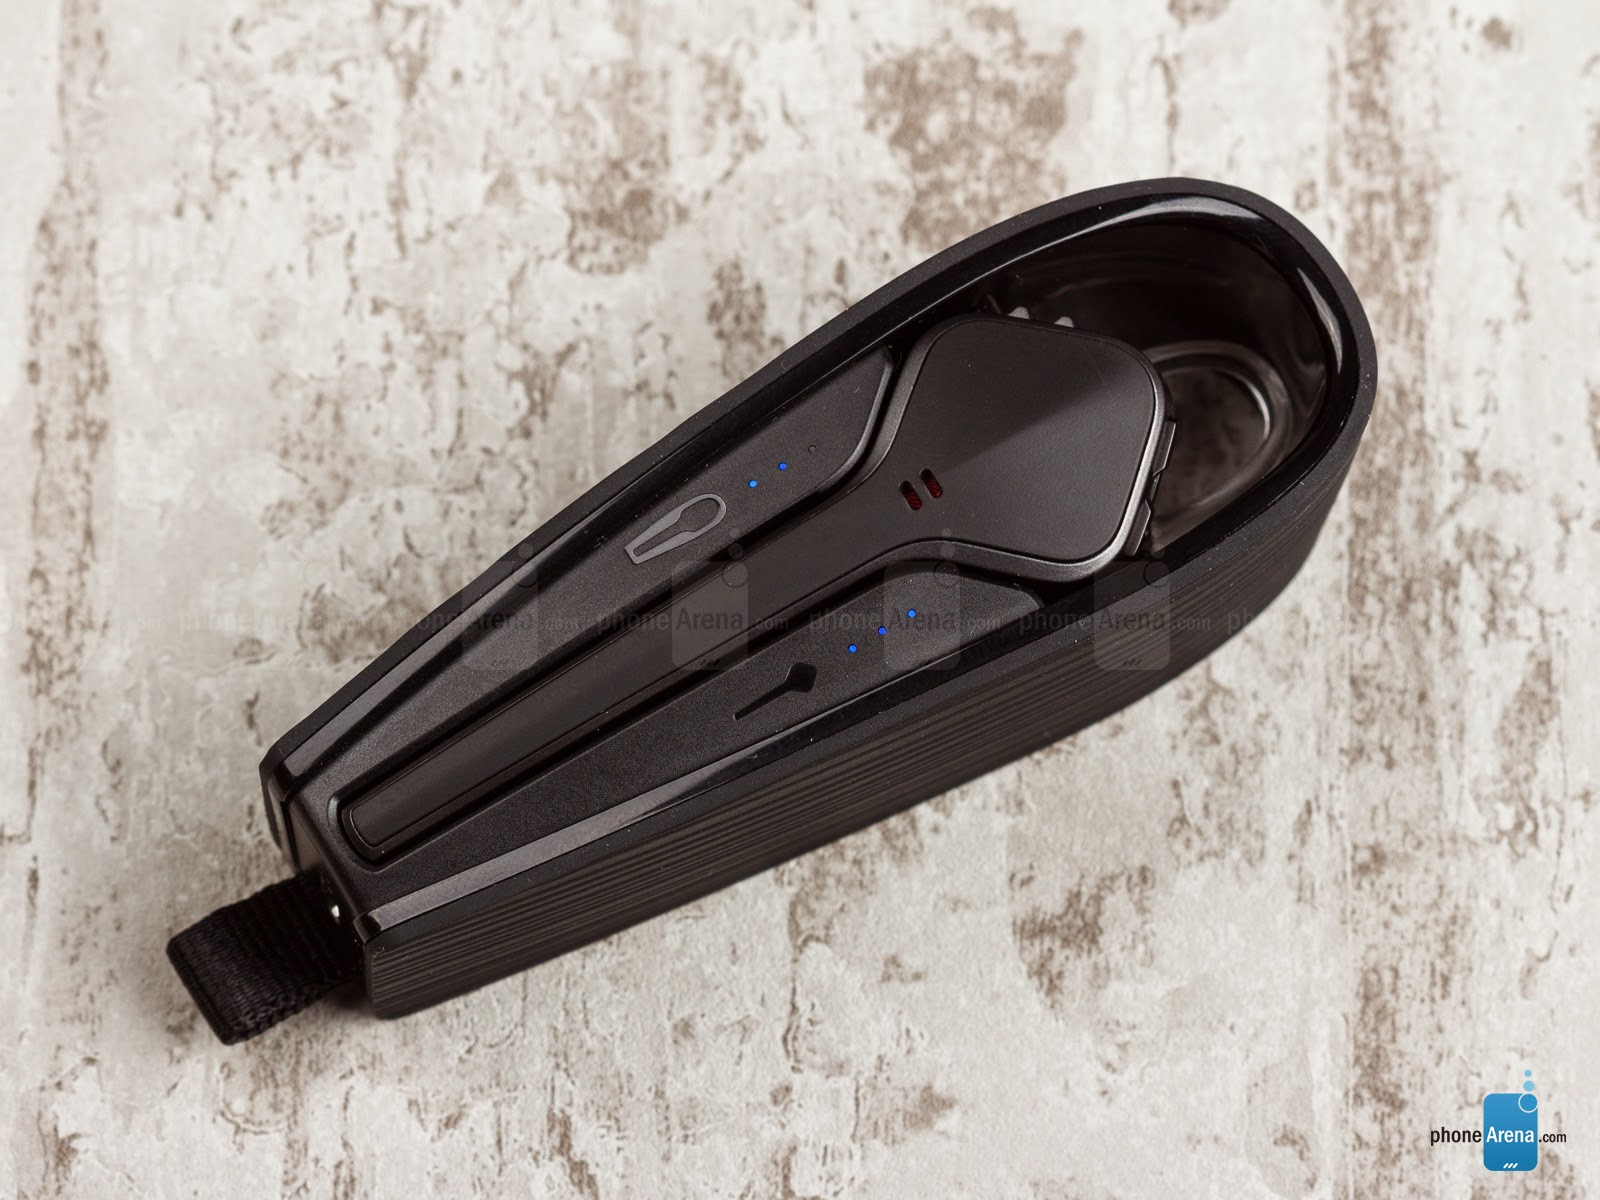
Once in a while you look for a solution to a problem and you find that a company has actually made something that works perfectly for you. The Plantronics Voyager Edge is such a product. From the moment I started using it, it surprised me in ease of use and quality. Read on to find out why! p.s. This will be a quick and dirty review of my experience.
Both for my work and private tinkering I often have the need to do bandwith tests over a network connection. Sometimes it’s troubleshooting ethernet connections up to 10Gbit, sometimes it’s testing an internet line, a WiFi link or actual real-world VPN throughput potential. Whatever the case I often need a good mutli-platform bandwith testing tool. For this I use a program called “iperf” and while it can be a bit daunting at first with a little know-how it’s actually pretty easy! Read on to find out how to use it in a variety of situations: