

I have been building private servers for over 12 years now, as written before my current server is incarnation/version 8 with several even having minor revision numbers between the big numbers. During this time I have accumulated some best practices for myself and one of them is to always perform a full surface scan on (new) disks I receive. Read more about it in this article!
Many years ago I started with building a dedicated fileserver for use on LANparties, this server would need to run an FTP server and later DC++. Since I am kind of obsessed with performance I always wanted my hardware and software to be at peak efficiency and health. Moving the server around a lot and upgrading my hardware on a regular basis taught me a few things.
One of those things is what this post is about and that is, never trust a new disk.
10 Years ago I would buy new disks and would just put them into my system, build a RAID set (Either hardware controller or software based) and go! But sometimes, within a few days or weeks, RAID sets would start dropping drives or give me all kind of errors.
Now there are many different reasons this can happen. Especially in the past, problems with TLER and Hardware RAID could give a lot of random errors, but even when I figured that out (There was not much known about this 10 years back) it would still happen to me and has even cost me some of my data at some point.
Since then I have started the process of running a full surface scan on every new disk before putting them to use. This has two advantages. First, you know your disks is actually healthy before putting it to use, if it was able to read the complete disk without errors it should not start generating them anytime soon either. Second, since this test puts stress on the disk for 10 hours straight (4TB WD Green) it is a perfect stress to weed out the drives that would have otherwise gone bad in a few days. I do it purely for the peace of mind and to be a bit safer then just putting it into production.
Some advanced RAID controllers (Areca, Adaptec, LSI, etc.) can do mentioned surface scan in the controller BIOS but most often you will use your motherboard ports. All HDD vendors have a DOS based RMA software tool which you need to generate a report with to be able to return your disk. Often they have a basic and extended tests and this extended test is what we are looking for. This will perform everything of the basic test but also do a full surface scan to make sure all the parts of the disks are in working order. And I have it happen more then once that a disk would report being just fine in the basic test but ultimately fail in the extended test! It’s exactly those disks that kill your complete array after a few days or weeks, because of failing at the same time!
In a previous occasion I bought 8x Samsung 2TB F3EG HD203WI. Of these 8 disks, 3 reported problematic sectors (only in the extended test) and I returned those (In The Netherlands webshops are obligated to take returns within 7 days, no questions asked). From the disks I got back, 1 failed again and I immediately replaced that disk again! After that I finally had 8 disks which could run through the extended test/surface scan without generating a single error. As it should be!
Had I built my RAID array with these disks, I would have been in trouble within no time and even a RAID6 with 2 parity disks would have probably failed on me within a few weeks (The errors where located in the last part of the disk).
I had these disks in my server for 3.5 years running 24Hr’s a day and going to more then a dozen of LANparties and I have had 0 failures in that time. This to me is a testament of making sure your disks are 100% OK before starting to use them.
For my recently acquired WD Green 4TB WD40EZRX I also ran the same tests and it generated no errors, but I did take time to visualize the process below.
Take to mind, scanning a single WD Green 4TB WD40EZRX takes ~10 hours to complete. If you buy 5 disks (For RAID5 or RAIDz1 for instance) that means you need ~50 hours to run these scans. I was lucky enough to have two systems that I could have offline for that time so it only took me ~25 hours in total. Having to wait to use your new hardware is horrible, but you’ll thank yourself in the years to come!
Here you can download an .IMG file which you can flash on a USB stick. It will create a bootable FreeDOS USB stick with the WDtools included. This includes the tools to test your disk and also to turn off head parking.
xxxxxxxxxxxxxxx.7z (coming soon)
diskimagetool.7z (coming soon)
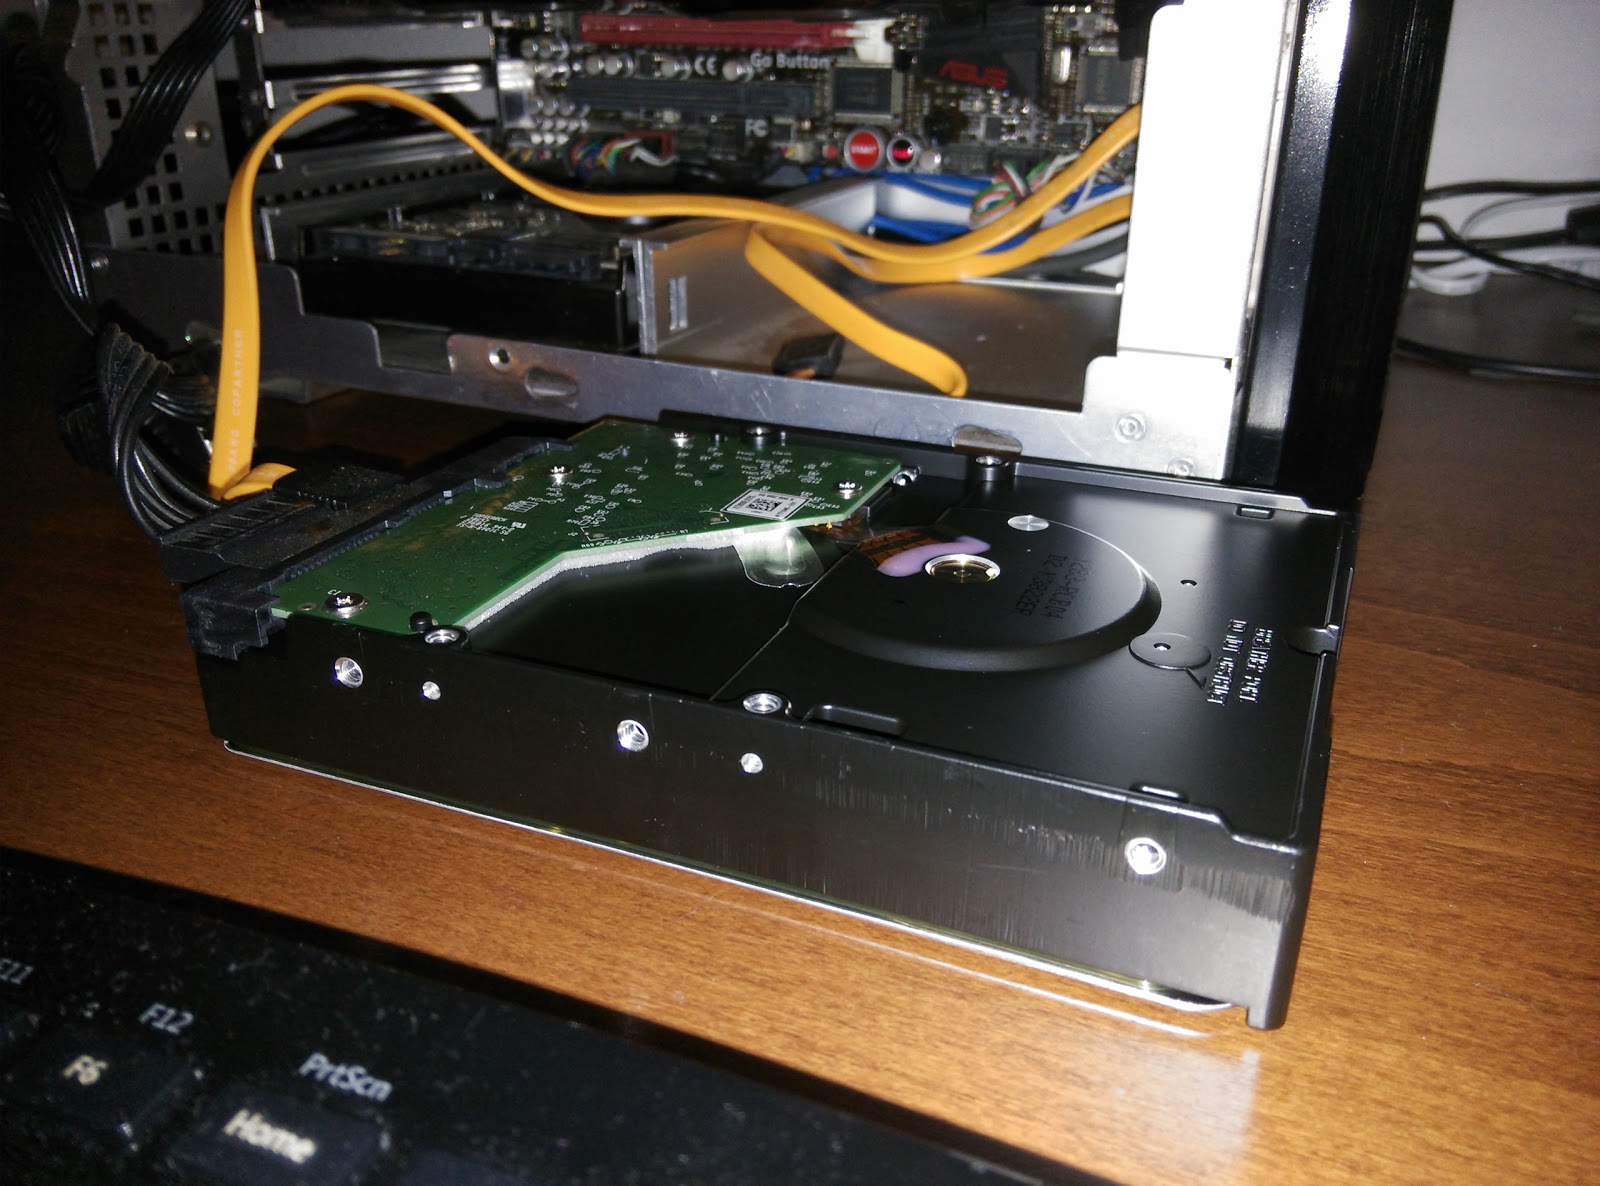
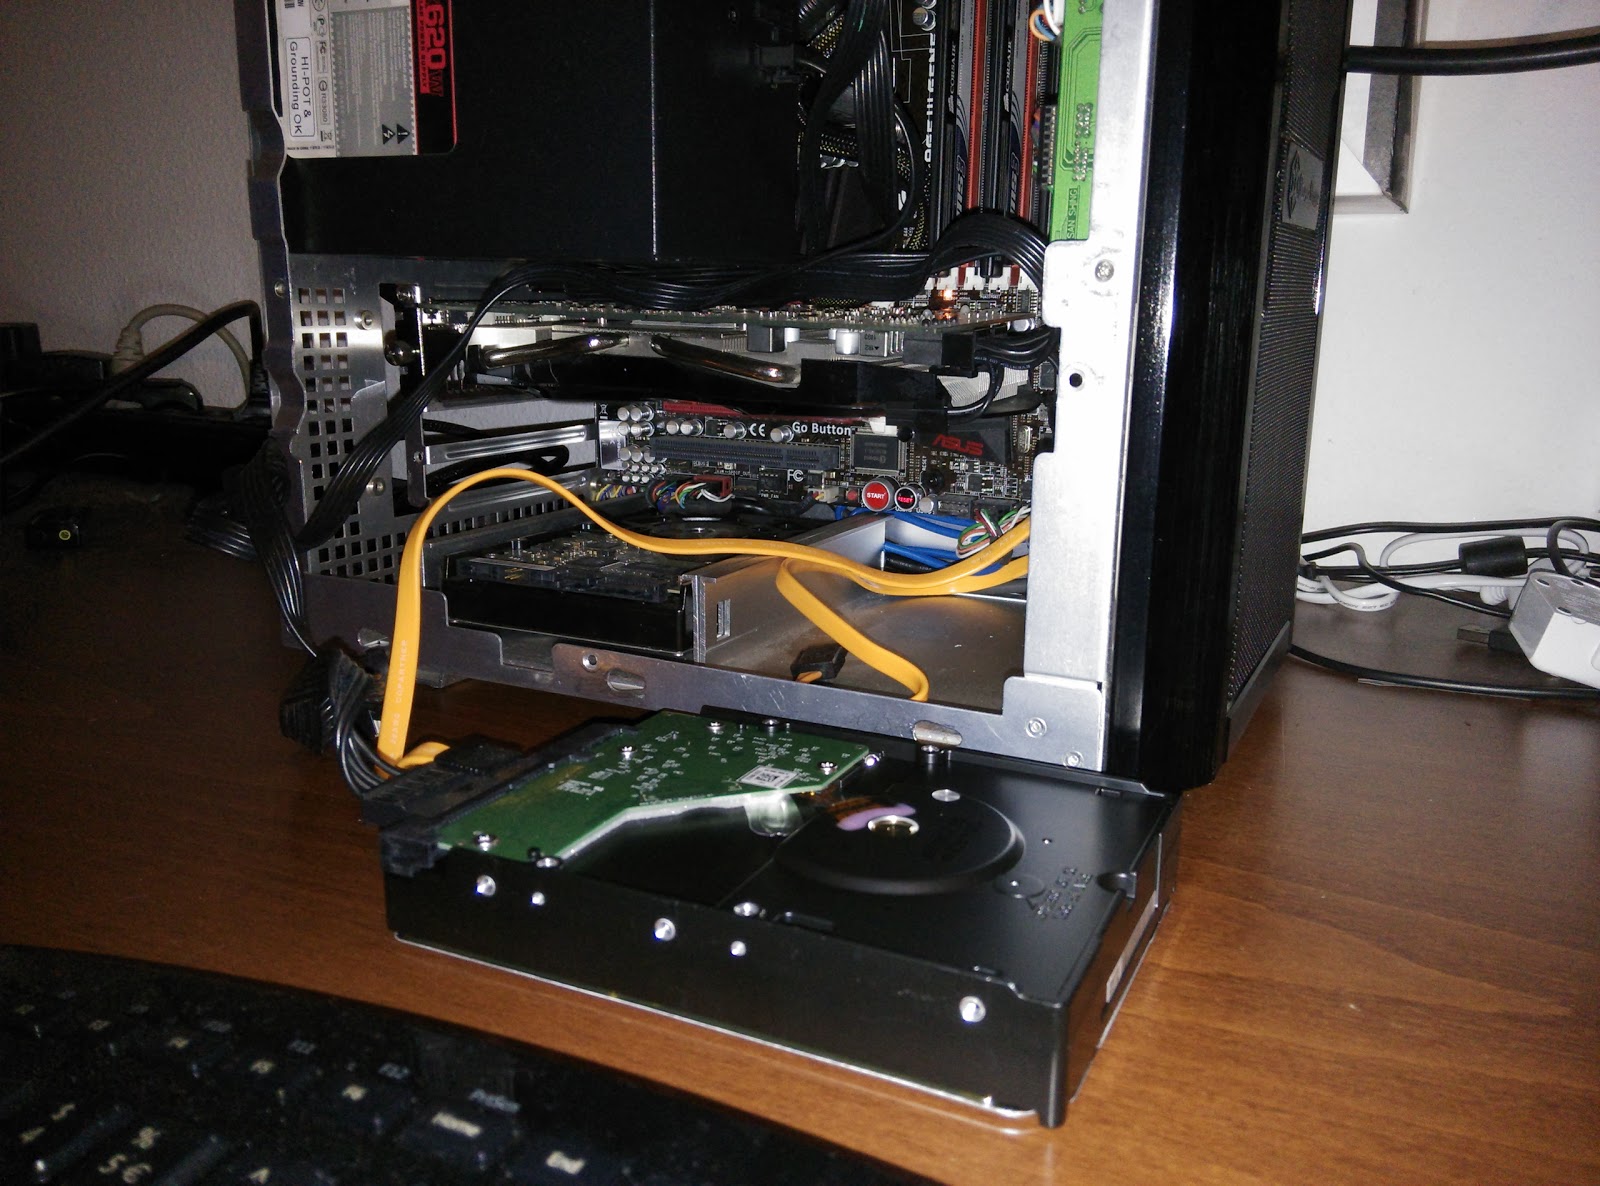
Connect your HDD. Don’t worry about cooling too much. Free air provides more then enough cooling
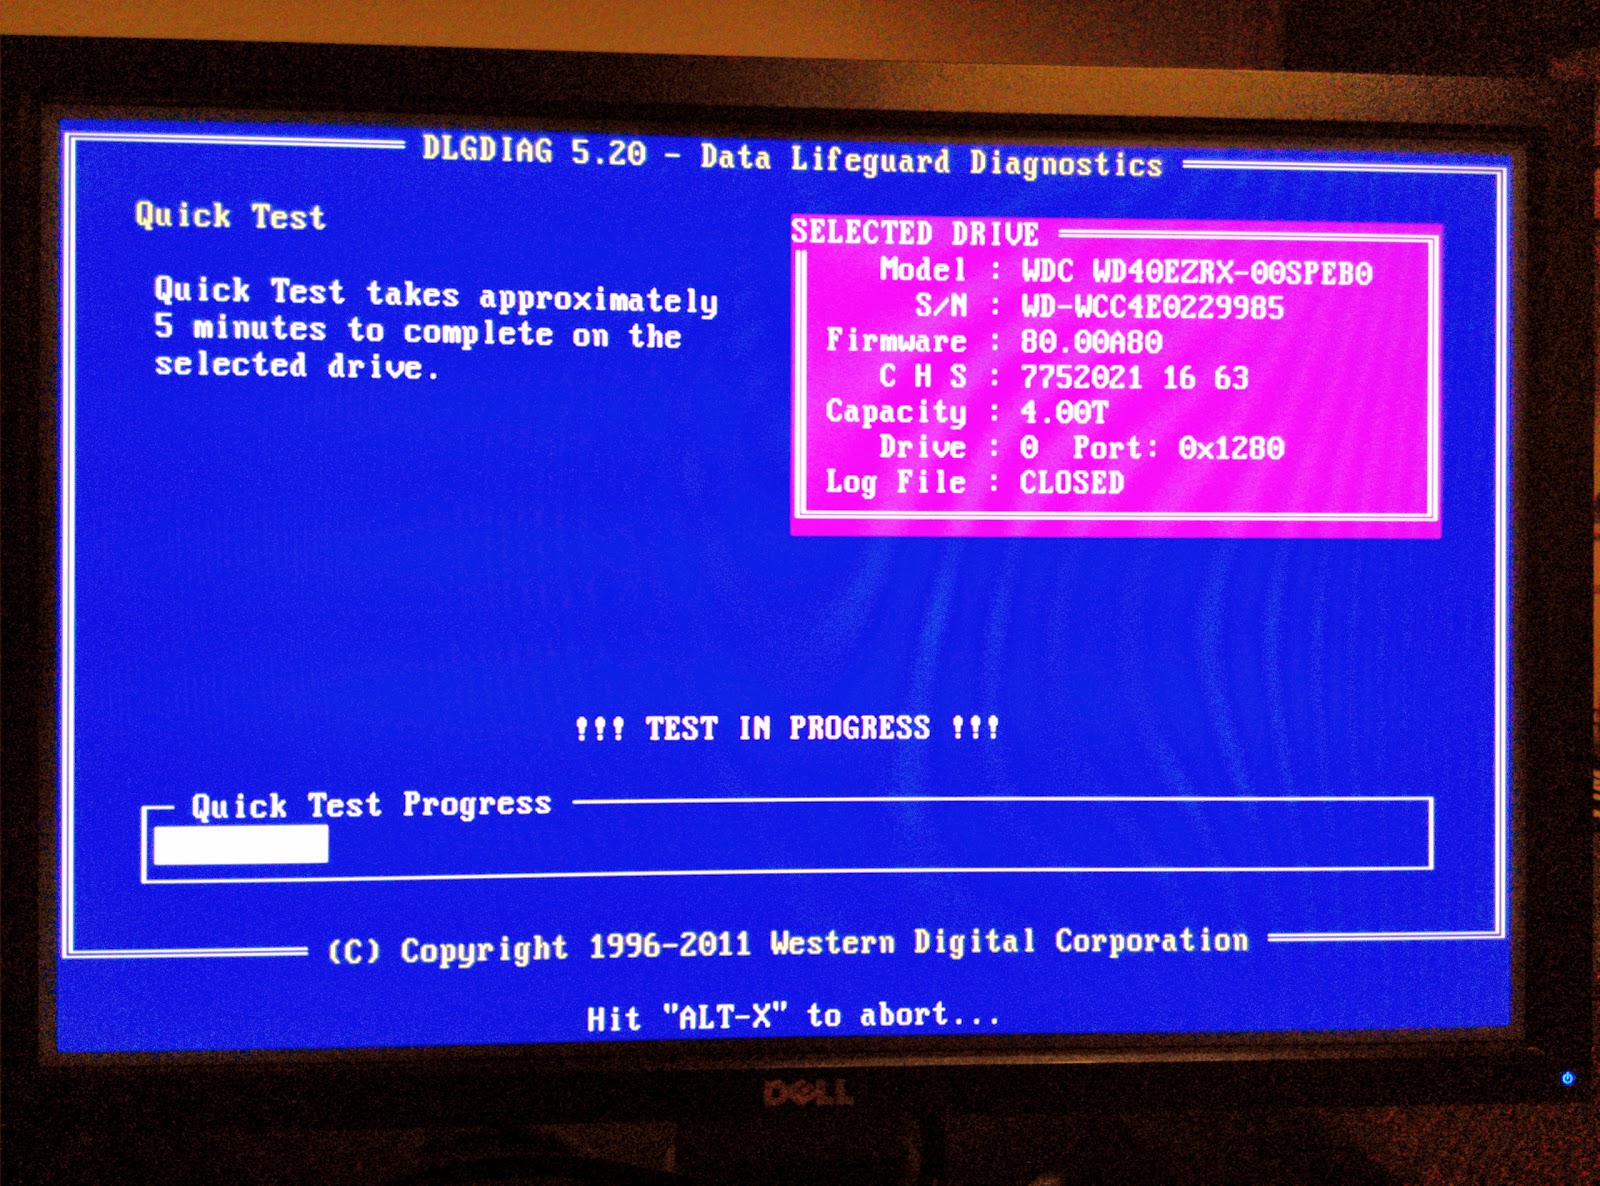
After starting the program first do a “Quick Test” this will take about 4 minutes.
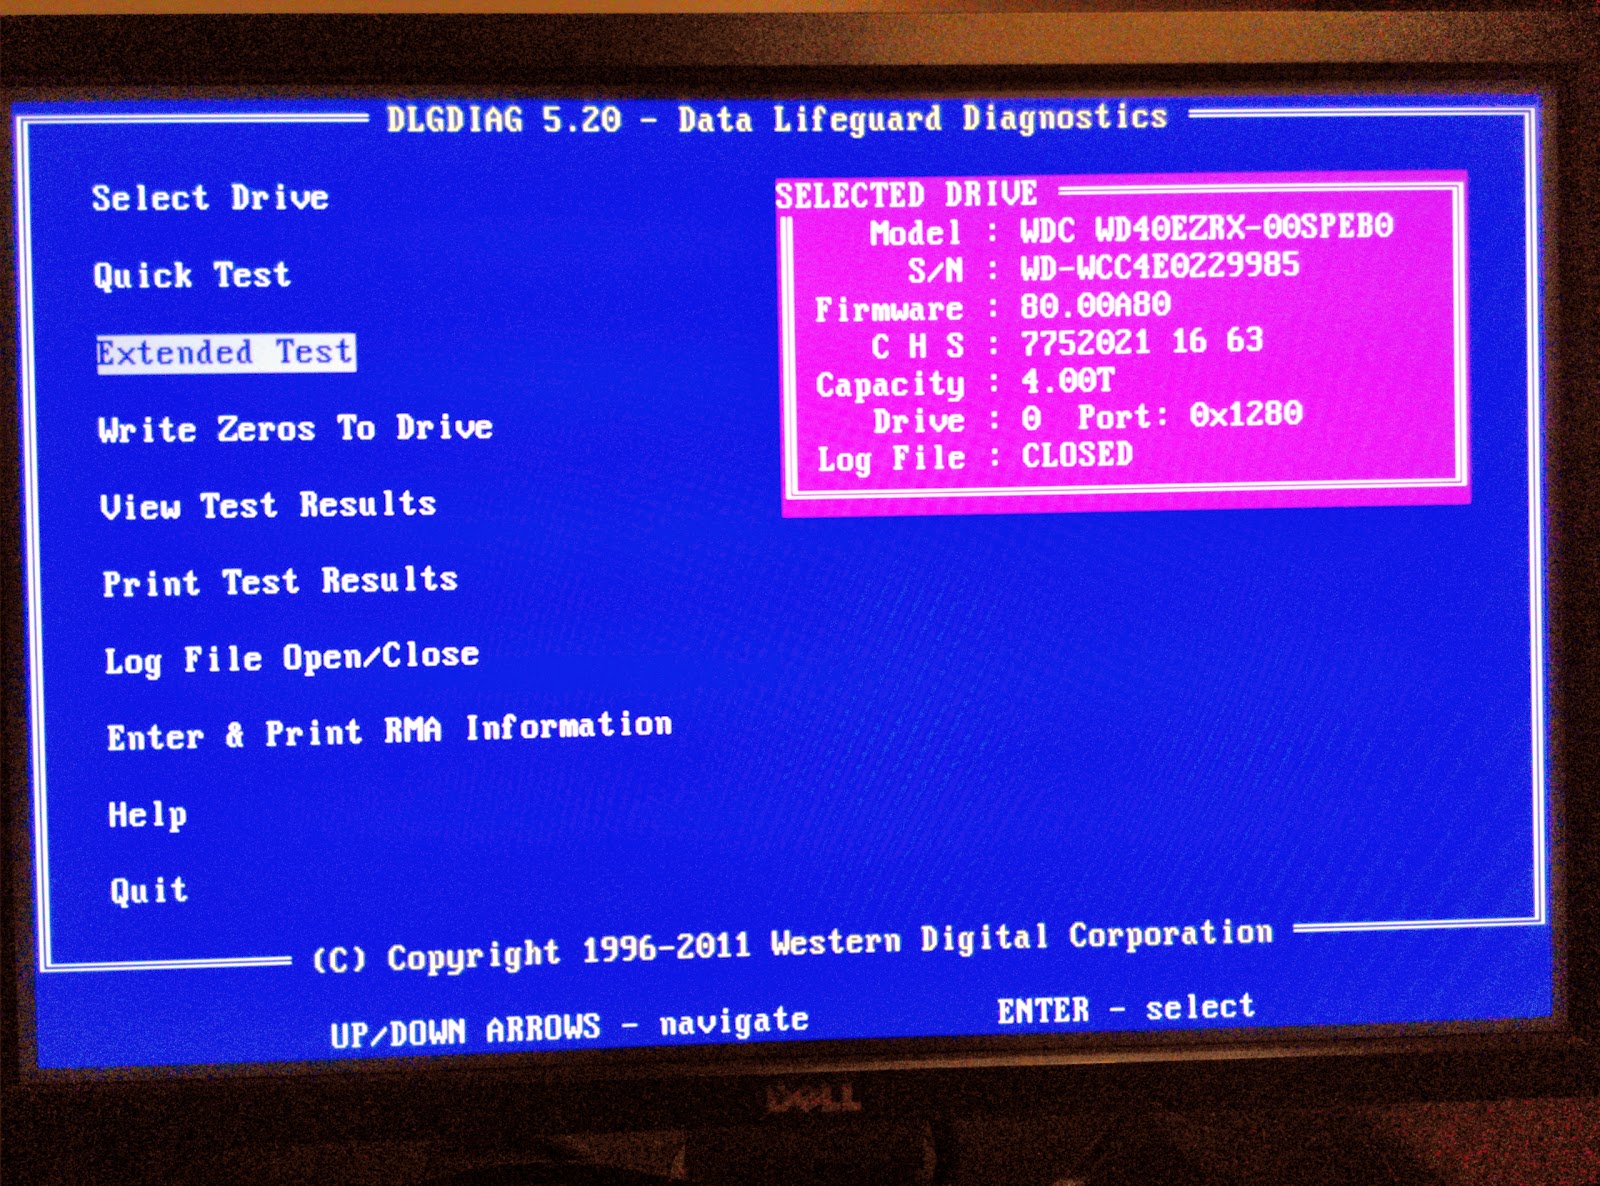
If that works fine, start an “Extended Test”
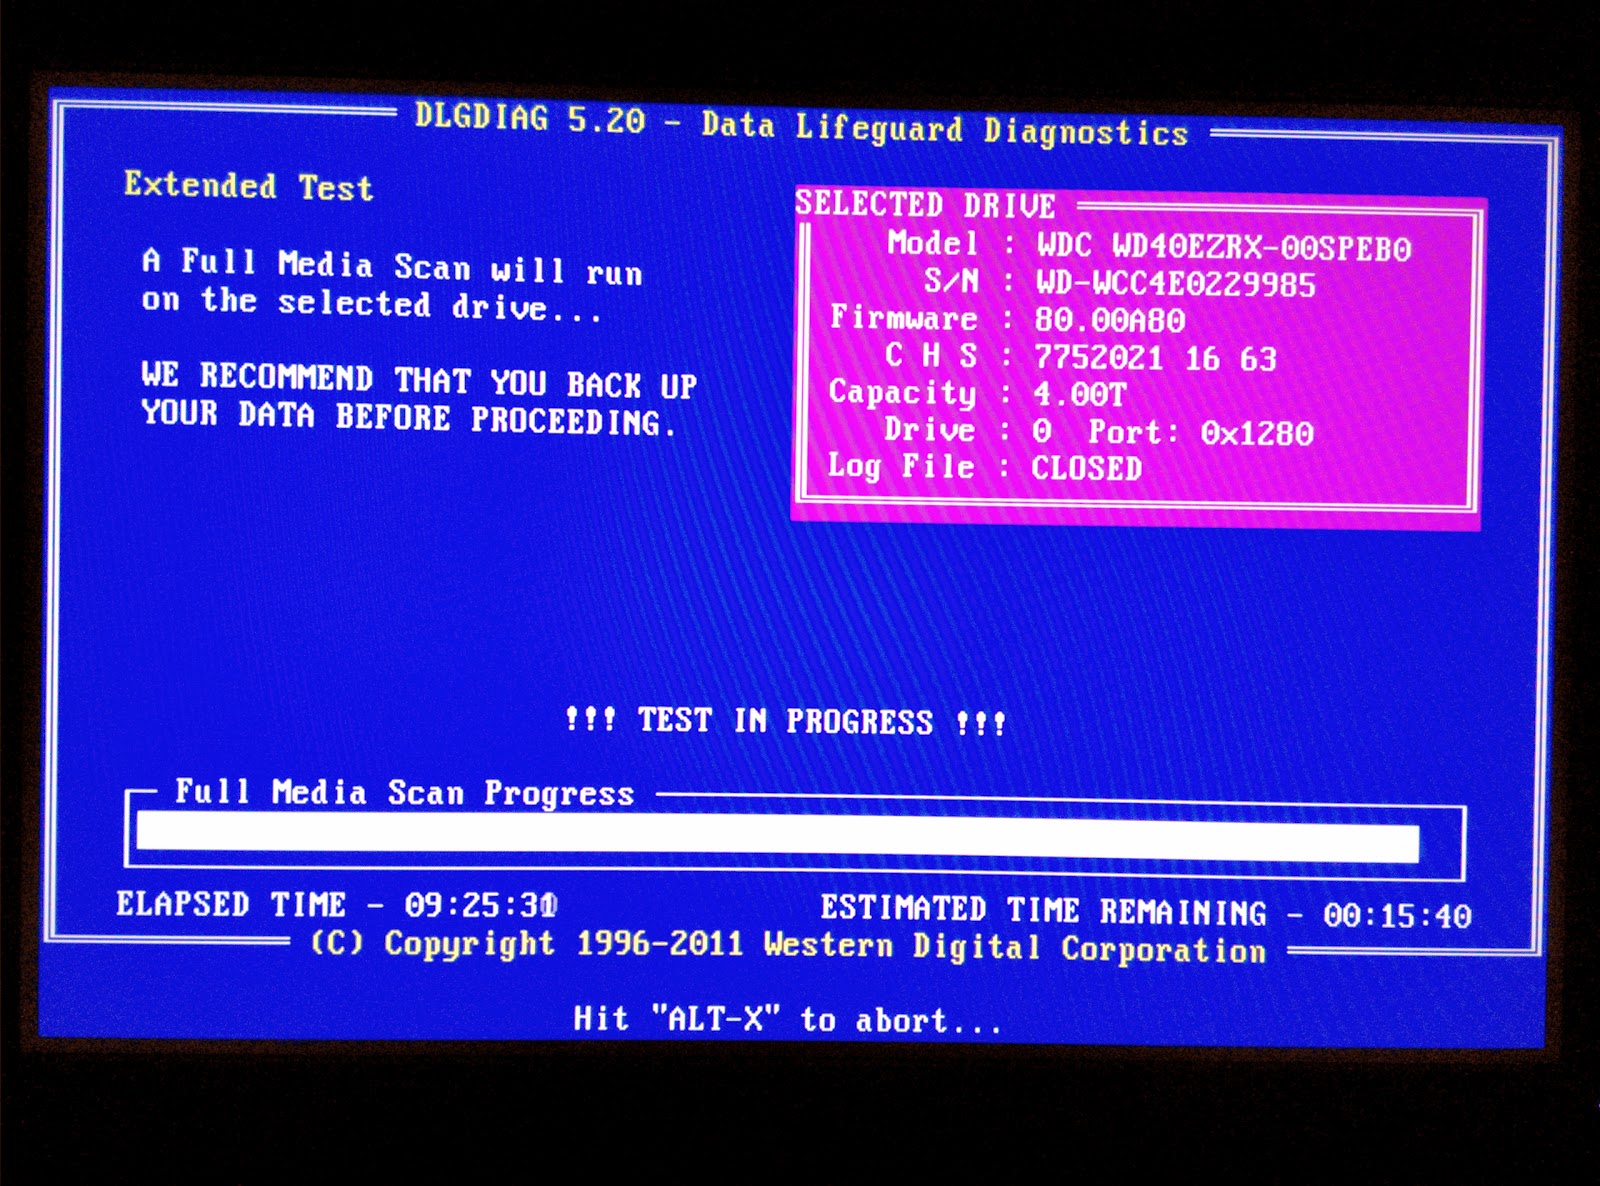
Do not trust the initial “Estimated time remaining” for me this started at 6 hours and 15 minutes but…..
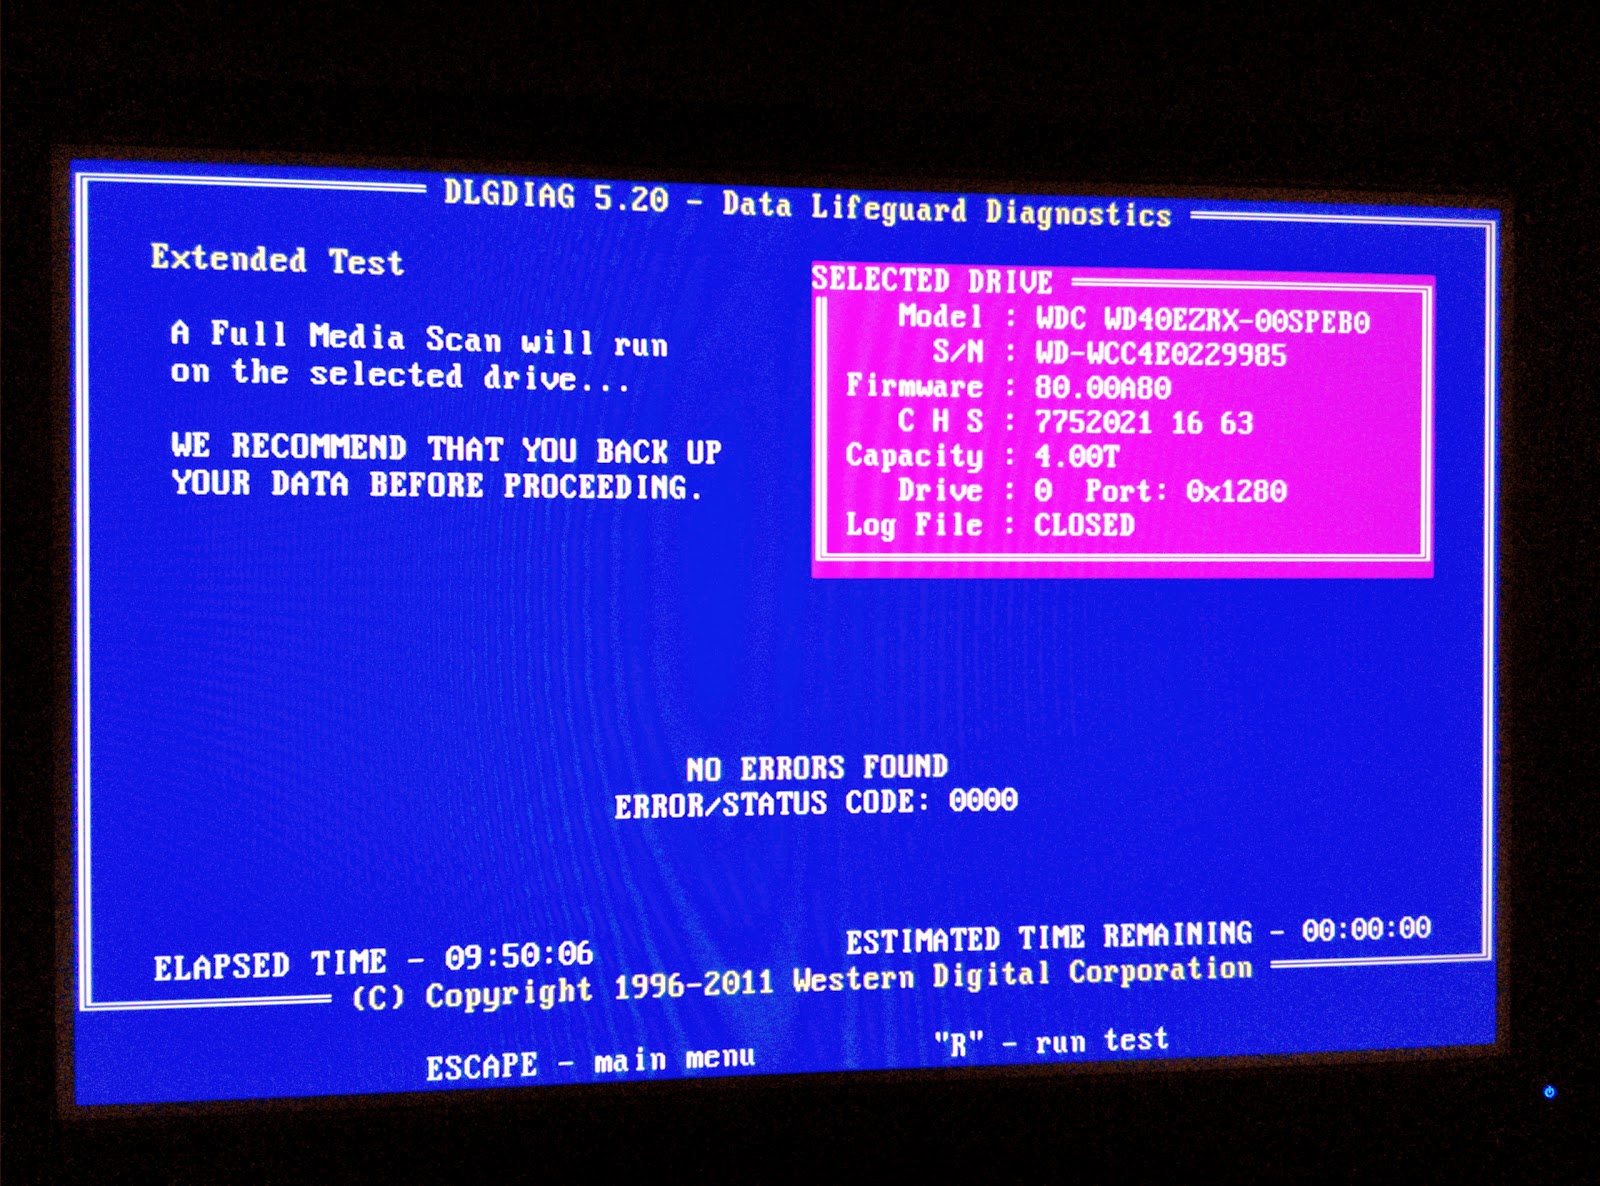
As you can see it took almost 10 hours to complete!
Still, NO ERRORS FOUND is always a good thing to hear. 😀
And that’s it! Repeat this process for all the disks you are going to put into production use and you will have a form of pre-check test which will weed out the bad from the good before it actually gets a chance to kill your data.
Blackblaze, an online cloud storage vendor wrote an interesting article about using consumer disks and their observed failure rate over the last few years. Their findings correlate with what I have also seen in my time. A disk will either fail very quickly or work for years and then die of age at some point. Replace your important disks before they are 4 years old because after that they will go down-hill very fast. Read up about it here: http://blog.backblaze.com/2013/11/12/how-long-do-disk-drives-last/
Now go Enjoy your new disks! 😀
Comments, Questions are very welcome below!