
As I mentioned in my previous post about this subject, I recently built an AMD Ryzen 1700x based 2U server. Because next to running at LAN parties this server also needs to run at my home I wanted to have it somewhat quiet so I can run it in the garage without hearing it somewhere else like on my YouTube recordings
Content Index:
This build has spawned several articles:
- The build hardware and a ZFS storage how-to
- This Article: How to quiet the server down using different fans and PWM control
- A how-to on GPU passthrough within Proxmox for running X-split/OBS with GPU encoding and streaming to YouTube/Twitch
Making the server make less noise
Although in a normal server environments this wouldn’t be an issue, since we want to keep the media on the server available for the editing people, also after the LANparty, this server will also need to run in my home thus be kind of quiet.
I was already building the server with a Noctua CPU cooler to not generate too much noise. But the rest of the components (Included fans, power supply) I did not have much control over before getting the server.
What fans come with the server
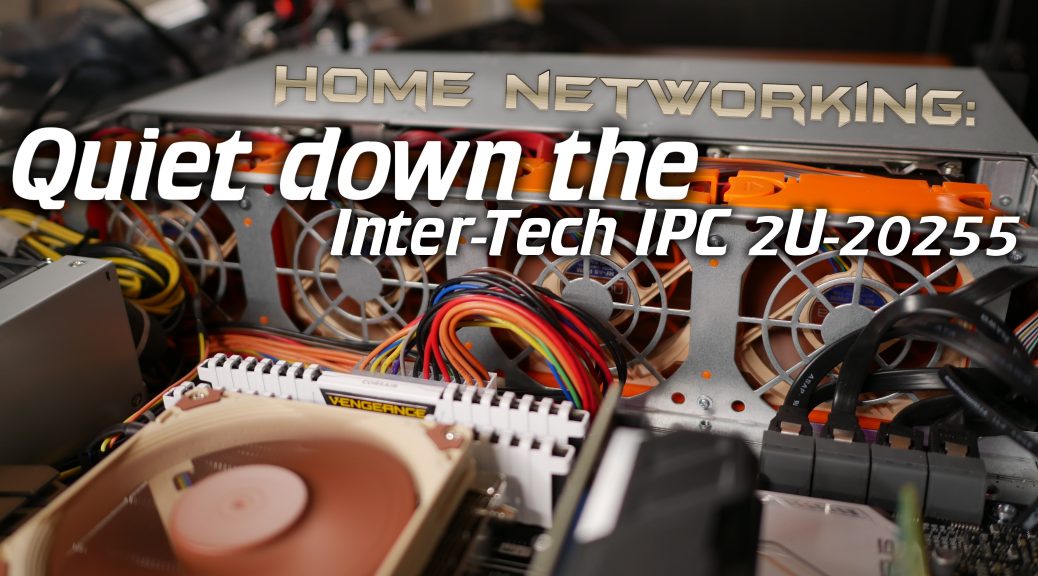
Upon getting the server I was pleasantly surprised that it seemed to include a sort of fan PCB and that the fans included were housed in “hot-plug” housings that most likely would easily fit different fans.


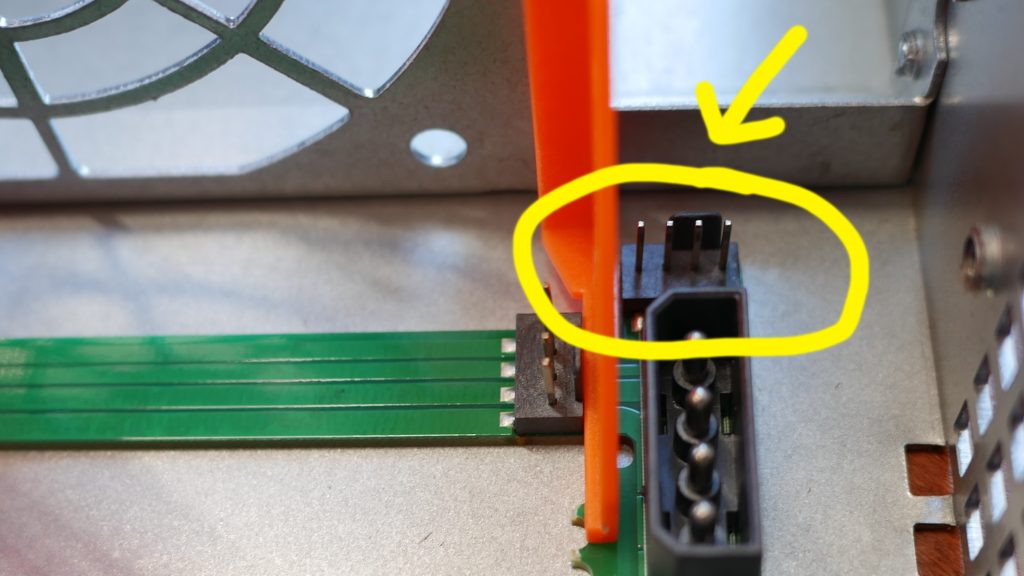
Here is the included fan PCB. Now this looks interesting! It has a molex connector for power and then a strip of PCB that runs along the bottom of the chassis where you plug in the fans. But these have 4 pins, so should support PWM! Maybe, this PCB can be used to control PWM fans?

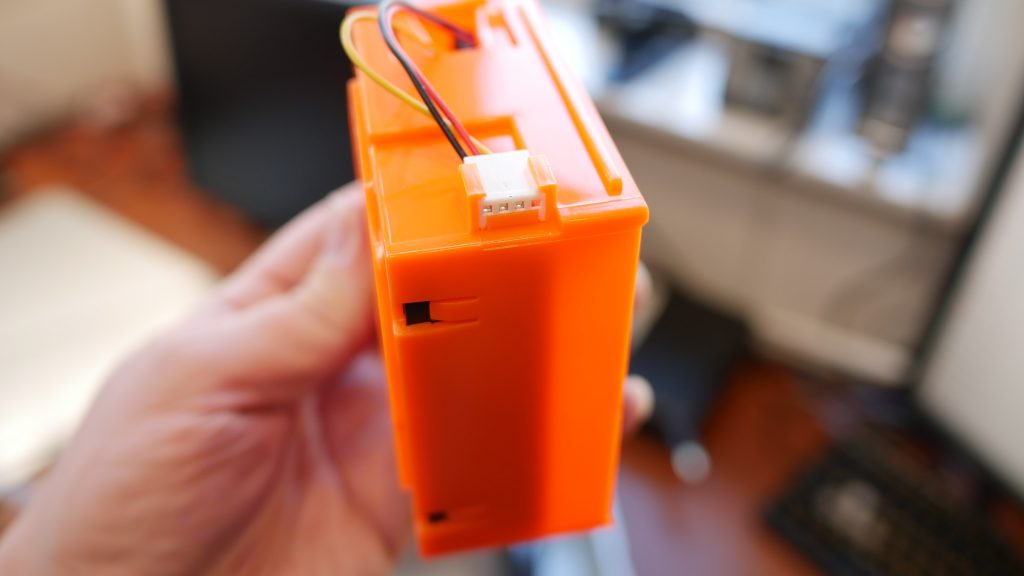
So basically, everything is prepared to use PWM (the prefered way of controlling fans) but the included fans are 3 pin models and there are also no cable to connect a motherboard fan header to the PCB…. or at least, one is not included with the server!
Making it work with your motherboard
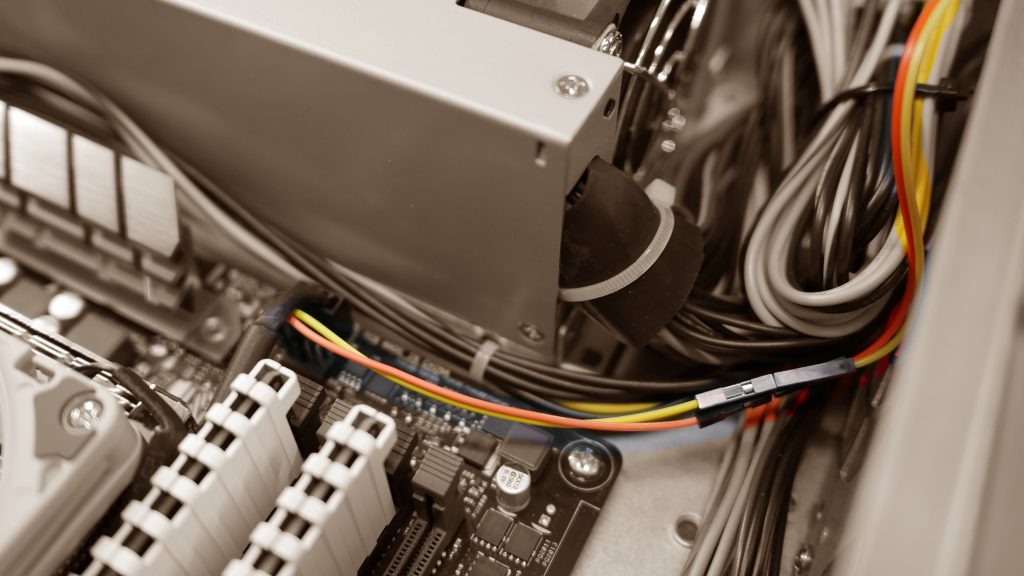
I’ve long been a promoter or fan (haha) of PWM controlled fans. I had planned from the start to replace the stock 80mm fans but I’m used to using a PWM split cable like below.
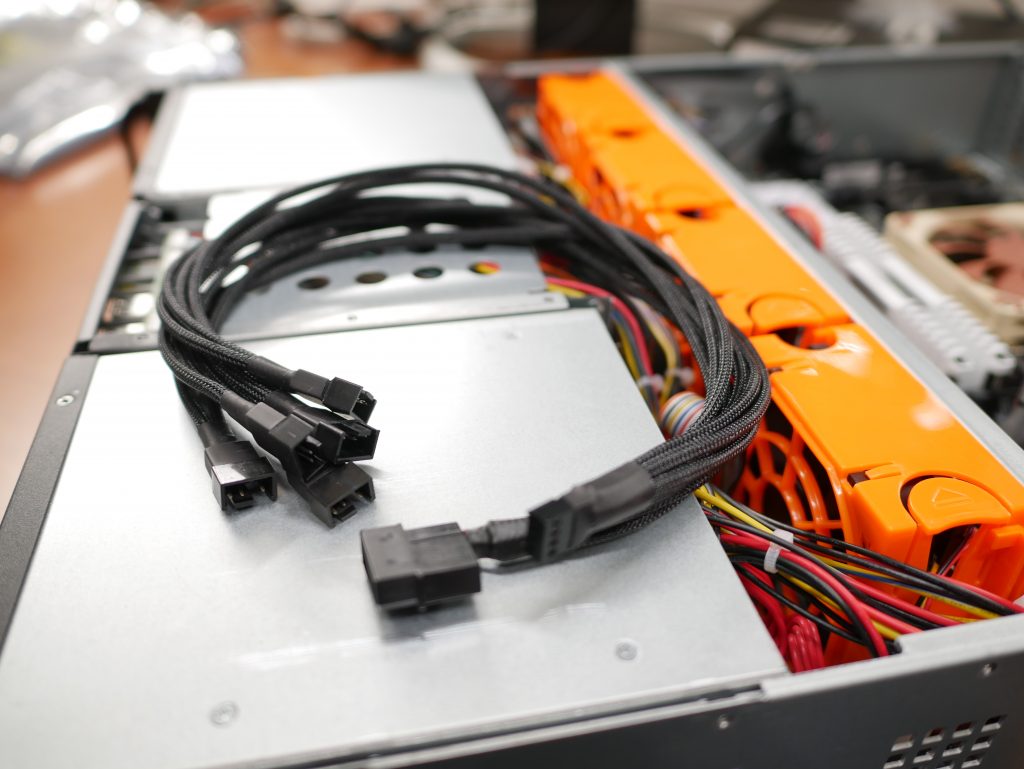
I’ve used the above type cable in numerous builds and it’s always served me well. If you are looking to control the fans in your builds, check them out, they only cost a few bucks!
Version with 1x4pin to 3x4pin without extra power
Version with 1x4pin + Molex to 5x4pin
But, since this chassis comes with that interesting PCB it seems it has something like this cable already integrated!
I used some dupont cables to connect a motherboard fan header to the seperate 4 pin header next to the molex power connector while NOT connecting the molex power, nothing happened. That’s good, that means the extra 4 pin header does not have its power lines connected to the supply of the PCB or the fans on the PCB. So the fans will always get a steady supply of 12v power from the Molex plug.

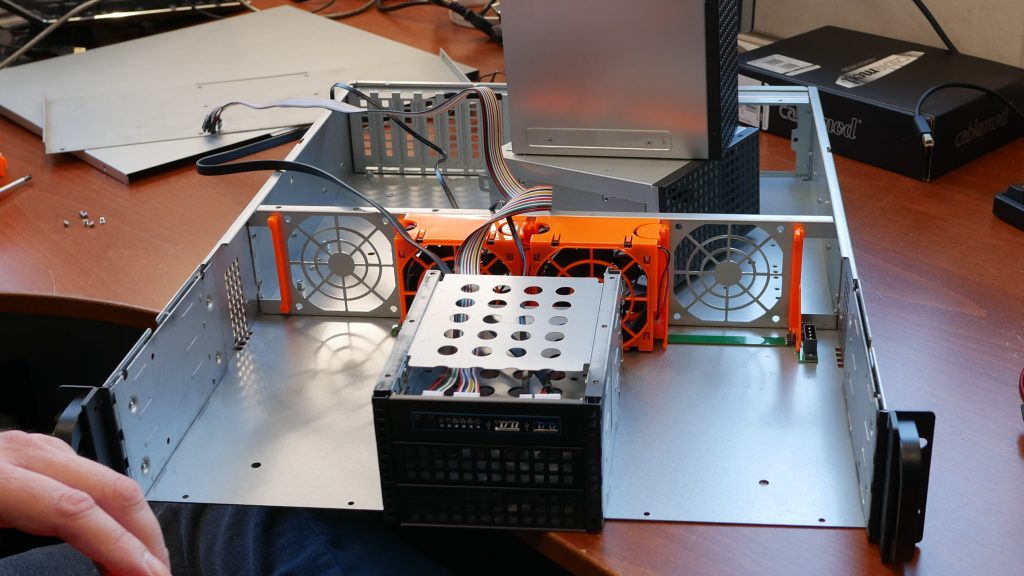
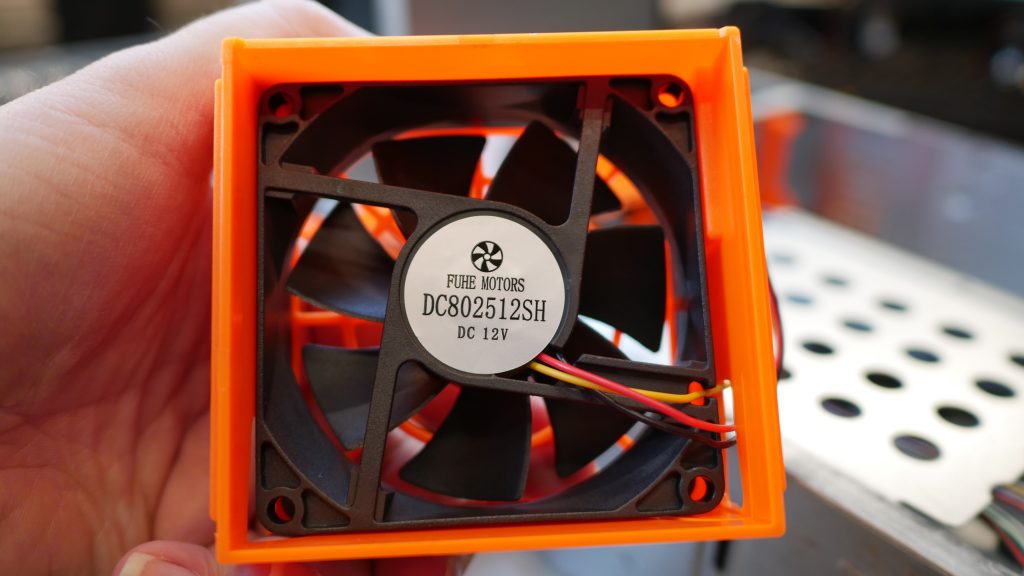
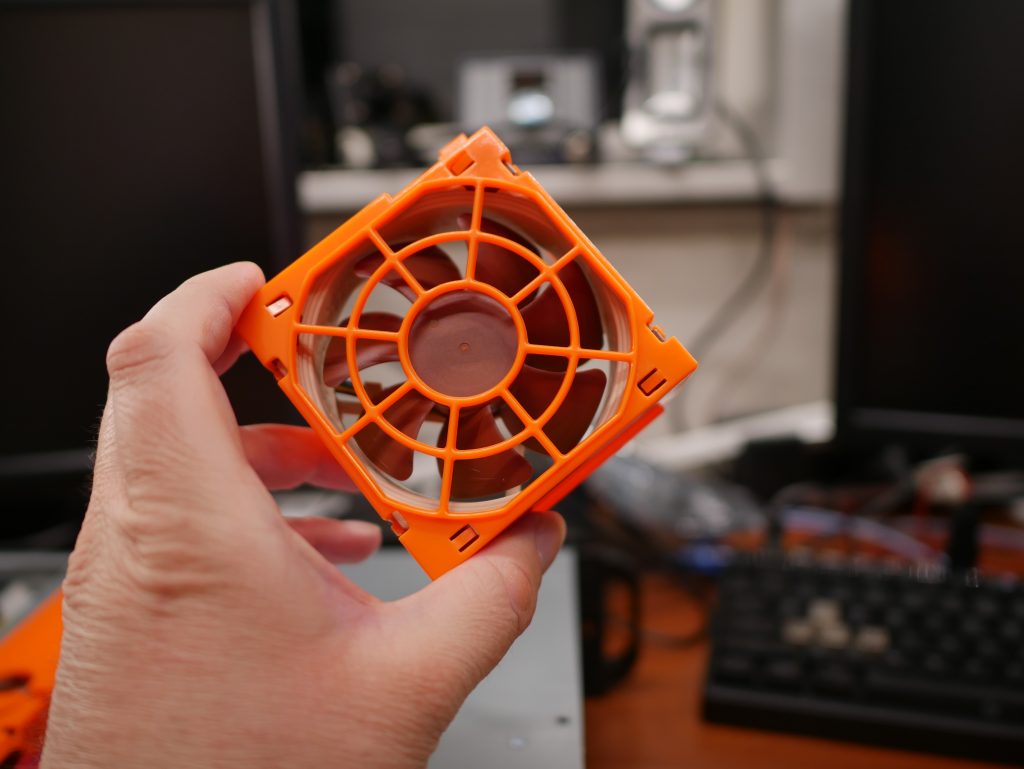
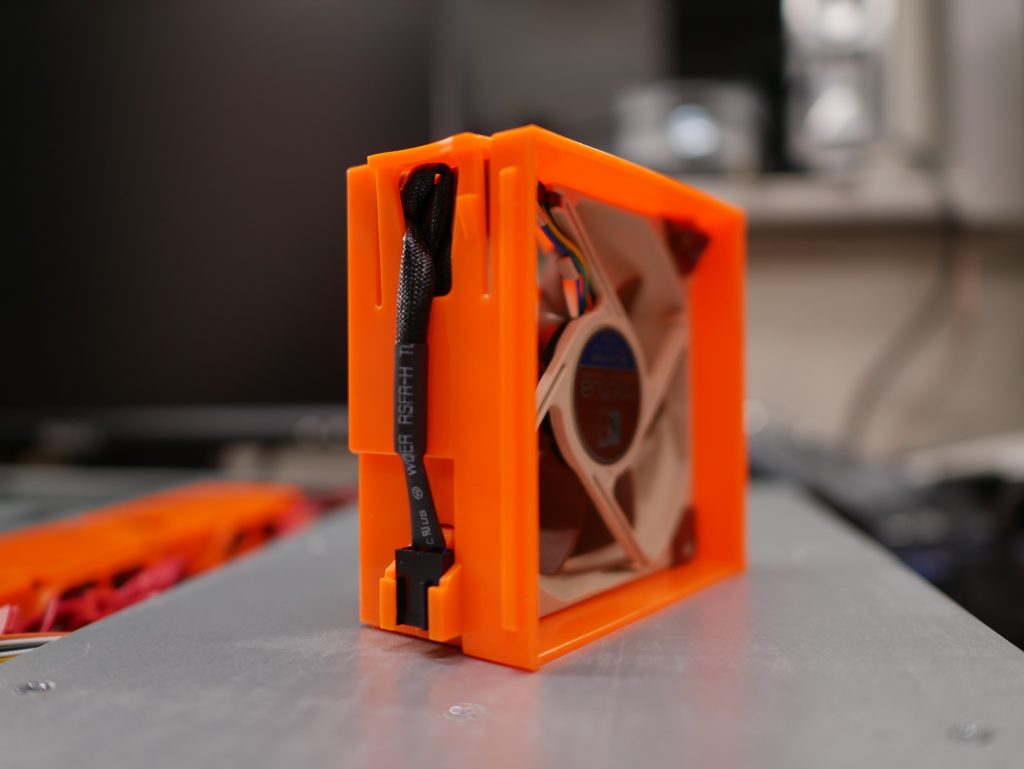
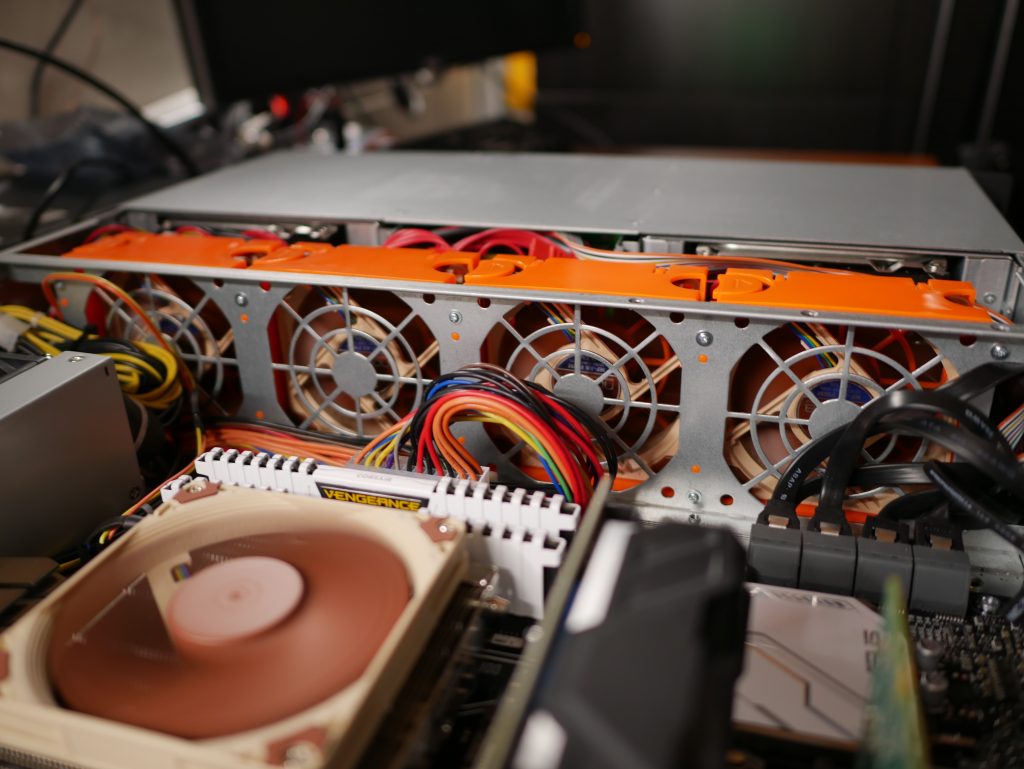
I then proceeded to replace the included fans with my Noctua 80mm PWM versions. This took a little bit of doing because the rubber corners of Noctuas are not really compatible with the fan holder. I also had to cram the extra thick sleeved fan wire somewhere (see the video) but after that was done, they worked like the other fans before it.
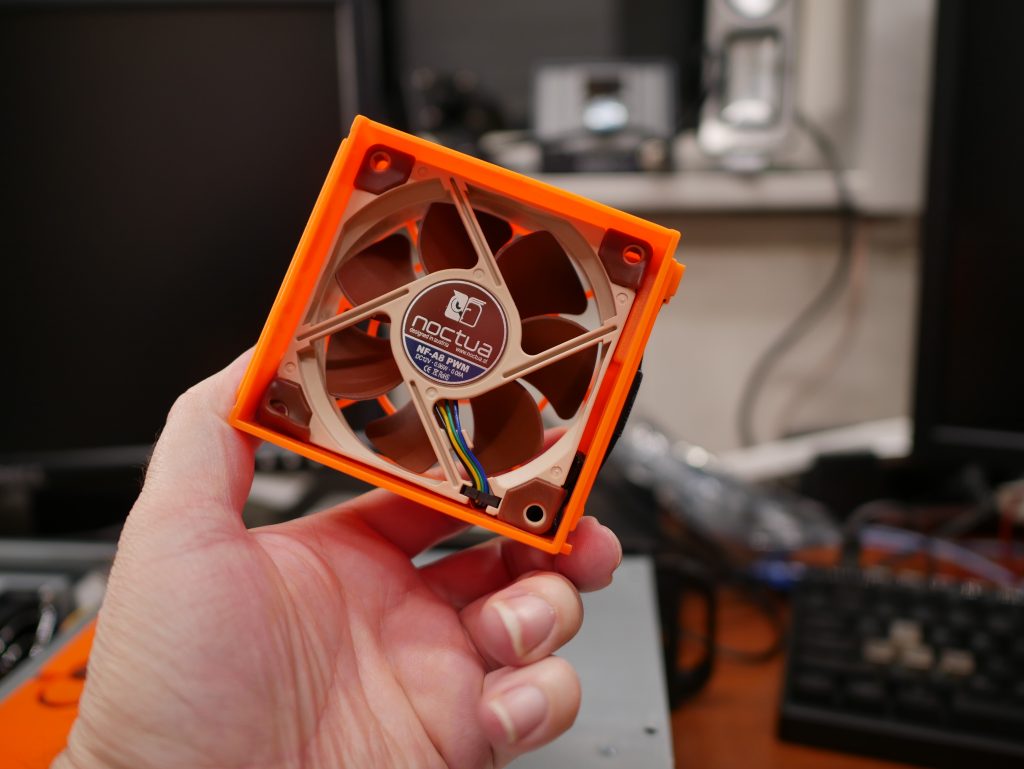
So then I only connected the pins for the PWM signal and the RPM readout and connected molex power again.
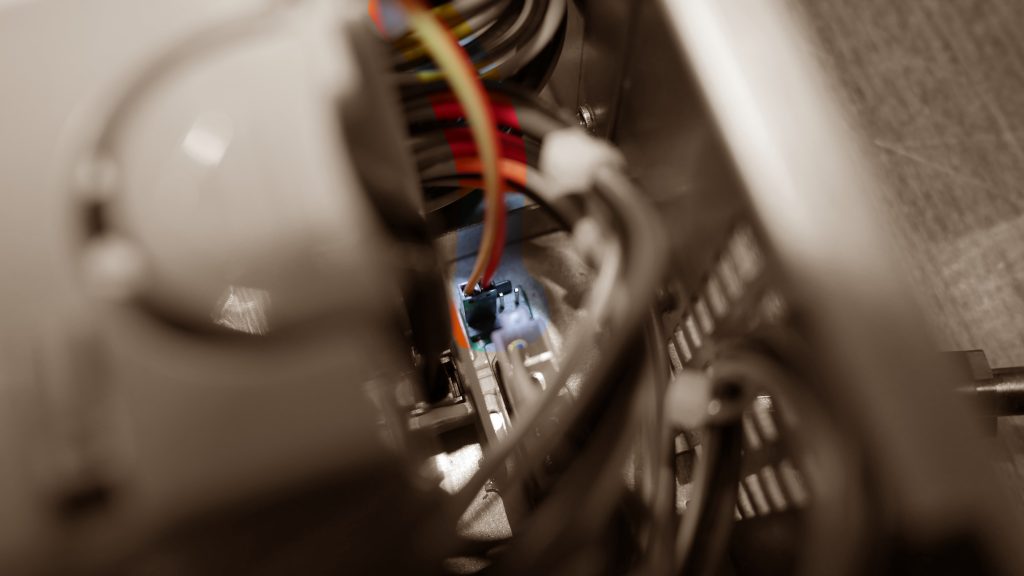
Succes! The fans spinned up but immediately quieted down when the motherboard control engaged. I tested some settings in the BIOS but I was now able to control the Noctua fans just fine.
PSU noise
The only fan not replaced at this time is the fan in the PSU but I was pleasantly surprised by it. During boot it makes a bit of noise but after a few seconds it quiets down automatically. Although it’s audible, it doesn’t make too much noise and seems temperature regulated just fine. To check out the exact model, see the first post about this server.
Conclusion time
This is 4 pin PWM fan PCB is an awesome feature to include with the chassis! I don’t really understand why they would not include the cable to connect it up with your motherboard but the cables needed are cheap. Also I would market the crap out of this feature because it makes quieting down the server a lot easier.
I wish all my cases came with something like this in key spots like the front or top where you most often want to connect multiple fans, would be a great bonus! But the cables I linked come in as a close second but still case manufacturers, you need to include something like this instead of dumb 3 setting fan controllers!